
Java JDK is a free and open-source software development kit used for building applications, applets, and components using the Java programming language. Java JDK comes with a set of tools for developing and testing applications written in the Java programming language; these tools include JRE, Java, Javac (Compiler) and Jar (Archiver).
There are two different implementations of Java, OpenJDK and Oracle JDK:
- OpenJDK is the free and open-source implementation of the Java Platform.
- Oracle JDK is a paid and permits only non-commercial use of the software.
In this tutorial, we will show you how to install OpenJDK 8, OpenJDK 11 and Oracle Java JDK 14 on CentOS 8.
Step 1 – Install OpenJDK 11
By default, OpenJDK 11 is available in the CentOS 8 default repository. You can install it by running the following command:
dnf install java-11-openjdk -y
Once installed, verify the installed Java version with the following command:
java -version
You should see the following output:

Step 2 – Install OpenJDK 8
By default, OpenJDK 8 is available in the CentOS 8 default repository. You can install it with the following command:
dnf install java-1.8.0-openjdk -y
Once installed, verify the installed Java version with the following command:
java -version
You should see the following output:

Step 3 – Set Up the Default Java Version
At this point, you have two different versions of Java installed on your system. You can switch between multiple Java versions using the following command:
alternatives --config java
In the following output, you should see that OpenJDK 8 is the default version on your system.

Type 1 and press Enter to switch the Java version from OpenJDK 8 to OpenJDK 11.
Now, verify the default Java version with the following command:
java -version
You should see that OpenJDK 11 is the default Java version on your system.

Step 4 – Setup JAVA_HOME Environment Variable
In some Java-based applications, you will need to define the installation location of Java to specify which Java version you want to use to run the application. You can use the JAVA_HOME environment variable to define the Java installation path.
You can set the JAVA_HOME environment variable for OpenJDK 11 by editing the file /etc/profile:
nano /etc/profile
Add the following line at the end of the file:
JAVA_HOME="/usr/lib/jvm/java-11-openjdk-11.0.5.10-2.el8_1.x86_64/"
Save and close the file when you are finished. Then, activate the changes with the following command:
source /etc/profile
Next, verify the JAVA_HOME environment with the following command:
echo $JAVA_HOME
You should get the following output:

Step 5 – Install Oracle Java 14
First, you will need to download the Oracle Java 14 RPM package file from the Oracle download page, as shown below.
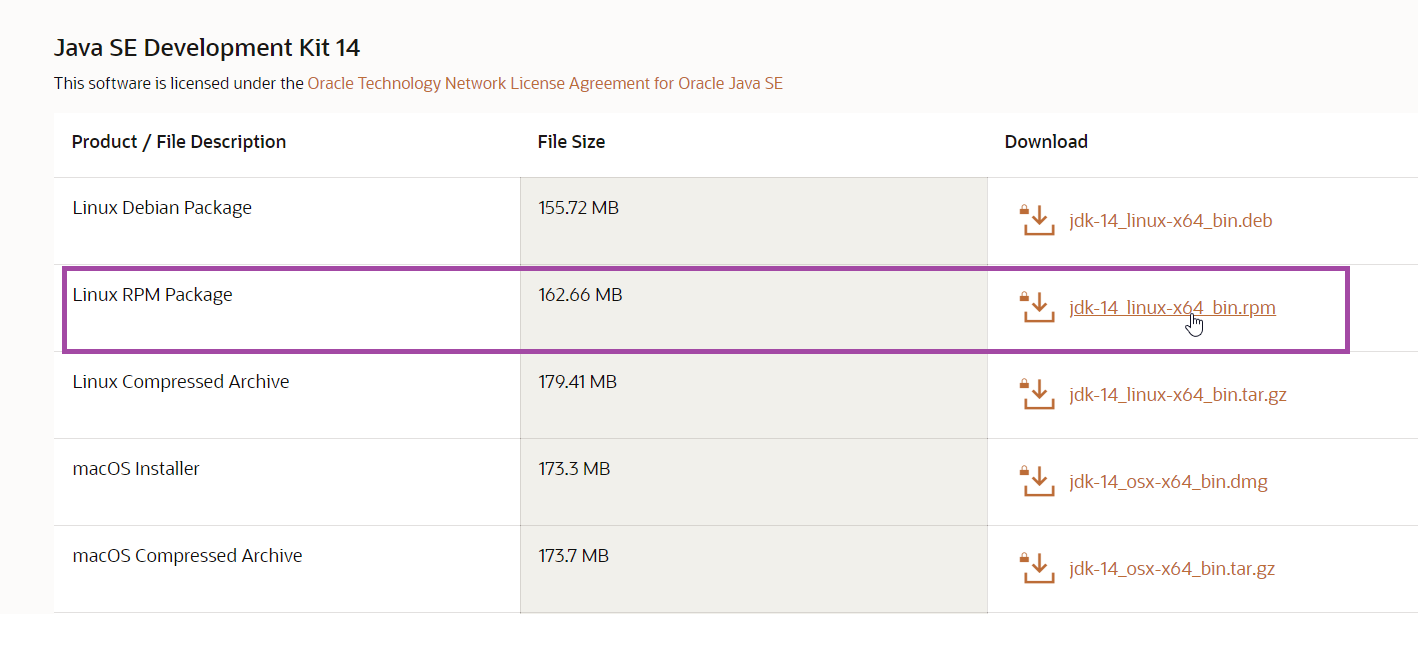
Here, you can see the different versions of Java 14. Click on jdk-14_linux-x64_bin.rpm to download it in your system.
You may now need to upload the file to your Centos8 server from your local desktop. This can be done using WinSCP.
Download WinSCP and install WinSCP using the following guide:
Upload the file using your CentOS 8 server information:
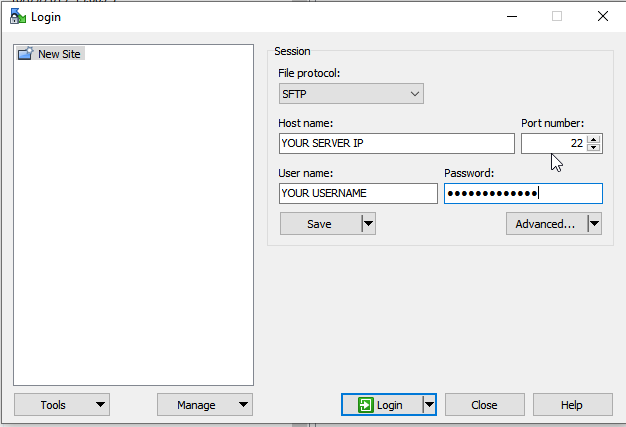
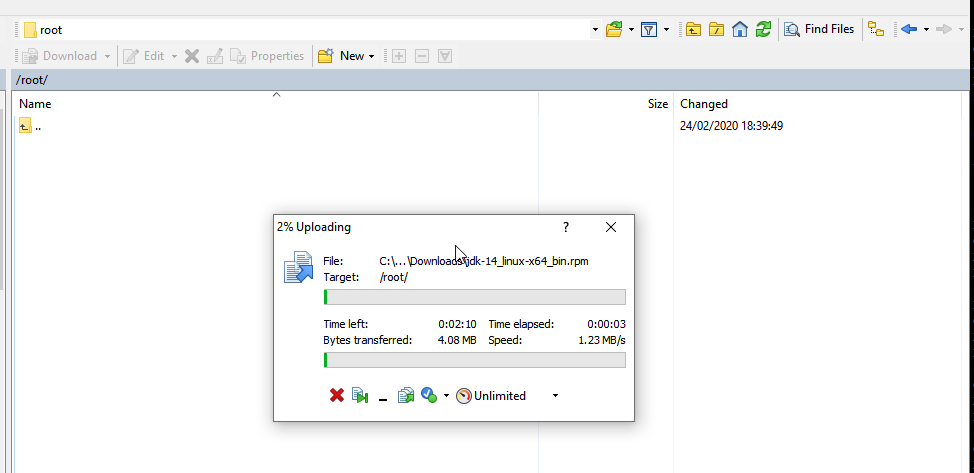

Once the upload has completed, you can install it with the following command:
dnf localinstall jdk-14_linux-x64_bin.rpm -y
Once installed successfully, change the default Java version to Oracle Java 8 with the following command:
alternatives --config java
You should see a list of different Java versions in the following output:

Type 3 and hit Enter to change the default Java version.
Next, verify the Java default version with the following command:
java -version
You should see the following output:

Conclusion
Congratulations! You have successfully installed Java on CentOS 8. I hope you have now enough knowledge to switch between different Java versions and start building your application on your virtual private server.

Written by
Hitesh Jethva is a regular contributor to the Atlantic.Net blog. With over 15 years of experience in Linux and open-source technologies, he founded Linux Buz, a website dedicated to Linux enthusiasts.