OpenNebula is a free and open-source cloud computing platform that can be used to build and manage Enterprise Clouds. It is easy to install, update and operate by administrators. OpenNebula is specially designed for data center virtualization and cloud deployments based on the KVM hypervisor. It combines containers from Kubernetes or Docker Hub and integrates multiple virtualization technologies to meet your workload needs.
In this tutorial, we will show you how to install and configure OpenNebula on Debian 10.
Step 1 – Install MariaDB Server
OpenNebula uses MariaDB as a database backend, so you will need to install it in your server. You can install it with the following command:
apt-get install mariadb-server gnupg2 -y
Once installed, login to MariaDB shell with the following command:
mysql
Once login, create a database and user with the following command:
CREATE DATABASE opennebula;
GRANT ALL PRIVILEGES ON opennebula.* TO 'oneadmin' IDENTIFIED BY 'password';
Next, flush the privileges and exit from the MariaDB with the following command:
FLUSH PRIVILEGES;
EXIT;
Step 2 – Install OpenNebula
By default, OpenNebula is not available in the Debian 10 default repository, so you will need to add the OpenNebula repository to your system.
First, download and add the GPG key with the following command:
wget -q -O- https://downloads.opennebula.org/repo/repo.key | apt-key add -
Next, add the OpenNebula repository with the following command:
echo "deb https://downloads.opennebula.org/repo/5.12/Debian/10 stable opennebula" >
/etc/apt/sources.list.d/opennebula.list
Next, update the repository and install OpenNebula with the following command:
apt-get update -y

apt-get install opennebula opennebula-sunstone opennebula-gate opennebula-flow -y
Once OpenNebula has been installed, run the following command to install other required dependencies:
/usr/share/one/install_gems
You should get the following output:
Execution continues in 15 seconds ...
Distribution "debian" detected.
About to install these dependencies:
* gcc
* rake
* libxml2-dev
* libxslt1-dev
* patch
* g++
* libsqlite3-dev
* libcurl4-openssl-dev
* libssl-dev
* default-libmysqlclient-dev
* postgresql-server-dev-all
* libzmq5
* libzmq3-dev
* libaugeas-dev
* ruby-dev
* make

Press enter to continue...
Press Enter to install the required dependencies.
Step 3 – Configure OpenNebula
Next, you will need to edit the file /etc/one/oned.conf and define your database settings.
nano /etc/one/oned.conf
Find the following lines:
DB = [ BACKEND = "sqlite",
TIMEOUT = 2500 ]
And replace them with the following lines:
DB = [ BACKEND = "mysql",
SERVER = "localhost",
PORT = 0,
USER = "oneadmin",
PASSWD = "password",
DB_NAME = "opennebula",
CONNECTIONS = 25,
COMPARE_BINARY = "no" ]
Save and close the file, then generate the oneadmin password with the following command:
cat /var/lib/one/.one/one_auth
You should see the following output:
oneadmin:cask7QuowHym
Note: Please remember the above password, as you will need this password to log in OpenNebula.
Step 4 – Verify OpenNebula Installation
Now, start the OpenNebula service and enable it to start at system reboot with the following command:
systemctl start opennebula opennebula-sunstone
systemctl enable opennebula opennebula-sunstone
Next, connect the OpenNebula daemon and verify the installation with the following command:
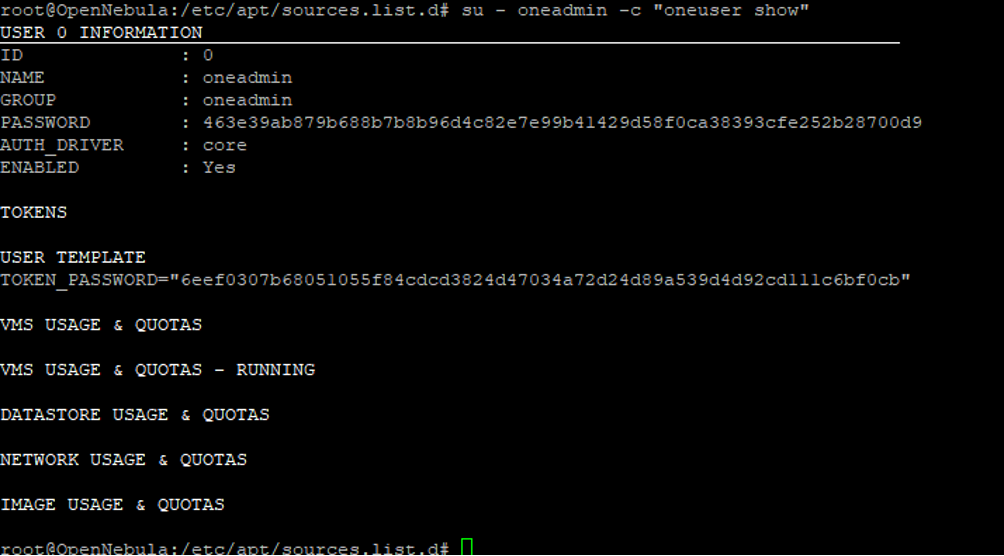
su - oneadmin -c "oneuser show"
You should get the following output:
Step 5 – Access OpenNebula Web UI
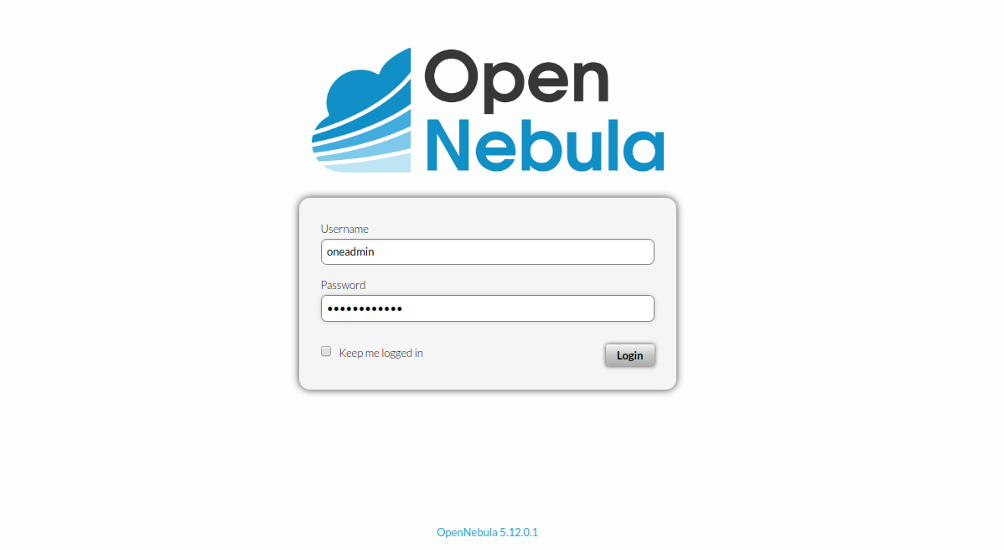
Now, open your web browser and access the OpenNebula web interface using the URL http://your-server-ip:9869. You should see the OpenNebula login page:
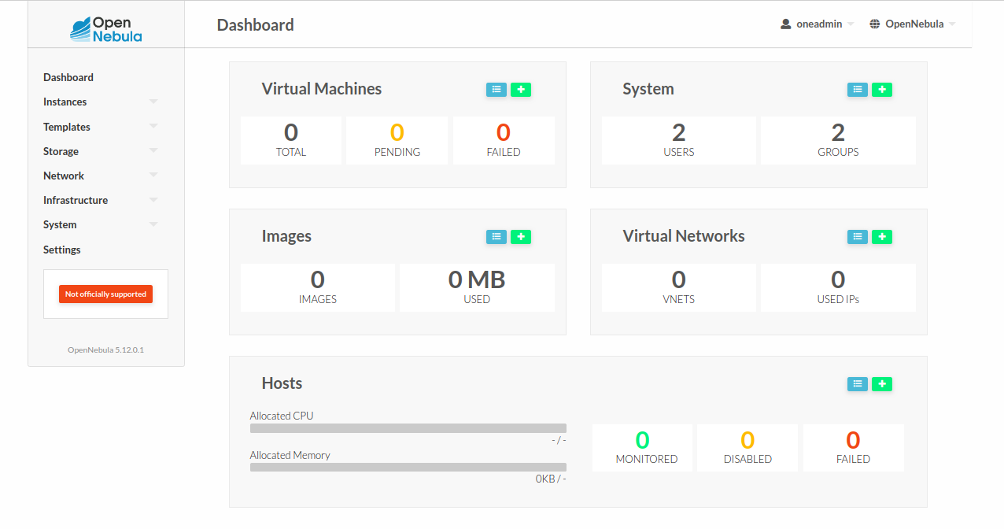
Provide your admin username and password and click on the Login button. You should see the OpenNebula dashboard in the following page:
Conclusion
Congratulations! You have successfully installed and configured OpenNebula on Debian 10 server. Now, you can install KVM on another system, add KVM node to the OpenNebula and start creating your first virtual machine from the OpenNebula dashboard. Try OpenNebula on VPS hosting from Atlantic.Net today!


