Tiki Wiki is a free and open-source wiki content management system that allows you to host your own Wiki within a minute. It is written in PHP and uses MariaDB/MySQL as a database backend. Tiki Wiki is made from four components including content creation and management tools, communication tools, content organization tools and navigation aids, and configuration and administration tools. It comes with very useful features including wiki pages, blogs, forums, and file and image galleries.
In this tutorial, we will show you how to install Tiki Wiki on Ubuntu 20.04.
Step 1 – Install LAMP Server
First, install the Apache web server and MariaDB server with the following command:
apt-get install apache2 mariadb-server unzip git gnupg -y
After installing the above packages, you will need to install PHP and the required extensions to your system. Tiki Wiki supports only PHP version 7.0 to 7.2. By default, Ubuntu 20.04 ships with PHP 7.4 version, so you will need to add the Ondrej PHP repository in your server.
You can add it with the following command:
apt-get install software-properties-common gnupg2 -y
add-apt-repository ppa:ondrej/php
Once the repository is added, update the repository and install PHP with required extensions by running the following command:
apt-get install php7.2 php7.2-tidy php7.2-gd php7.2-xmlrpc php7.2-mbstring libapache2-mod
-php7.2 php7.2-mysql php-apcu php7.2-curl php7.2-intl php7.2-sqlite3 php7.2-zip php-memcache
php7.2-pspell php7.2-zip php7.2-memcached php-pear php7.2-common php7.2-opcache php7.2
-xml php7.2-zip -y
Once all packages are installed, edit the php.ini file and make some changes:
nano /etc/php/7.2/apache2/php.ini
Change the following lines:
memory_limit = 256M
upload_max_filesize = 100M
max_execution_time = 300
date.timezone = Asia/Kolkata
At this point, a LAMP stack is installed in your server.
Step 2 – Create a Database for Tiki Wiki
Next, you will need to create a database and user for Tiki WIki. First, log in to MariaDB shell with the following command:
mysql
Once logged in, create a database and user with the following command:
CREATE DATABASE tiki CHARACTER SET utf8mb4 COLLATE utf8mb4_unicode_ci;
CREATE USER 'tiki'@'localhost' IDENTIFIED BY 'yourpassword';
Next, grant all the privileges to tiki database with the following command:
GRANT ALL ON tiki.* TO 'tiki'@'localhost' WITH GRANT OPTION;
Next, flush the privileges and exit from the MariaDB shell with the following command:
FLUSH PRIVILEGES;
EXIT;
Step 3 – Download Tiki Wiki
Next, you will need to download the latest version of Tiki Wiki from the Sourceforge website. You can download it with the following command:
wget https://sourceforge.net/projects/tikiwiki/files/latest/download --no-check-certificate
Once the download is completed, extract the downloaded file with the following command:
unzip download
Next, move the extracted directory to the Apache root directory:
mv tiki-21.2 /var/www/html/tikiwiki
Next, change the ownership and permissions of the tikiwiki directory:
chown -R www-data:www-data /var/www/html/tikiwiki/
chmod -R 755 /var/www/html/tikiwiki/
At this point, Tiki Wiki is downloaded and configured.
Step 4 – Configure Apache for Tiki Wiki
Next, create an Apache virtual host configuration file for Tiki Wiki with the following command:
nano /etc/apache2/sites-available/tikiwiki.conf
Add the following lines:
<VirtualHost *:80>
ServerAdmin [email protected]
DocumentRoot /var/www/html/tikiwiki
ServerName tiki.example.com

<Directory /var/www/html/tikiwiki/>
Options FollowSymlinks
AllowOverride All
Require all granted
</Directory>

ErrorLog ${APACHE_LOG_DIR}/error.log
CustomLog ${APACHE_LOG_DIR}/access.log combined

</VirtualHost>
Save and close the file when you are finished, then activate the Apache virtual host with the following command:
a2ensite tikiwiki.conf
Next, enable the Apache rewrite module and restart the Apache service using the following command:
a2enmod rewrite
systemctl restart apache2
Step 5 – Access Tiki Wiki
Now, open your web browser and access the Tiki Wiki web interface using the URL
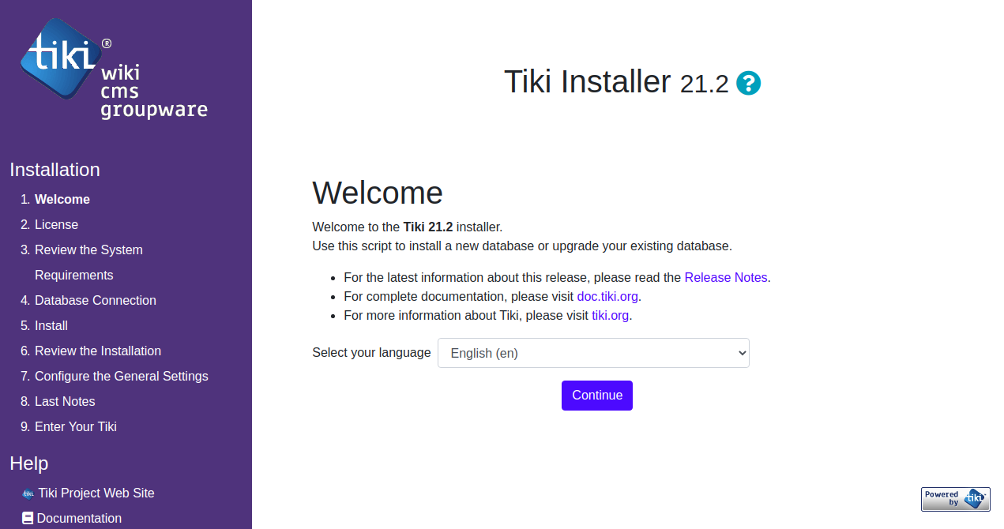
http://tiki.example.com/tiki-install.php. You should see the following page:
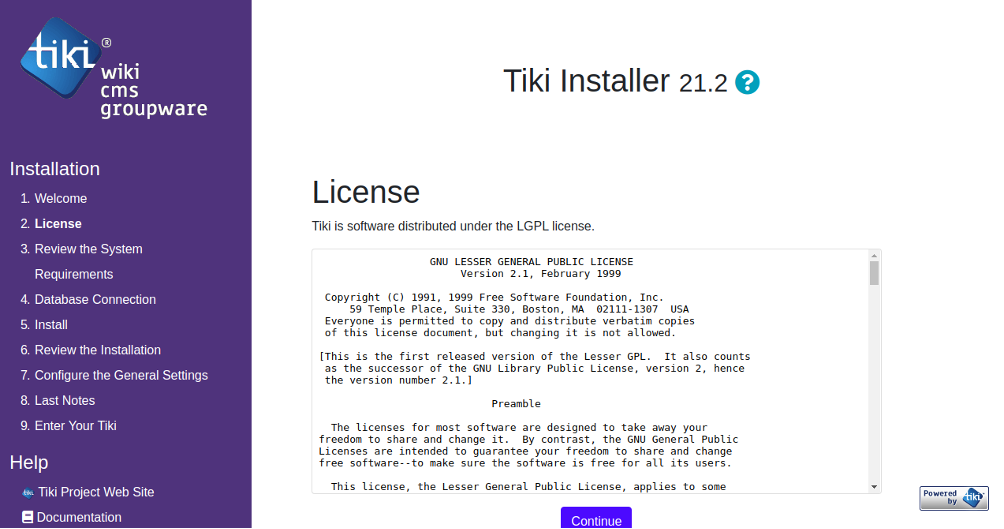
Select your language and click on the Continue button. You should see the following page:
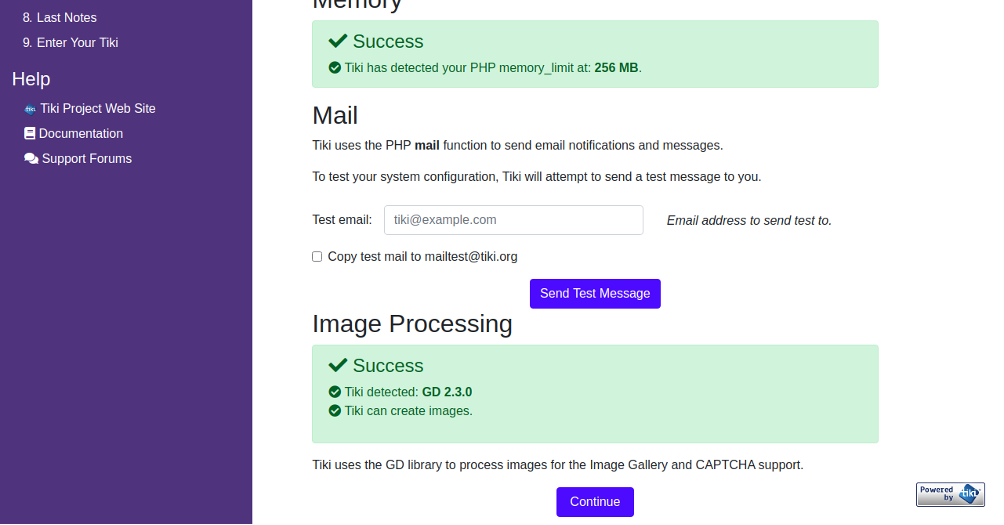
Click on the Continue to agree the license agreement. You should see the following page:
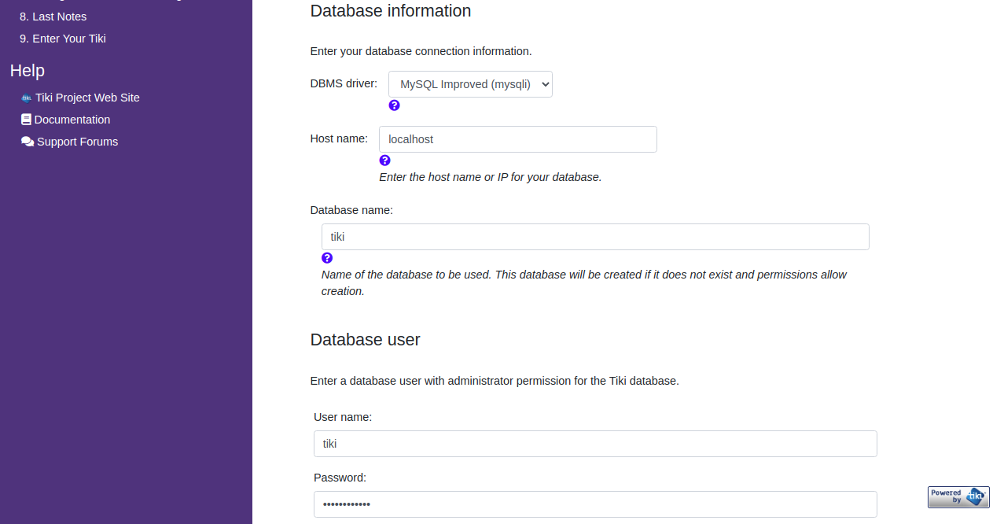
Make sure all tests are green, then click on Continue. You should see the following page:
Provide your database details and click on the Continue button. You should see the following page:
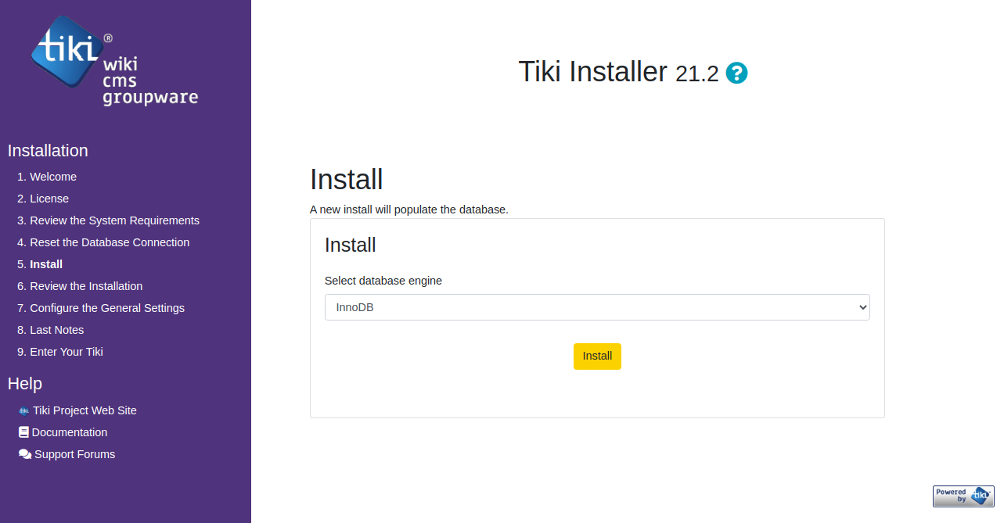
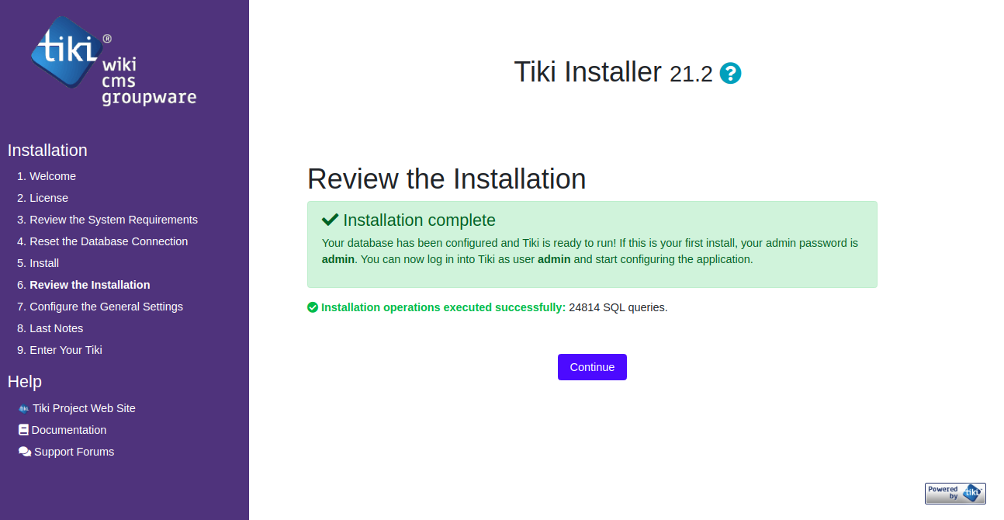
Choose your Database engine and click on the Install button. Once the installation has been completed, you should see the following page:
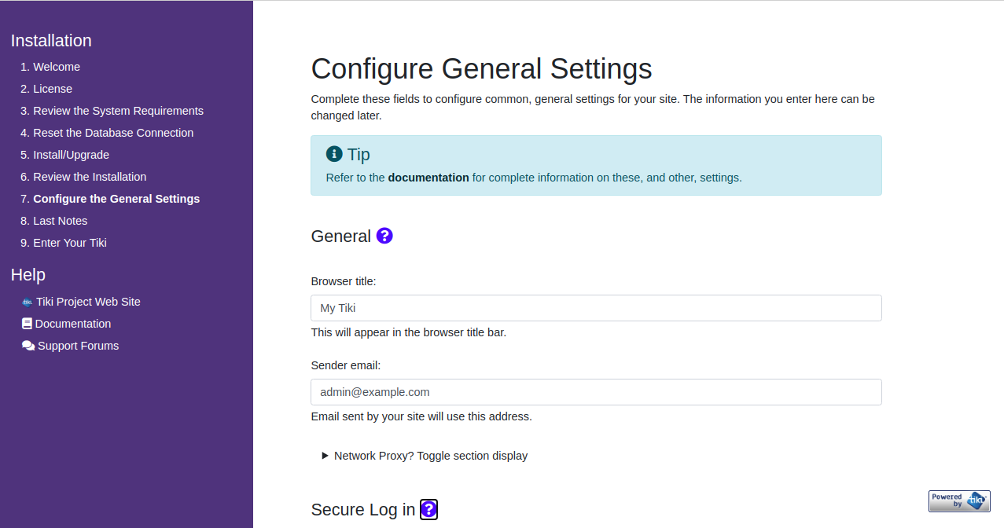
Review the installation click on the Continue button. You should see the following page:
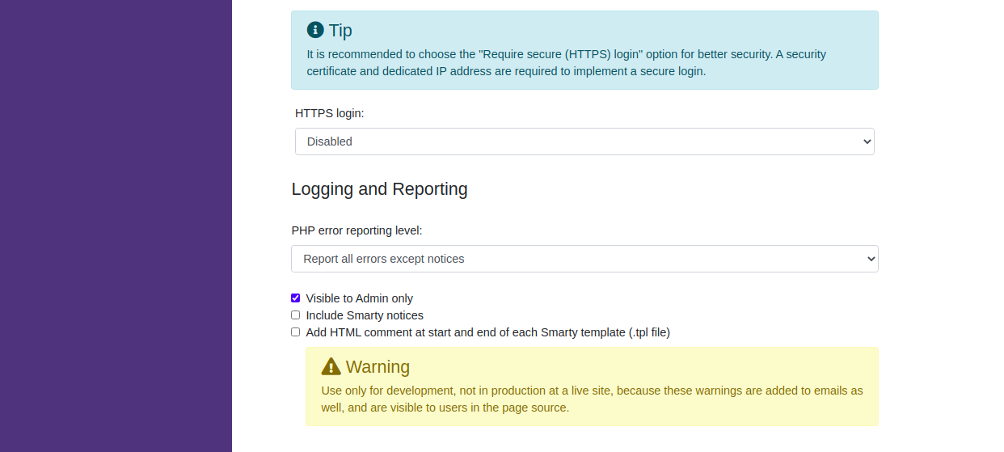
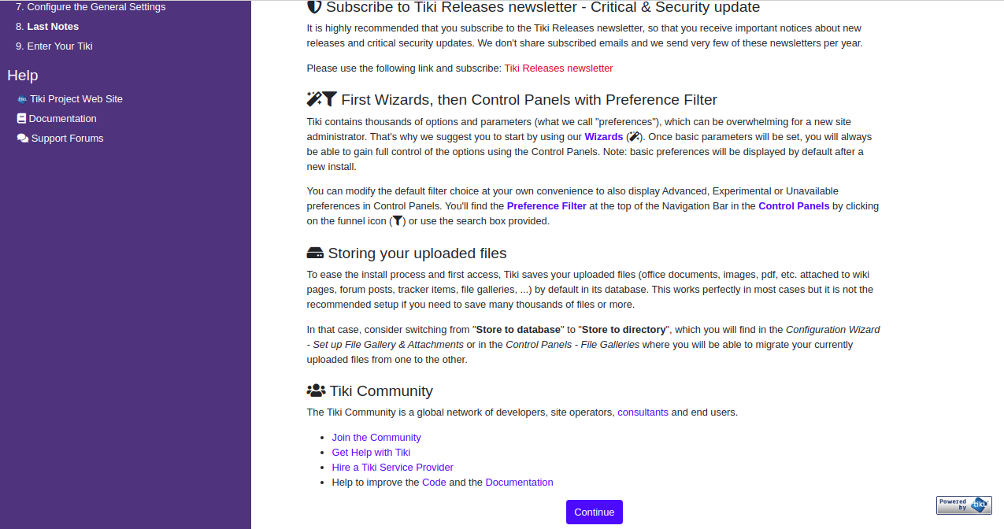
Configure Tiki Wiki and click on the Continue button. You should see the following page:
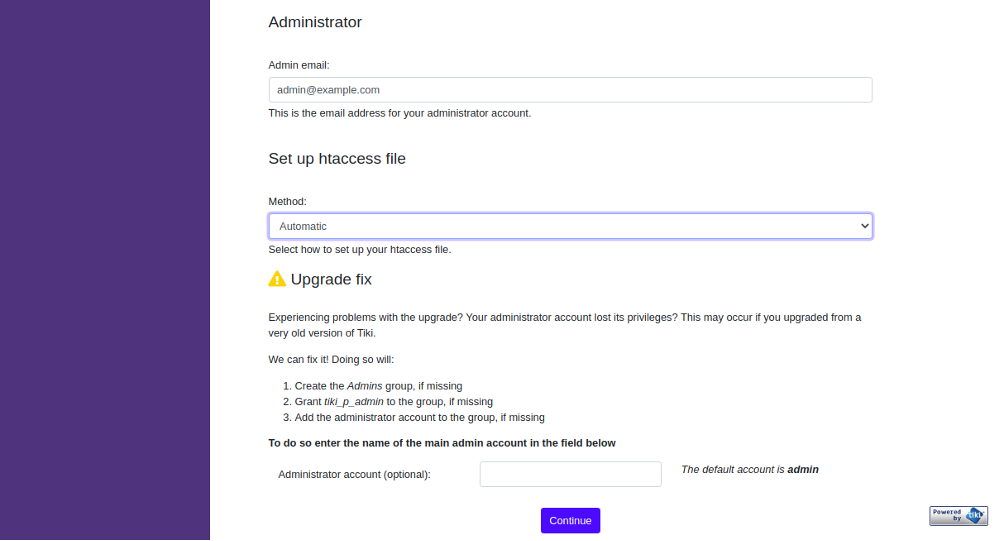
Click on the Continue button. You should see the admin user creation page:
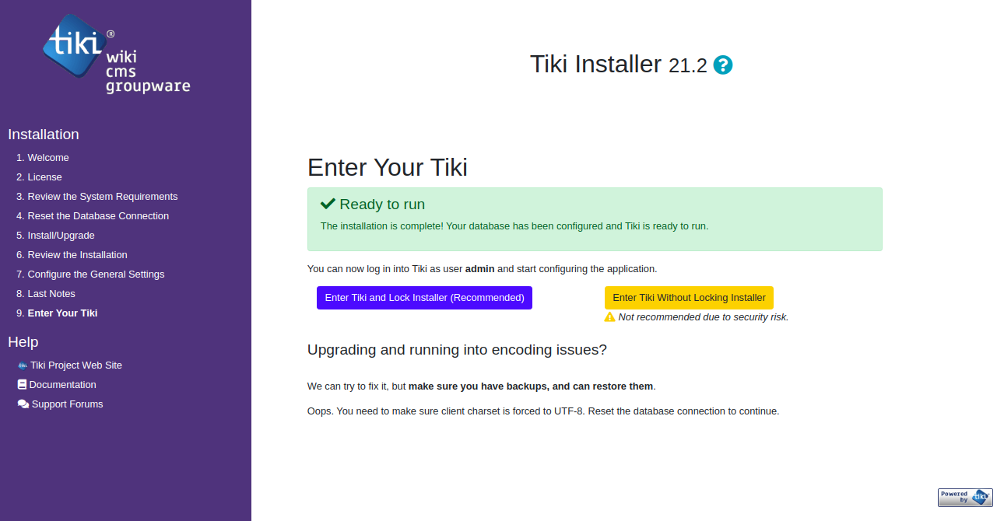
Click on the “Enter Tiki and Lock Installer“. You should see the following page:
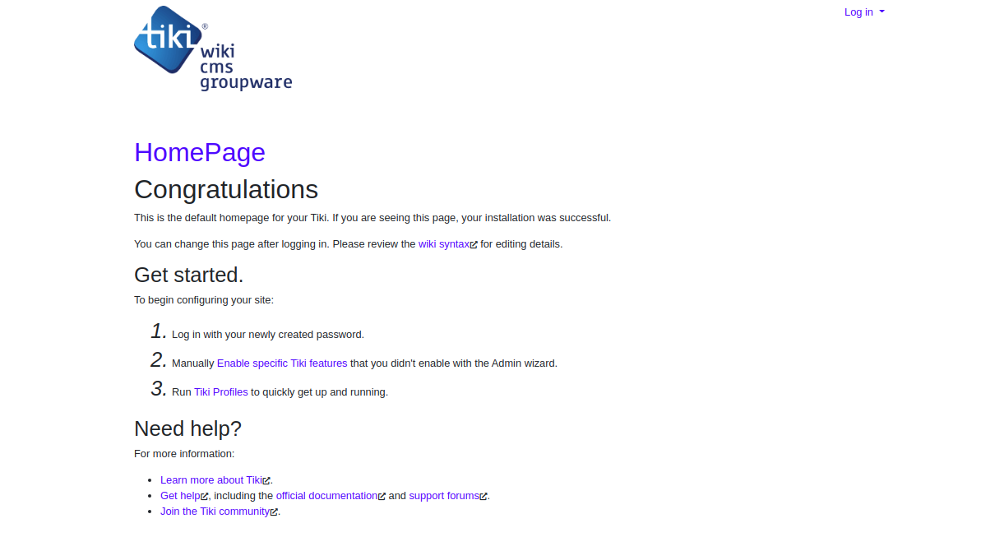
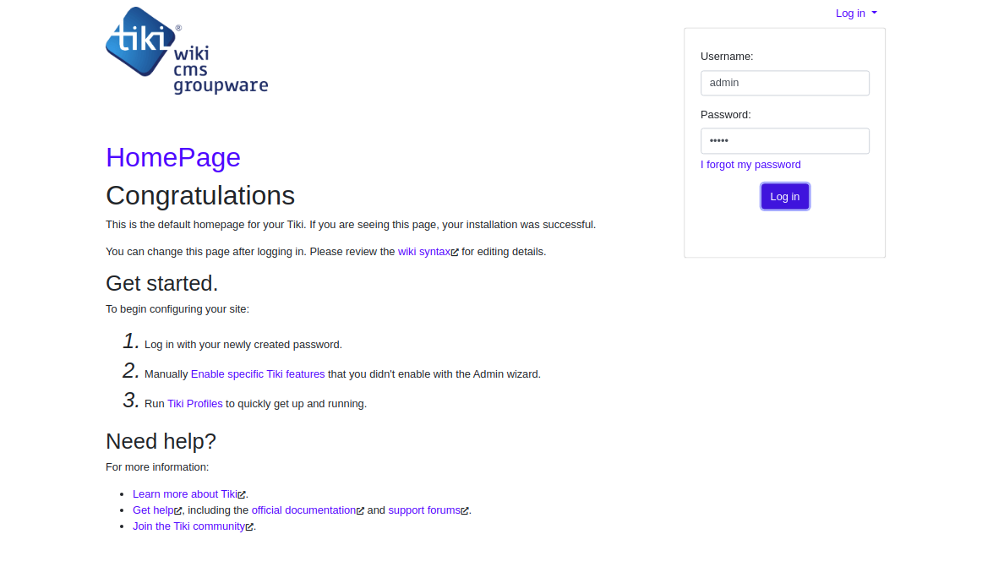
Click on the Log in button. You should see the following page:
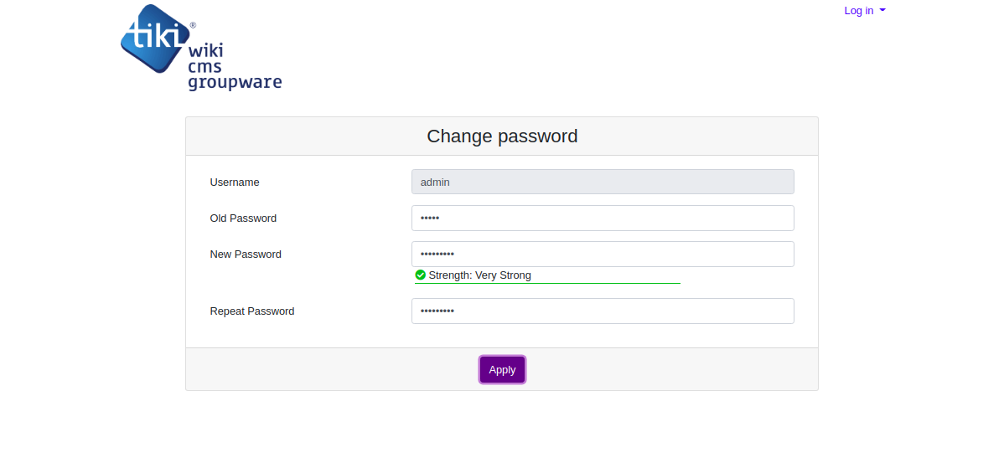
Provide default username as “admin” and password as “admin” and click on the Log In button. You should see the following page:
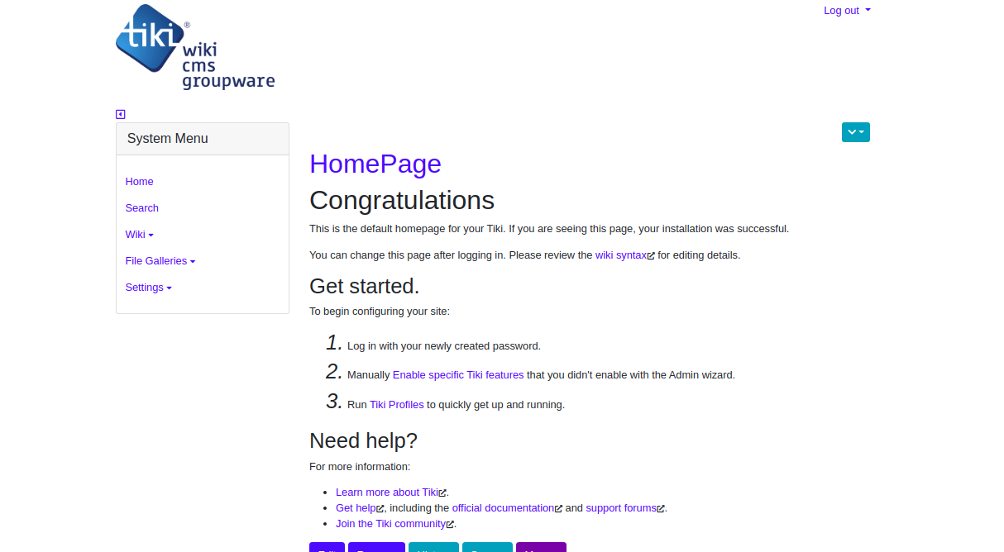
Set your admin password and click on the Apply button. You should see the Tiki Wiki dashboard in the following page:
Conclusion
Congratulations! You have successfully installed Tiki Wiki on Ubuntu 20.04 server. You can now host your own Wiki using Tiki Wiki. For more information, you can visit the Tiki Wiki documentation page. Get started with Tiki Wiki on VPS Hosting from Atlantic.Net today!
