Landing CMS is a free and open-source CMS tool used for managing landing pages. Instead of using a database, it stores all data in a plain text file. The installation process is simple and straightforward. You will only need to install a web server and PHP to start with Landing CMS.
This post will show you how to install Landing CMS on Oracle Linux 10.
Step 1 – Install Apache and PHP
First, install the Apache web server by running the following command:
dnf install httpd -y
Next, enable the PHP 7.4 module with the following command:
dnf module enable php:7.4 -y
Next, install PHP with other required extensions using the following command:
dnf install -y php php-zip php-intl php-mysqlnd php-dom php-simplexml php-xml php-xmlreader php-curl php-exif php-ftp php-gd php-iconv php-json php-mbstring php-posix php-sockets php-tokenizer php-fpm -y
Next, start and enable the Apache and PHP-FPM services with the following command:
systemctl start httpd php-fpm
systemctl enable httpd php-fpm
Step 2 – Download Landing CMS
First, navigate to the Apache web root directory and download the latest version of Landing CMS with the following command:
cd /var/www/html/
wget https://github.com/Elias-Black/Landing-CMS/archive/refs/heads/master.zip
Once the download is complete, unzip the downloaded file with the following command:
unzip master.zip
Next, rename the extracted directory:
mv Landing-CMS-master landing
Next, set proper permissions and ownership to the landing CMS directory:
chmod -R 755 /var/www/html/landing/
chown -R apache:apache /var/www/html/landing/
Step 3 – Configure Apache for Landing CMS
Next, create an Apache virtual host configuration file for Landing CMS with the following command:
nano /etc/httpd/conf.d/landing.conf
Add the following configurations:
<VirtualHost *:80>

ServerName landing.example.com
DocumentRoot /var/www/html/landing

<Directory /var/www/html/landing/>
    Options -Indexes +FollowSymLinks
    AllowOverride All
</Directory>

ErrorLog /var/log/httpd/landing-error.log
CustomLog /var/log/httpd/landing-access.log combined

</VirtualHost>
Save and close the file, then restart the Apache service to apply the changes:
systemctl restart httpd
You can also check the Apache status using the following command:
systemctl status httpd
You should see the following output:
● httpd.service - The Apache HTTP Server
   Loaded: loaded (/usr/lib/systemd/system/httpd.service; disabled; vendor preset: disabled)
  Drop-In: /usr/lib/systemd/system/httpd.service.d
           └─php-fpm.conf
   Active: active (running) since Tue 2025-12-19 05:25:12 EDT; 3s ago
     Docs: man:httpd.service(8)
 Main PID: 32712 (httpd)
   Status: "Started, listening on: port 80"
    Tasks: 213 (limit: 11409)
   Memory: 32.6M
   CGroup: /system.slice/httpd.service
           ├─32712 /usr/sbin/httpd -DFOREGROUND
           ├─32714 /usr/sbin/httpd -DFOREGROUND
           ├─32715 /usr/sbin/httpd -DFOREGROUND
           ├─32716 /usr/sbin/httpd -DFOREGROUND
           └─32717 /usr/sbin/httpd -DFOREGROUND
Step 4 – Access Landing CMS
Now, open your web browser and access the Landing CMS web interface using the URL http://landing.example.com. You should see the following screen:
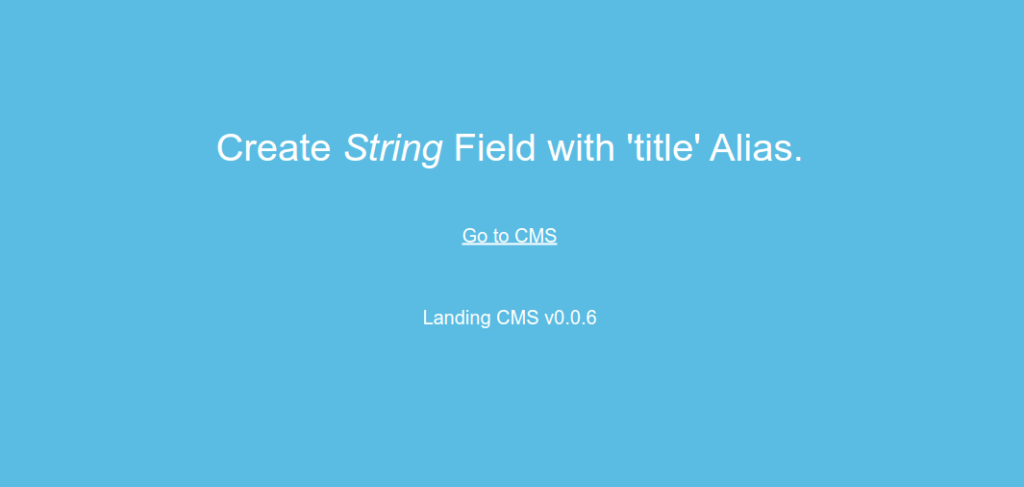
Click on Go to CMS. You should see the set password screen:

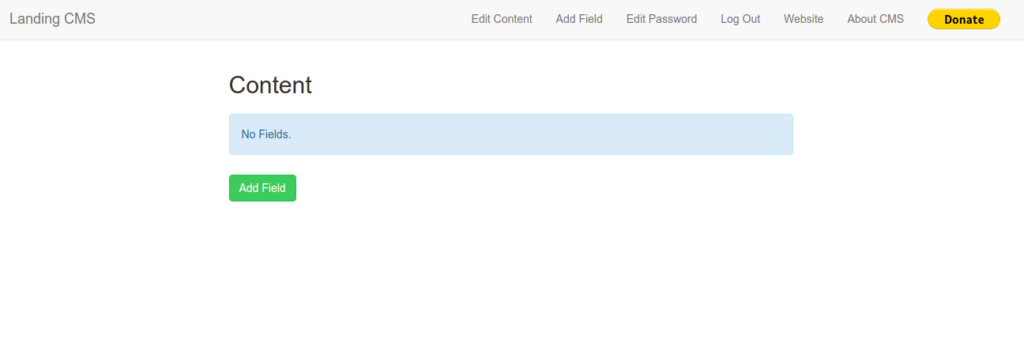
Set your new password and click on the Save button. You should see the Landing CMS dashboard:
Conclusion
In this post, we explained how to install Landing CMS on Oracle Linux 10. You can now use Landing CMS to manage all your Landing pages. For more information, visit the Landing CMS documentation. Try it on dedicated hosting from Atlantic.Net!
* This post is for informational purposes only and does not constitute professional, legal, financial, or technical advice. Each situation is unique and may require guidance from a qualified professional.
Readers should conduct their own due diligence before making any decisions.