Laravel is a free and open-source PHP framework designed for easy website development. It uses various Symfony components to make PHP web development easier. Laravel is a web application framework with expressive, elegant syntax to take the pain out of web development by simplifying some common tasks including authentication, routing, sessions, and caching. Laravel is robust, easy to understand, and provides a set of tools and resources to build modern PHP applications.
In this post, we will show you how to install Laravel PHP Framework on Oracle Linux 10.
Step 1 – Install LEMP Stack
Before starting, you will need to install the LAMP server on your server. First, install Nginx and MariaDB server with the following command:
dnf update -y
dnf install nginx mariadb-server -y
Next, install PHP 8 with all required extensions using the following command:
dnf install php php-fpm php-common php-xml php-mbstring php-json php-zip php-mysqlnd curl unzip -y
Once all the packages are installed, start and enable the Nginx, MariaDB, and PHP-FPM services using the following command:
systemctl start php-fpm nginx mariadb
systemctl enable php-fpm nginx mariadb
Next, you will need to edit the PHP-FPM configuration file and change the user and group from apache to Nginx.
nano /etc/php-fpm.d/www.conf
Change the following lines:
listen.owner = nginx
listen.group = nginx
Save and close the file, then edit the php.ini file:
nano /etc/php.ini
Change the following lines:
date.timezone = UTC
cgi.fix_pathinfo=1
Save and close the file, then restart the PHP-FPM service to apply the changes.
systemctl restart php-fpm
Also Read
How to Install LEMP Server on Oracle Linux 8
Step 2 – Install PHP Composer
Composer is a dependency manager for PHP used to install various PHP dependencies required for your project. You can install it using the following command:
curl -sS https://getcomposer.org/installer | php
You should get the following output:
All settings correct for using Composer
Downloading...

Composer (version 2.9.5) successfully installed to: /root/opencart/composer.phar
Use it: php composer.phar
Next, move the downloaded binary to the system path and set proper permissions:
mv composer.phar /usr/local/bin/composer
chmod +x /usr/local/bin/composer
Now, verify the Composer version with the following command:
composer --version
You should get the following output:
Composer version 2.9.5 2022-04-13 16:43:00
Also Read
How to Install and Use Composer in Linux
Step 3 – Install Laravel Framework on Oracle Linux 10
First, navigate to the Nginx web root directory and download the latest version of Laravel using the following command:
cd /var/www/html/
composer create-project --prefer-dist laravel/laravel laravelsite
You should get the following output:
> @php artisan package:discover --ansi
Discovered Package: laravel/sail
Discovered Package: laravel/sanctum
Discovered Package: laravel/tinker
Discovered Package: nesbot/carbon
Discovered Package: nunomaduro/collision
Discovered Package: spatie/laravel-ignition
Package manifest generated successfully.
78 packages you are using are looking for funding.
Use the `composer fund` command to find out more!
> @php artisan vendor:publish --tag=laravel-assets --ansi --force
No publishable resources for tag [laravel-assets].
Publishing complete.
> @php artisan key:generate --ansi
Application key set successfully.
Next, set proper permissions and ownership to laravel directories:
chown -R nginx:nginx /var/www/html/laravelsite
chown -R nginx:nginx /var/www/html/laravelsite/storage/
chown -R nginx:nginx /var/www/html/laravelsite/bootstrap/cache/
chmod -R 0777 /var/www/html/laravelsite
chmod -R 0777 /var/www/html/laravelsite/storage/
chmod -R 0775 /var/www/html/laravelsite/bootstrap/cache/
Step 4 – Create an Nginx Virtual Host for Laravel
Now, you will need to create an Nginx virtual host configuration file to host Laravel on the internet.
You can create it using the following command:
nano /etc/nginx/conf.d/laravel.conf
Add the following lines:
server {
    listen 80;
    server_name laravel.example.com;

    root /var/www/html/laravelsite/public;
    index index.php index.html;

    charset utf-8;

    # =========================
    # DEBUG LOGGING
    # =========================
    error_log  /var/log/nginx/laravel_debug.log debug;
    access_log /var/log/nginx/laravel_access.log;

    # =========================
    # GZIP
    # =========================
    gzip on;
    gzip_types
        text/plain
        text/css
        application/json
        application/javascript
        text/javascript
        application/x-javascript
        image/svg+xml
        application/xml
        text/xml;

    # =========================
    # LARAVEL ROUTING
    # =========================
    location / {
        try_files $uri $uri/ /index.php?$query_string;
    }

    # =========================
    # PHP-FPM
    # =========================
    location ~ \.php$ {
        include fastcgi_params;

        fastcgi_pass unix:/run/php-fpm/www.sock;
        fastcgi_index index.php;

        fastcgi_param SCRIPT_FILENAME $realpath_root$fastcgi_script_name;
        fastcgi_param DOCUMENT_ROOT $realpath_root;

        fastcgi_buffers 16 16k;
        fastcgi_buffer_size 32k;
    }

    # =========================
    # SECURITY
    # =========================
    location ~ /\.(?!well-known).* {
        deny all;
    }
}
Save and close the file, then edit the Nginx configuration file:
nano /etc/nginx/nginx.conf
Add the following line below http{:
server_names_hash_bucket_size 64;
Save and close the file, then verify Nginx for any syntax errors using the following command:
nginx -t
You should get the following output:
nginx: the configuration file /etc/nginx/nginx.conf syntax is ok
nginx: configuration file /etc/nginx/nginx.conf test is successful
Finally, restart both Nginx and PHP-FPM services to apply the changes:
systemctl restart php-fpm
systemctl restart nginx
You can also verify the Nginx status using the following command:
systemctl status nginx
You should see the following output:
● nginx.service - The nginx HTTP and reverse proxy server
   Loaded: loaded (/usr/lib/systemd/system/nginx.service; disabled; vendor preset: disabled)
  Drop-In: /usr/lib/systemd/system/nginx.service.d
           └─php-fpm.conf
   Active: active (running) since Wed 2025-12-31 23:07:14 EDT; 6s ago
  Process: 8451 ExecStart=/usr/sbin/nginx (code=exited, status=0/SUCCESS)
  Process: 8449 ExecStartPre=/usr/sbin/nginx -t (code=exited, status=0/SUCCESS)
  Process: 8445 ExecStartPre=/usr/bin/rm -f /run/nginx.pid (code=exited, status=0/SUCCESS)
 Main PID: 8458 (nginx)
    Tasks: 3 (limit: 23694)
   Memory: 5.0M
   CGroup: /system.slice/nginx.service
           ├─8458 nginx: master process /usr/sbin/nginx
           ├─8459 nginx: worker process
           └─8460 nginx: worker process
Step 5 – Configure Firewall
If firewalld is installed and running on your server, then you will need to allow HTTP and HTTPS service through the firewall. You can allow both services using the following command:
firewall-cmd --zone=public --permanent --add-service=http
firewall-cmd --zone=public --permanent --add-service=https
Next, reload the firewalld to apply the changes:
firewall-cmd --reload
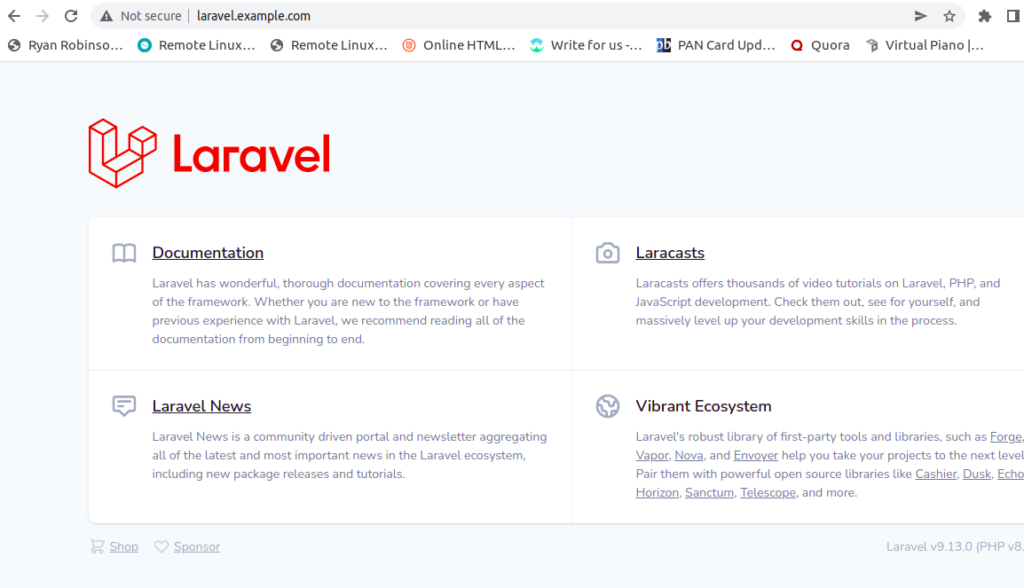
Step 6 – Access Laravel Web Interface
You can now access the Laravel dashboard using the URL http://laravel.example.com. You will be redirected to the Laravel default screen:
Conclusion
In this post, we explained how to install Laravel with Nginx on Oracle Linux 10. You can now use the Laravel framework to create high-performance and modern PHP web applications. Get started on dedicated hosting from Atlantic.Net.
* This post is for informational purposes only and does not constitute professional, legal, financial, or technical advice. Each situation is unique and may require guidance from a qualified professional.
Readers should conduct their own due diligence before making any decisions.