InvokeAI is an advanced image generation toolkit built on top of Stable Diffusion, a powerful text-to-image deep learning model. It allows you to generate highly realistic or artistic images simply by describing them in natural language. Unlike basic tools, InvokeAI provides a web-based user interface (WebUI), model manager, and GPU acceleration support, making it more flexible and efficient for creators, researchers, and developers.
In this tutorial, you’ll learn how to install and use InvokeAI on a Ubuntu 24.04 GPU server.
Prerequisites
- An Ubuntu 24.04 server with an NVIDIA GPU.
- A non-root user or a user with sudo privileges.
- NVIDIA drivers are installed on your server.
Step 1 – Install Required Packages
Before installing InvokeAI, you need to prepare your Ubuntu 24.04 GPU server with the required tools and dependencies. This ensures that your installation runs smoothly without conflicts.
1. Update the system packages.
apt update -y2. Install essential tools.
apt install git python3-venv python3-pip -yStep 2 – Cloning the InvokeAI Repository
Now that your environment is ready, the next step is to download the InvokeAI source code. The official project is hosted on GitHub, so you can easily clone it to your server.
1. Run the following command to clone InvokeAI.
git clone https://github.com/invoke-ai/InvokeAI.gitThis will create a new folder called InvokeAI in your current directory.
2. Switch to the newly created directory.
cd InvokeAIAt this point, you have the latest InvokeAI source code on your system. Next, we’ll create a Python virtual environment inside this directory to manage dependencies.
Step 3 – Setting Up a Python Virtual Environment
Using a Python virtual environment keeps InvokeAI’s dependencies isolated from your system’s global Python packages. This helps avoid version conflicts and makes it easier to manage upgrades or removals later.
1. Run the following command inside the InvokeAI directory.
python3 -m venv venvThis creates a new folder named venv that will store all Python dependencies for InvokeAI.
2. Activate the virtual environment.
source venv/bin/activateNow that the virtual environment is ready, we can move forward with installing InvokeAI and its dependencies.
Step 4 – Installing InvokeAI and Dependencies
With the virtual environment active, the next step is to install InvokeAI and all required Python packages.
1. First, update pip, setuptools, and wheel to their latest versions for smoother installations.
pip install --upgrade pip setuptools wheel2. Now install InvokeAI directly using pip.
pip install invokeaiThis will download and install the latest version of InvokeAI along with its dependencies. Since you are inside a virtual environment, these packages will not affect your global Python setup.
Step 5 – Launching the Web Interface
After installing InvokeAI, you can start the web interface (WebUI), which provides an easy-to-use dashboard for generating images.
1. Start the InvokeAI web.
invokeai-web --root ~/invokeai2. Since your InvokeAI web interface is running on the server’s local network (port 9090), you need to forward this port to your local machine so you can access it in a browser.
On your local machine, run the following command (replace your-server-ip with your server’s IP).
ssh -L 9090:127.0.0.1:9090 root@your-server-ipStep 6 – Accessing the Web UI
With SSH port forwarding set up, you can now open the InvokeAI interface in your local browser.
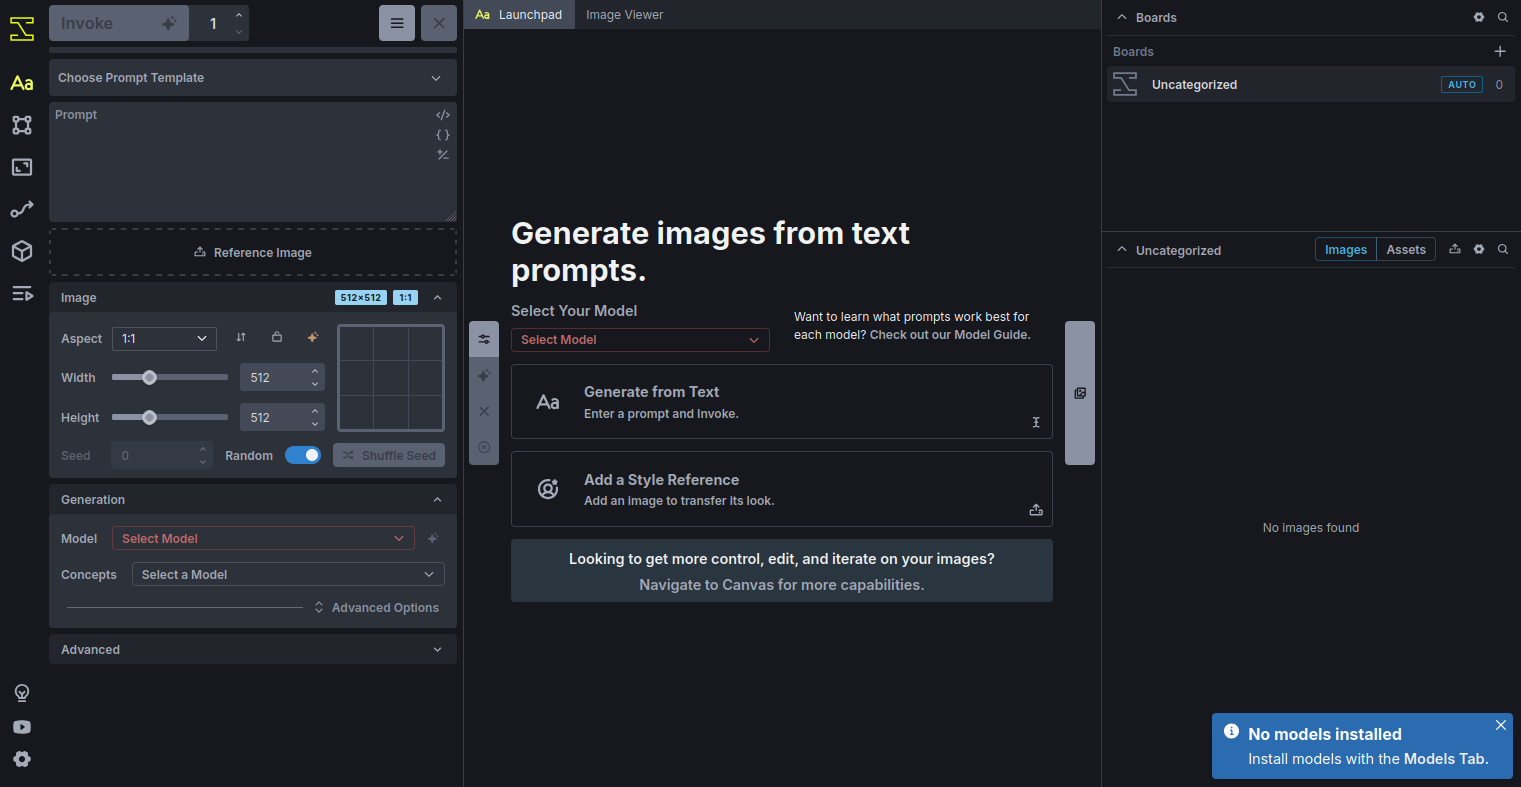
1. On your local computer, open your preferred browser and go to http://localhost:9090. You should see the InvokeAI WebUI dashboard. From here, you can manage models, configure settings, and start generating images.
2. Inside the InvokeAI WebUI, click on Model Manager from the sidebar. Click Add Model. In the URL or Local Path tab, paste the following model URL from Hugging Face:
https://huggingface.co/runwayml/stable-diffusion-v1-5/resolve/main/v1-5-pruned-emaonly.safetensors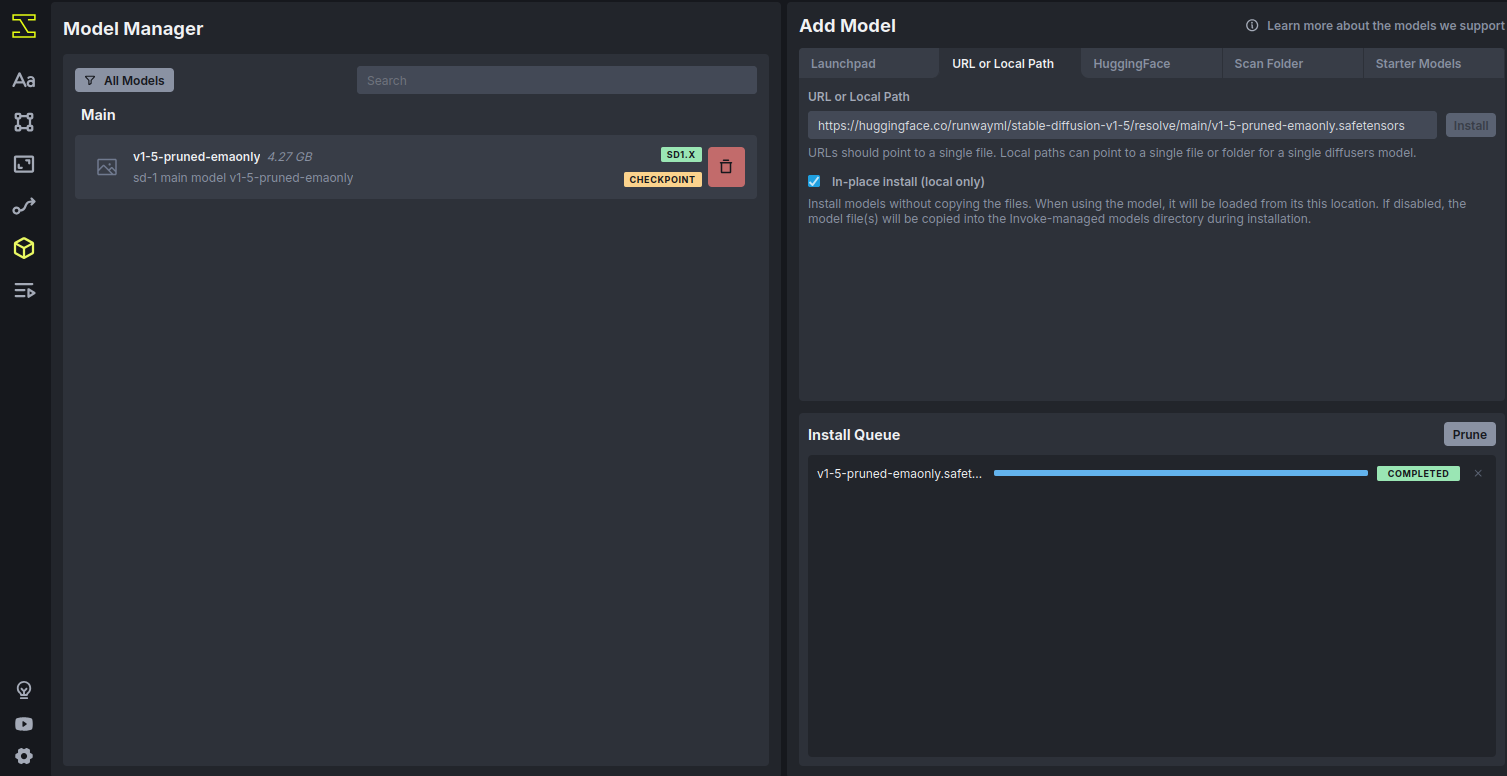
3. Click Install.
4. After installation completes, the model will appear in your Available Models list. You can now select it for image generation.
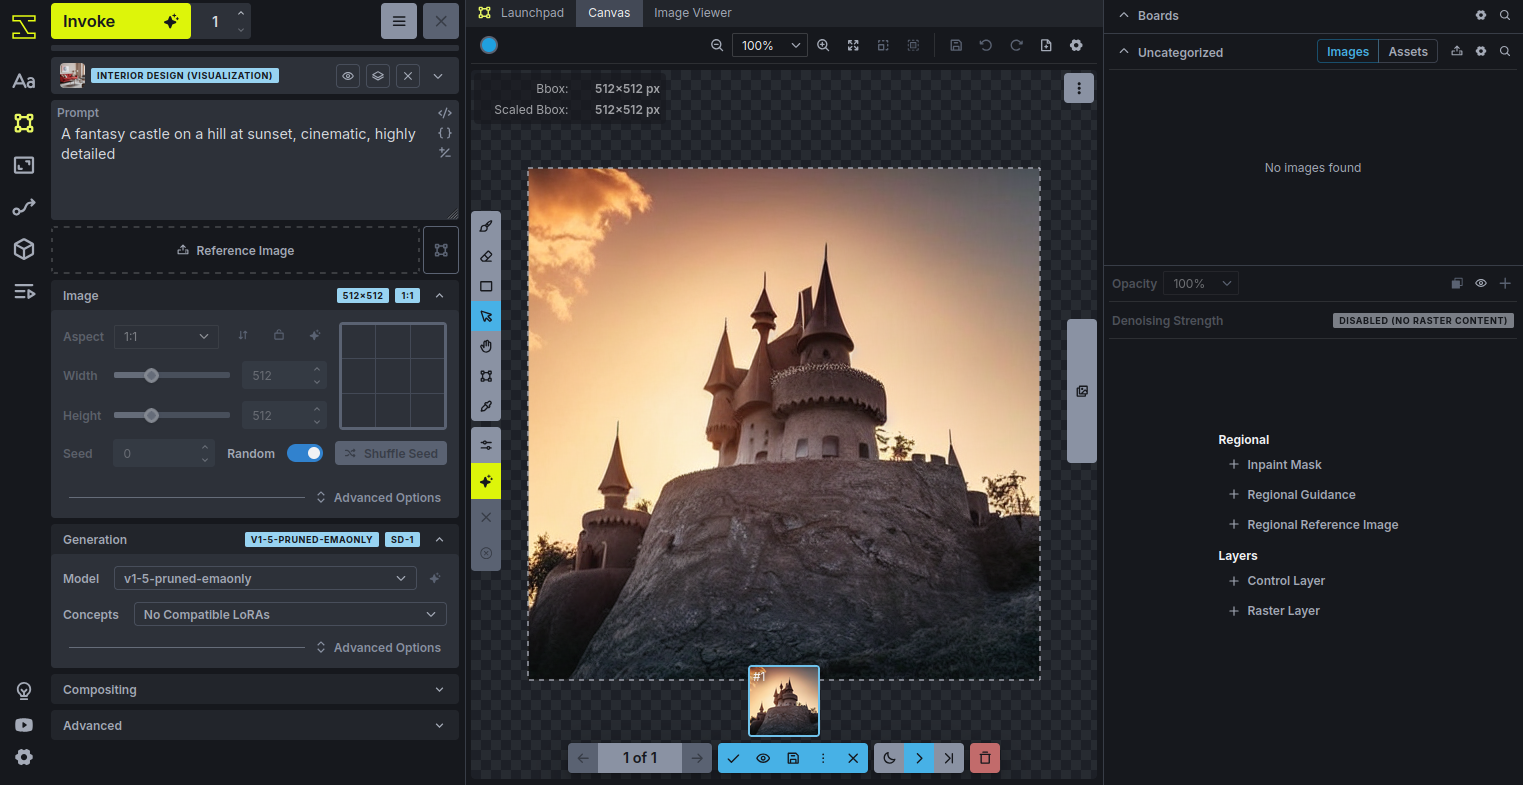
5. From the left sidebar in the WebUI, navigate back to the Main Dashboard.
6. In the prompt box, type the description “A fantasy castle on a hill at sunset, cinematic, highly detailed” and click the Invoke button. InvokeAI will process your text prompt using the installed model. Within a short time, you should see a beautiful AI-generated image appear in the results panel.
Conclusion
You’ve successfully installed and used InvokeAI on an Ubuntu 24.04 GPU server. In this guide, you prepared the environment, set up a virtual Python workspace, installed InvokeAI, launched the web interface, forwarded ports via SSH, added a Stable Diffusion model, and generated your first AI image.
InvokeAI makes text-to-image generation fast, flexible, and GPU-accelerated. From here, you can explore more models on Hugging Face, try advanced settings, or refine your prompts to unlock endless creative possibilities.
* This post is for informational purposes only and does not constitute professional, legal, financial, or technical advice. Each situation is unique and may require guidance from a qualified professional.
Readers should conduct their own due diligence before making any decisions.