Table of Contents
- Step 1: Update the System
- Step 2: Install Apache Web Server
- Step 3: Install MySQL or MariaDB
- Step 4: Create a WordPress Database and User
- Step 5: Install PHP and Required Extensions
- Step 6: Download and Extract WordPress
- Step 7: Configure Apache Virtual Host
- Step 8: Complete WordPress Installation via Browser
- Conclusion
WordPress is one of the most popular content management systems in the world. You can use it to build blogs, business websites, portfolios, and even full e-commerce stores. It is open source, easy to manage, and supported by a large ecosystem of themes and plugins.
Apache is a widely used and stable web server that works very well with WordPress. It offers strong community support, simple configuration, and excellent compatibility with PHP-based applications.
Ubuntu is a long-term support (LTS) release. It provides stability, security updates, and modern software packages, making it a solid choice for hosting WordPress.
In this guide, you will install WordPress with Apache on Ubuntu 24.04 in step by step instructions. This procedure is tested on Ubuntu 20.04, 22.04 and 24.04.
Step 1: Update the System
Before installing any packages, update your system to ensure you are using the latest package lists and security patches.
First, update the APT package index:
apt update -y
Next, upgrade the installed packages:
apt upgrade -y
If the upgrade installs a new kernel or critical system components, reboot the server:
reboot
After the system comes back online, log in again and confirm that the update process completed successfully. Your Ubuntu 24.04 system is now ready for the next steps in the WordPress installation.
Step 2: Install Apache Web Server
Apache is the web server that will deliver your WordPress site to visitors. Ubuntu 24.04 includes Apache in its default package repository, so installation is quick.
Start by installing Apache.
apt install apache2 -y
Once the installation completes, start the Apache service and enable it to start at reboot:
systemctl start apache2
systemctl enable apache2
Now, verify that Apache is running:
systemctl status apache2
To confirm Apache is working correctly, open a web browser and visit your server’s IP address:
http://your_server_ip
If Apache is running properly, you will see the default Apache2 Ubuntu Default Page. This confirms that the web server is installed and ready for the next step.
Step 3: Install MySQL or MariaDB
WordPress needs a database to store posts, pages, users, and settings. You can use either MySQL or MariaDB. Ubuntu 24.04 ships with MariaDB by default, which works perfectly with WordPress.
Start by installing the database server.
apt install mariadb-server mariadb-client -y
After installation, start and enable the database service.
systemctl start mariadb
systemctl enable mariadb
Check the service status to confirm it is running.
systemctl status mariadb
Next, secure the database installation. This step removes insecure defaults and sets basic protections.
mysql_secure_installation
During the setup:
Press Enter to keep the current root password (if prompted)
- Choose Y to remove anonymous users
- Choose Y to disallow remote root login
- Choose Y to remove the test database
- Choose Y to reload privilege tables
Once this finishes, your database server is installed and secured. You are now ready to create a database and user for WordPress.
Step 4: Create a WordPress Database and User
Now you will create a dedicated database and user for WordPress. This keeps your setup clean and improves security.
First, log in to the MariaDB shell as the root user.
mariadb
Create a new database for WordPress.
CREATE DATABASE wordpress_db DEFAULT CHARACTER SET utf8mb4 COLLATE utf8mb4_unicode_ci;
Create a database user and set a strong password.
CREATE USER 'wp_user'@'localhost' IDENTIFIED BY 'strong_password_here';
Grant all required privileges to the WordPress user.
GRANT ALL PRIVILEGES ON wordpress_db.* TO 'wp_user'@'localhost';
Apply the changes.
FLUSH PRIVILEGES;
Exit the database shell.
EXIT;
Step 5: Install PHP and Required Extensions
WordPress is built with PHP, so you need to install PHP along with the extensions it relies on. Ubuntu 24.04 includes a modern PHP version that works well with WordPress.
Start by installing PHP and the required extensions.
apt install php php-mysql php-curl php-gd php-mbstring php-xml php-zip php-intl -y
Once the installation completes, verify the PHP version.
php -v
You should see the installed PHP version displayed in the output.
PHP 8.3.6 (cli) (built: Jul 14 2025 18:30:55) (NTS)
Copyright (c) The PHP Group
Zend Engine v4.3.6, Copyright (c) Zend Technologies
    with Zend OPcache v8.3.6, Copyright (c), by Zend Technologies
Next, restart Apache so it can load PHP properly.
systemctl restart apache2
Step 6: Download and Extract WordPress
Now you will download the latest WordPress package and place it in the Apache web directory.
Download the latest WordPress archive.
wget https://wordpress.org/latest.tar.gz
Extract the downloaded file.
tar -xvzf latest.tar.gz
Move the WordPress files to the Apache document root.
mv wordpress /var/www/html/
Set the correct permissions and ownership so Apache can access the files.
chown -R www-data:www-data /var/www/html/wordpress
chmod -R 775 /var/www/html/wordpress
Step 7: Configure Apache Virtual Host
An Apache virtual host lets you host your WordPress site with its own domain and settings. This keeps your configuration clean and scalable.
First, create a new virtual host file.
nano /etc/apache2/sites-available/wordpress.conf
Add the following configuration. Replace your_domain.com with your actual domain name or server IP.
<VirtualHost *:80>
    ServerName your_domain.com
    ServerAlias www.your_domain.com
    DocumentRoot /var/www/html/wordpress

    <Directory /var/www/html/wordpress>
        AllowOverride All
        Require all granted
    </Directory>

    ErrorLog ${APACHE_LOG_DIR}/wordpress_error.log
    CustomLog ${APACHE_LOG_DIR}/wordpress_access.log combined
</VirtualHost>
Save the file and exit the editor. Disable the default Apache site and enable the new WordPress virtual host.
a2dissite 000-default.conf
a2ensite wordpress.conf
Check the Apache configuration for errors.
apachectl configtest
If the output shows Syntax OK, reload Apache.
systemctl reload apache2
Apache is now configured to serve your WordPress site. In the next step, you will configure WordPress itself and connect it to the database.
Step 8: Complete WordPress Installation via Browser
At this point, WordPress is fully configured on the server. You will now finish the installation using the web-based installer.
Open a web browser and visit your domain name or server IP address.
http://your_domain.com
You will see the WordPress language selection screen.
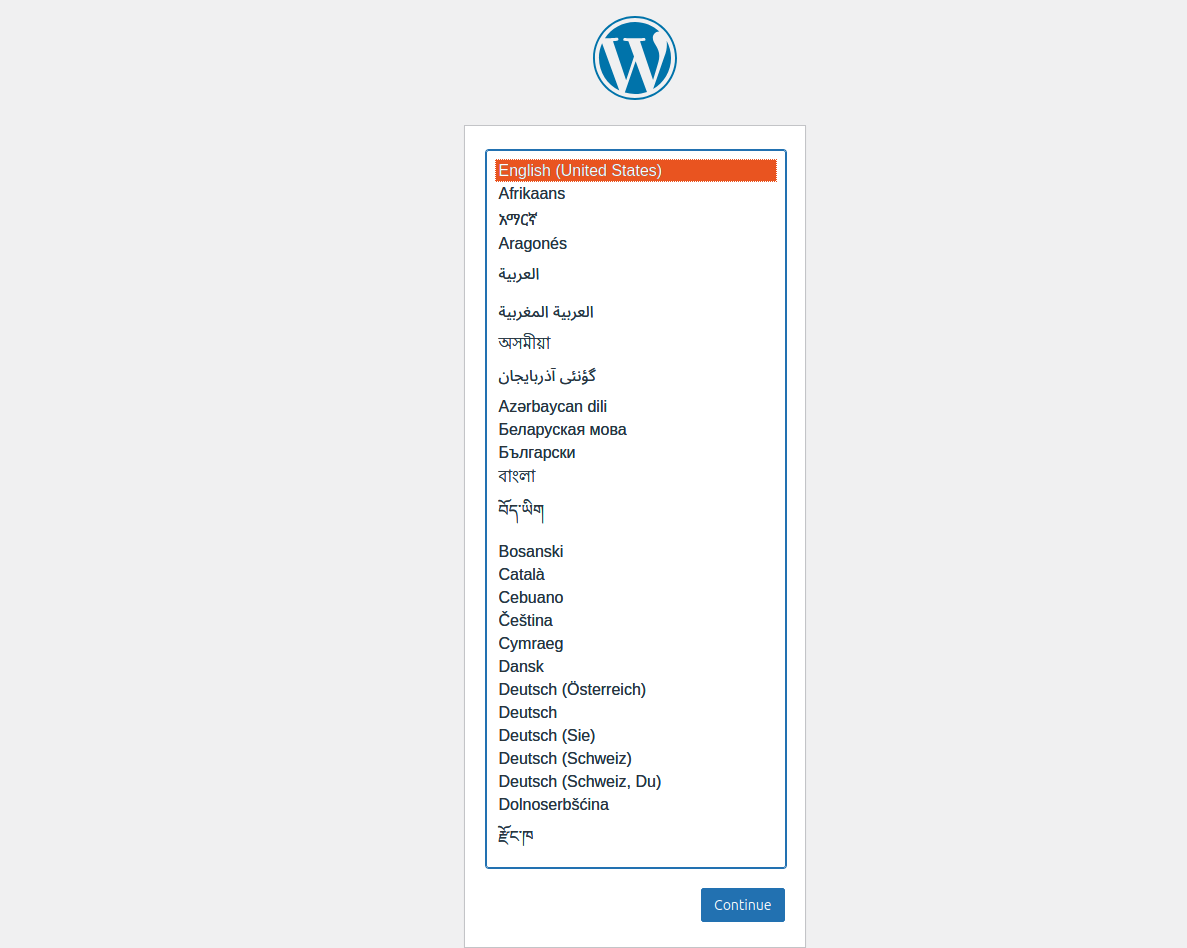
Choose your preferred language and click Continue. You will see the WordPress welcome page.
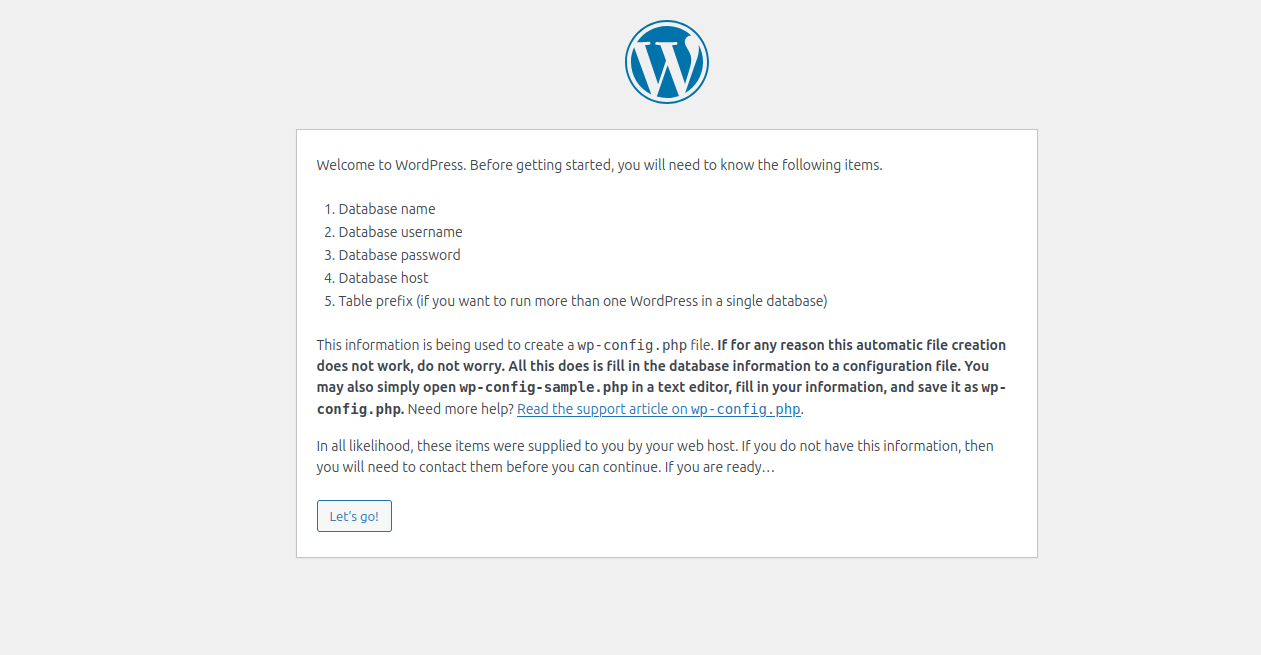
Click Let’s Go!. You will see the WordPress database information screen.
 Provide your database information and click Submit. You will see the WordPress site information screen.
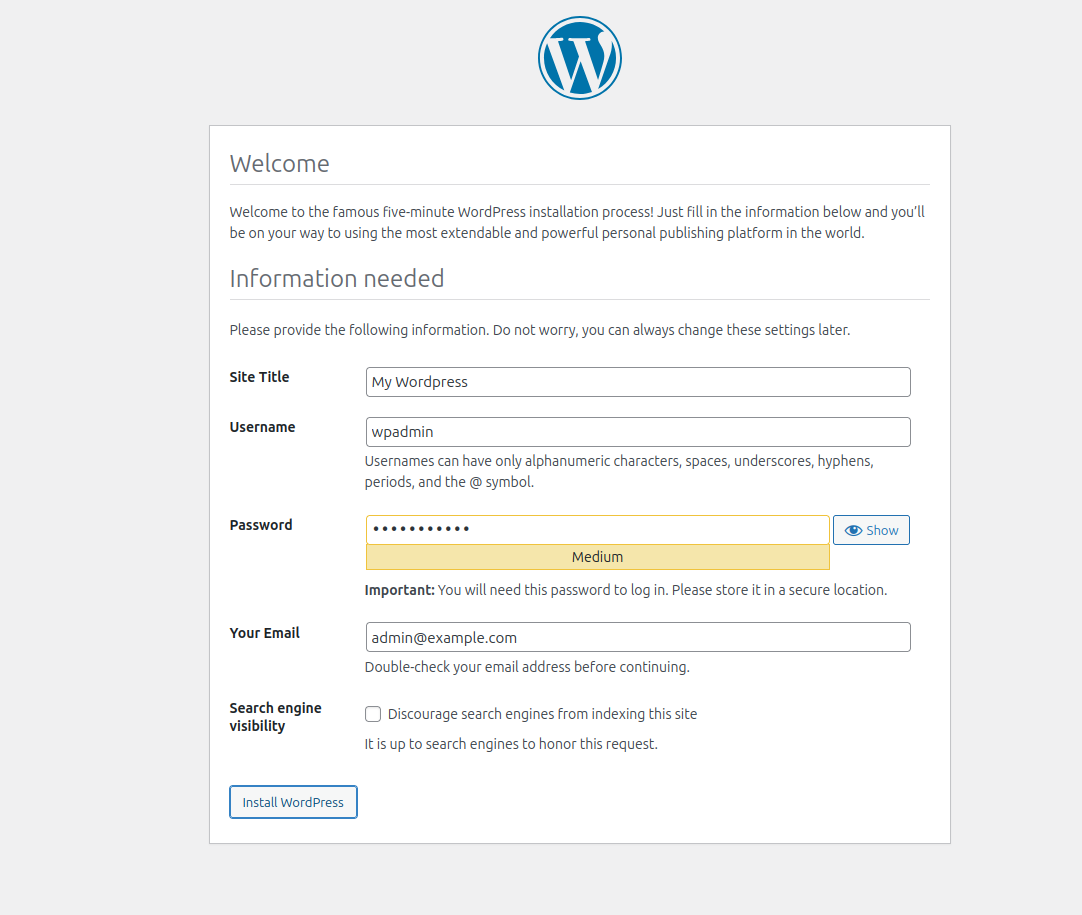
Provide your WordPress site name, admin username, password and click Install WordPress. You will see the success screen.
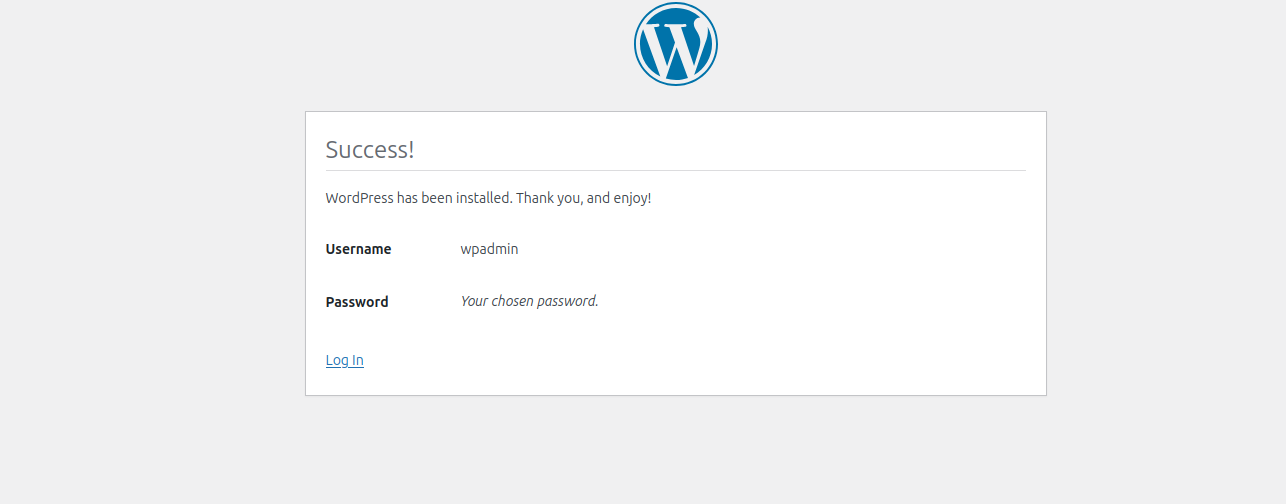
Click Log in. You will see the WordPress login screen.
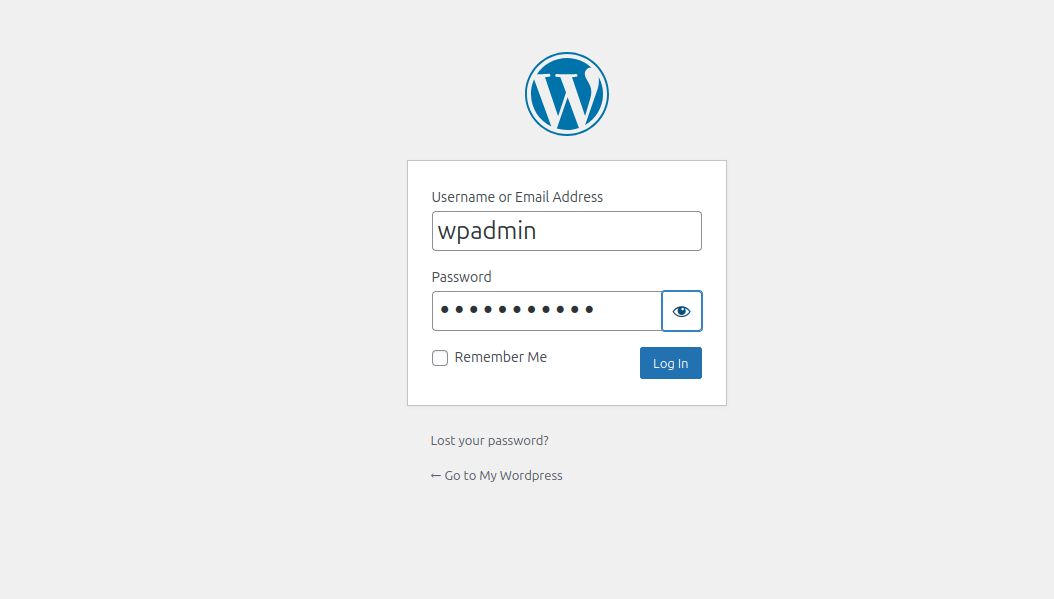
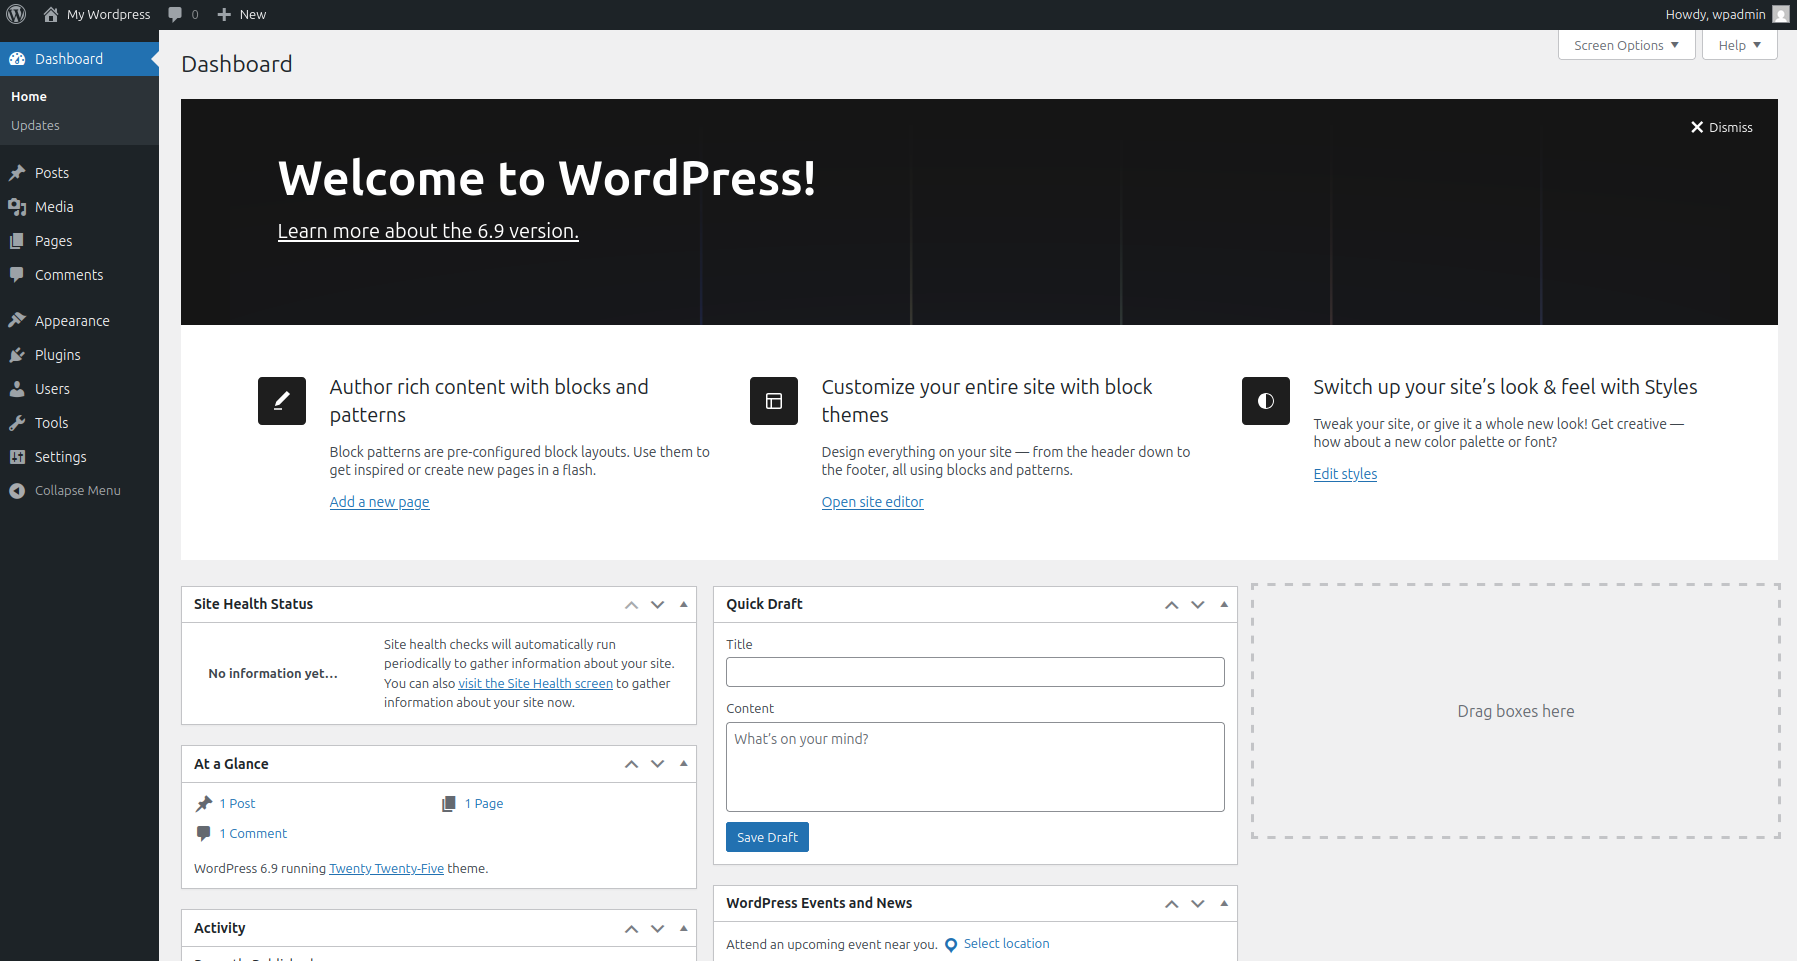
Provide the WordPress admin username, password, and click Log in. You will see the WordPress admin dashboard.
Conclusion
You have successfully installed WordPress with Apache on Ubuntu 24.04. Your server is now running a full LAMP-based setup with Apache as the web server, PHP handling dynamic content, and MariaDB storing WordPress data. This setup gives you a stable and widely supported foundation for running a WordPress website.
From here, log in to the WordPress dashboard and start customizing your site. Choose a theme that fits your goals, install only the plugins you truly need, and configure permalinks for clean URLs. Regularly update WordPress core files, themes, and plugins to keep your site secure and running smoothly.
* This post is for informational purposes only and does not constitute professional, legal, financial, or technical advice. Each situation is unique and may require guidance from a qualified professional.
Readers should conduct their own due diligence before making any decisions.