Introduction
This tutorial will show you how to install WordPress on the Vesta Control Panel. Vesta Control Panel is a free open source control panel that is an excellent alternative to cPanel. WordPress is a content management system that is also free and open source.
Prerequisites
A server with Vesta Control Panel and website. You can follow this guide to install Vesta, and you can follow this guide to make a website.
Installing WordPress on Vesta Control Panel
First, we need to make a Database for WordPress to use. Log into your Vesta dashboard and click DB like the picture below:
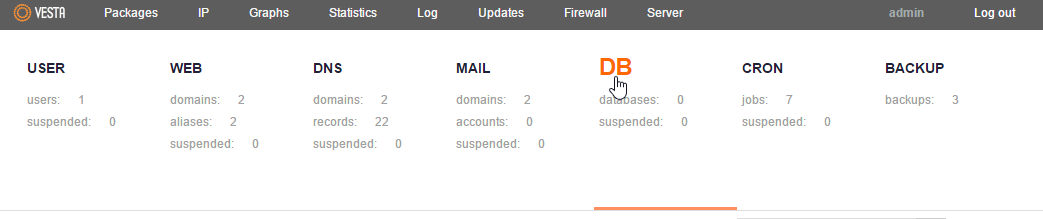
Click DB on the top part of the Vesta dashboard.
Creating a MySQL database for WordPress
After clicking DB, we can now create a database by clicking the green plus like the picture below.
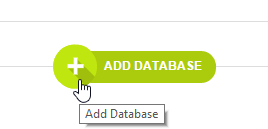
Click Green Plus to add a new database.
We now need to add the database name, user, and password. You can use anything you like, but save the information as we will need it later.
NOTE: As Vesta explains, the prefix of your user is added to the beginning of your database name and user.
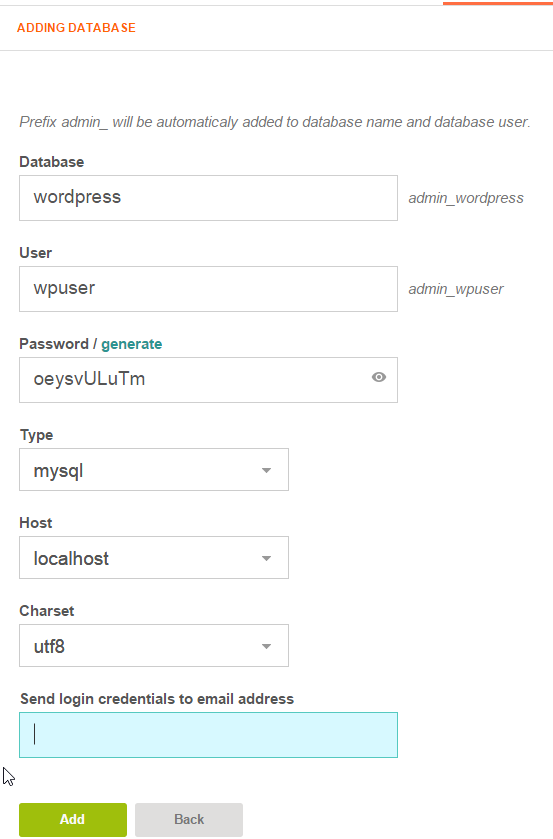
Add your database name, user, and password. Once done, click add database.
Getting the WordPress Installation
Get the latest WordPress installation by downloading from the WordPress site.
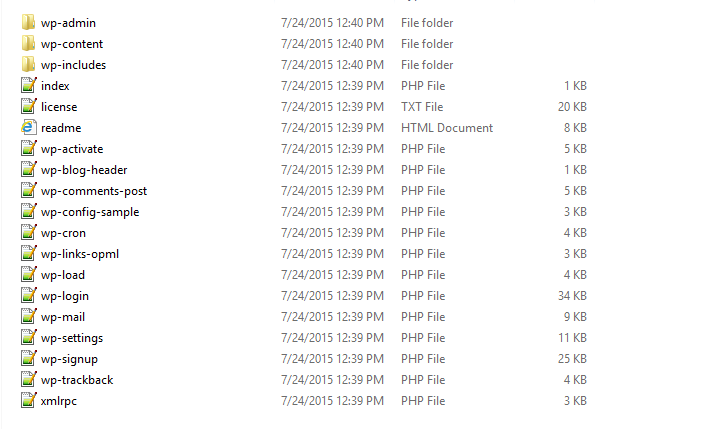
Once downloaded, unzip the files and find the file that says wp-config-sample.
 +
+
An example of the WordPress files after extraction
We need to rename the wp-confg-sample: right-click it and click Rename.
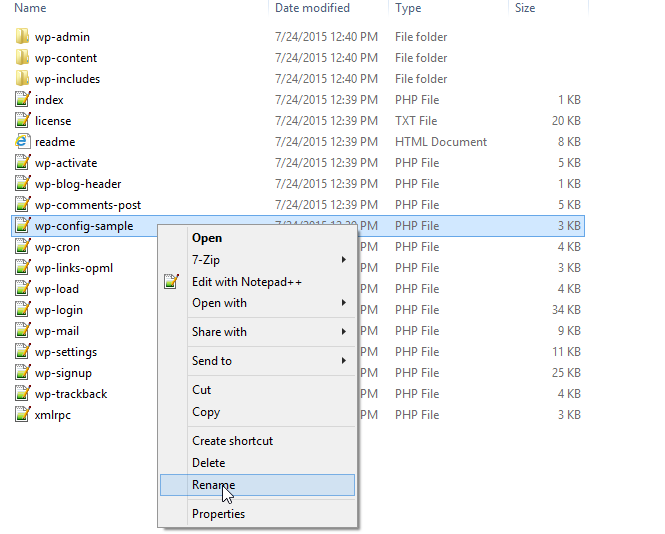
Click rename on the file name wp-config-sample
We need to rename wp-confg-sample to wp-confg.
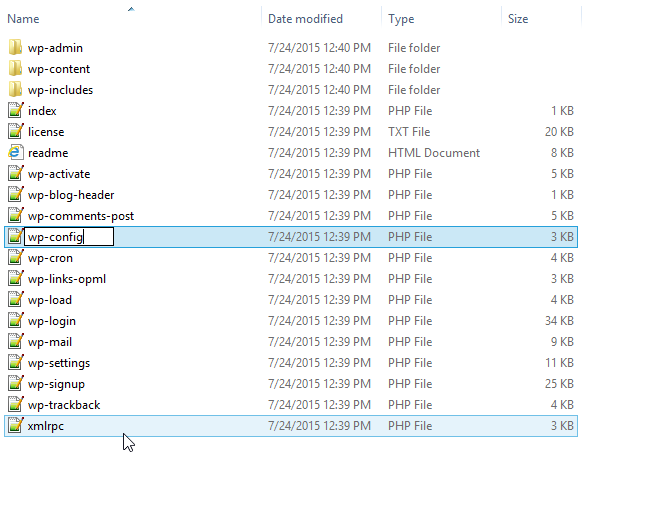
Rename the file to wp-config
Once renamed, we need to edit wp-config. You can use any text editor that you would like. In this tutorial, we are using notepad++. The following needs to be updated with the information you used when setting up the database.
define('DB_NAME', 'admin_wordpress');

/** MySQL database username */
define('DB_USER', 'admin_wpuser');

/** MySQL database password */
define('DB_PASSWORD', 'oeysvULuTm');
Once done, it should look similar to the image below:
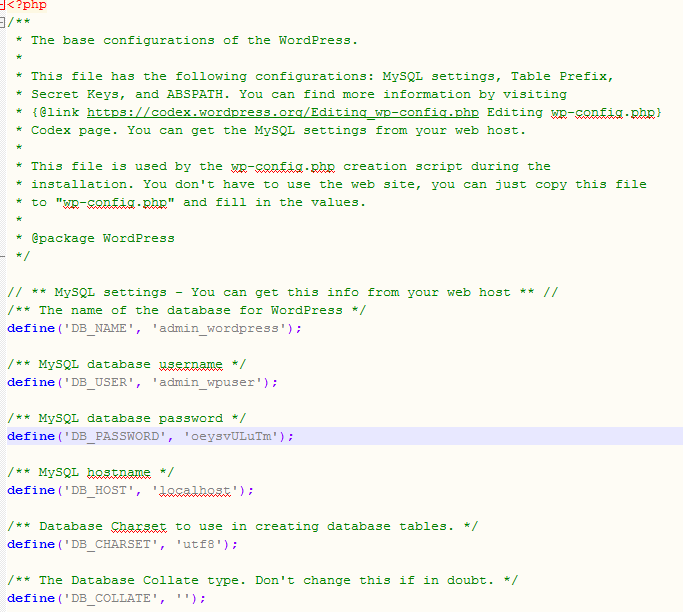
An example of the wp-config file
Using FTP to move WordPress to your site
Log into your FTP client of choice (in this case, FileZilla) and navigate to your WordPress folder on your local computer and the public_html folder on your server.
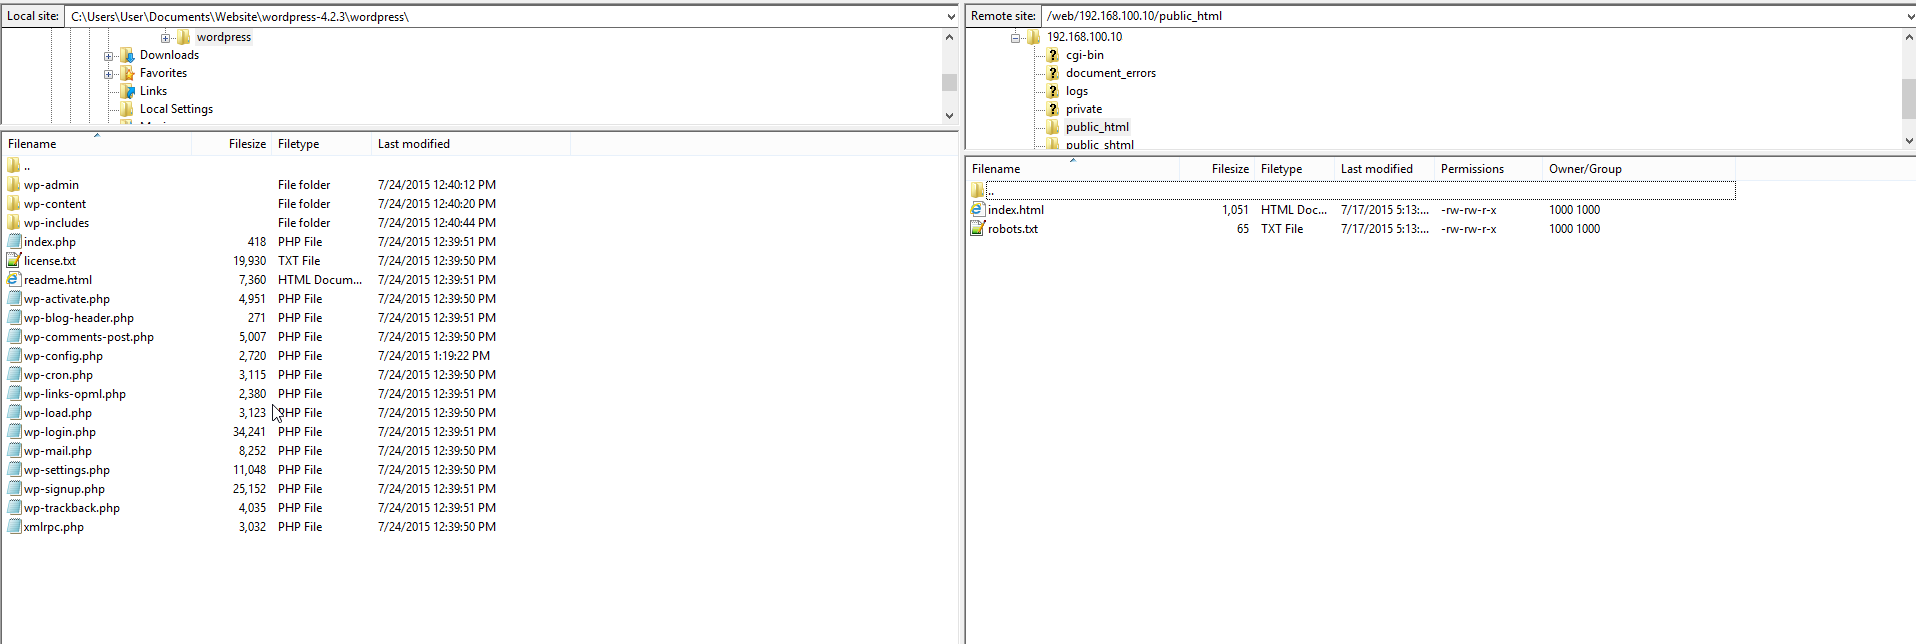
FTP to your site and move to the public_html directory
Move all the WordPress files from your local computer to your server.
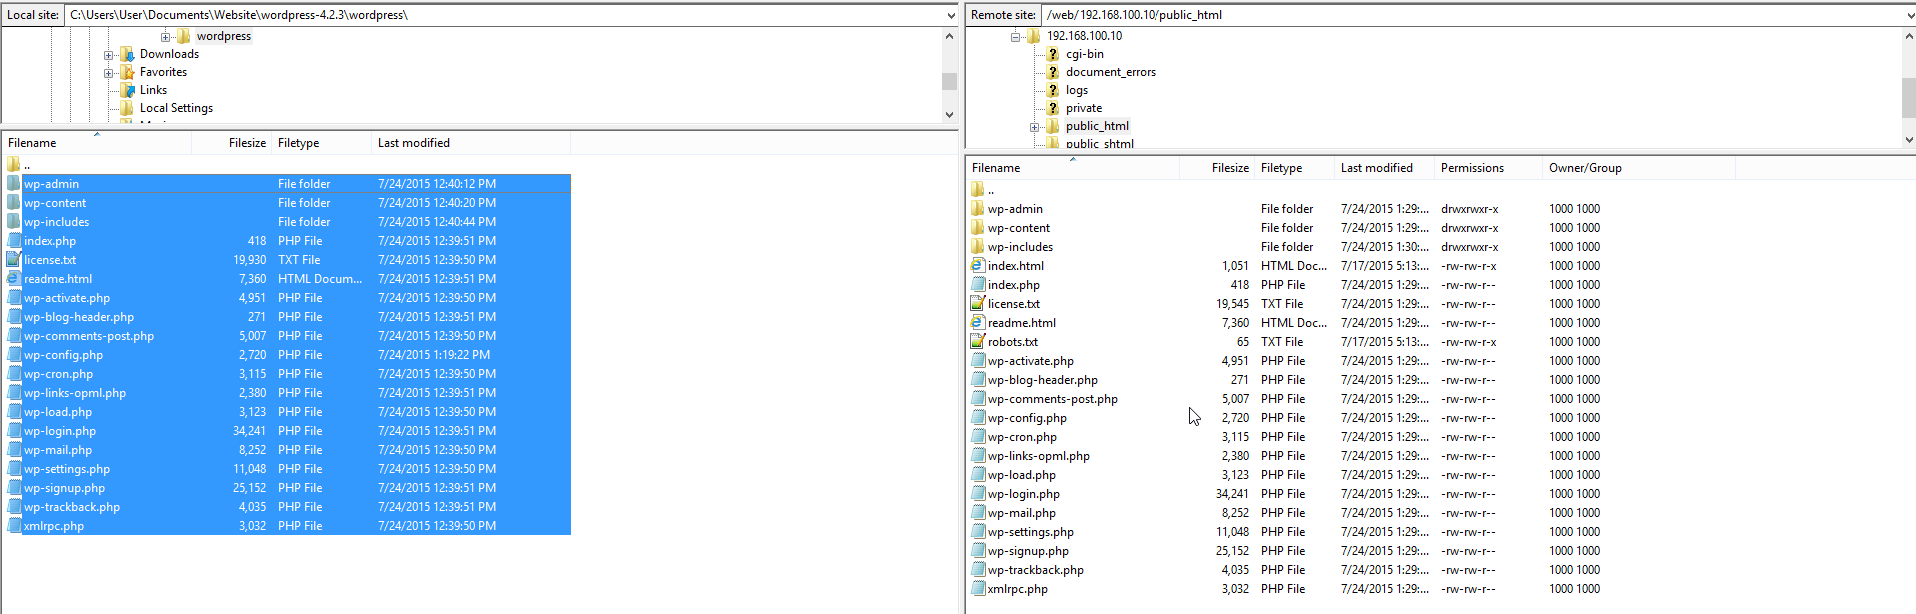
Move all of your WordPress files to the public_html file.
Once all the files transfer, you can go to your domain name or IP address in your browser, and you should get the WordPress language page like the one below.
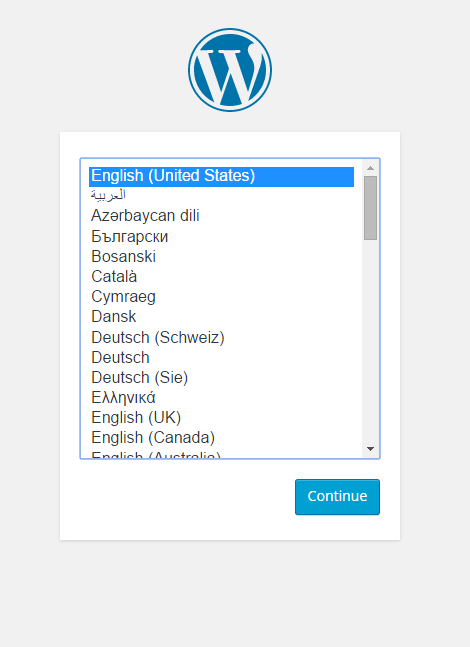
Navigate to your IP address or domain in your browser, pick your language
Pick your Language and click Continue.
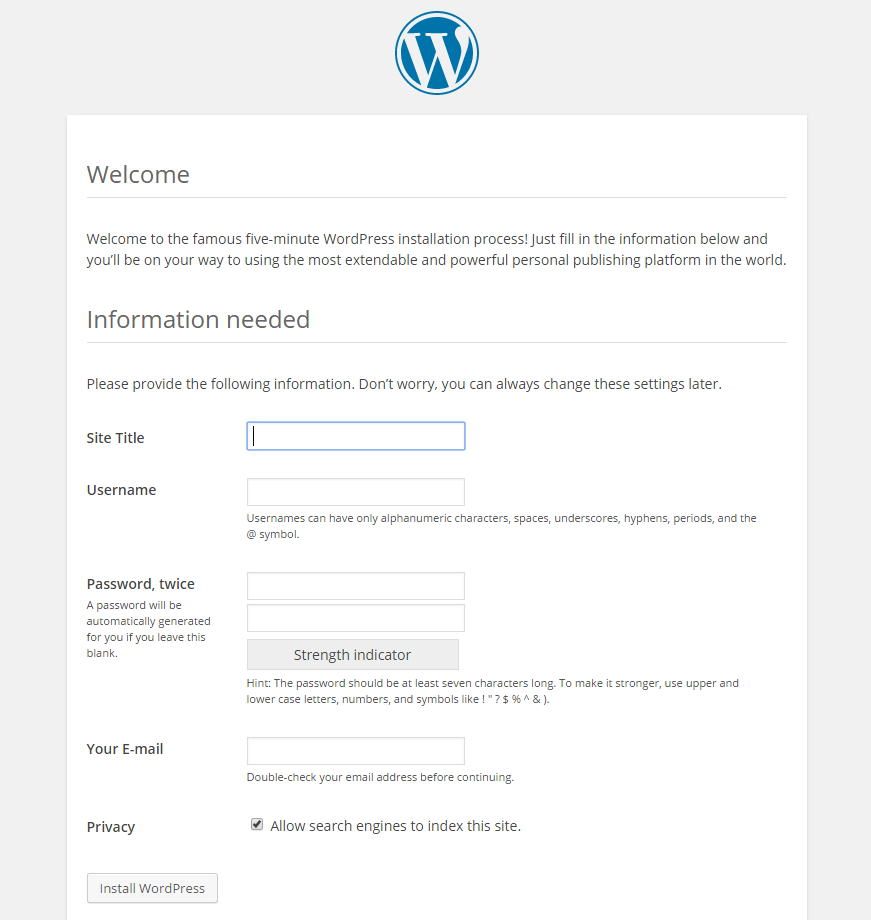
Follow the WordPress web installation.
You can now follow along with the WordPress web installation.
Congratulations! You have just installed WordPress on the Vesta Control Panel. Thank you for following along with this how-to; please feel free to check back for further updates.
Atlantic.Net offers VPS hosting and managed server hosting services that include a layer of business-essential managed services to your hosting packages. Contact us today for more information.
Learn more about our VPS hosting services and VPS hosting price.
* This post is for informational purposes only and does not constitute professional, legal, financial, or technical advice. Each situation is unique and may require guidance from a qualified professional.
Readers should conduct their own due diligence before making any decisions.