Velociraptor is a free and open-source digital forensic and incident response tool that enhances your visibility into your endpoints. It is based on GRR, OSQuery, and Google’s Rekall tool and uses Velociraptor Query Language to collect host-based state information. It is a very powerful tool that is capable of collecting artifacts from thousands of endpoints in a matter of seconds. Velociraptor is made from six components such as GUI, Frontend, Client, VQL Engine, Datastore, and File store.
In this post, we will explain how to install Velociraptor on Oracle Linux 10.
Step 1 – Install Velociraptor on Oracle Linux 10
First, download the latest version of the Velociraptor binary from the GitHub repository using the following commands:
dnf update -y
wget https://github.com/Velocidex/velociraptor/releases/download/v0.75/velociraptor-v0.75.1-linux-amd64 -O /usr/local/bin/velociraptor
Once the download is completed, set execution permissions to the downloaded binary:
chmod +x /usr/local/bin/velociraptor
You can now verify the Velociraptor version with the following command:
velociraptor version
Step 2 – Configure Velociraptor
First, create a configuration directory for Velociraptor with the following command:
mkdir /etc/velociraptor
Next, generate the Velociraptor configuration file with the following command:
velociraptor config generate -i
Answer all the questions as shown below:
Welcome to the Velociraptor configuration generator
---------------------------------------------------

I will be creating a new deployment configuration for you. I will
begin by identifying what type of deployment you need.


What OS will the server be deployed on?
  [Use arrows to move, type to filter]
> linux
  windows
  darwin
? Path to the datastore directory. (/opt/velociraptor)
> Self Signed SSL
  Automatically provision certificates with Lets Encrypt
  Authenticate users with SSO

? What is the public DNS name of the Master Frontend (e.g. www.example.com): vraptor.example.com
? Enter the frontend port to listen on. 8000
? Enter the port for the GUI to listen on. 8889
? Are you using Google Domains DynDNS? (y/N) N

? GUI Username or email address to authorize (empty to end): [email protected]
? Password **********
? GUI Username or email address to authorize (empty to end):
[INFO] 2022-09-01T08:16:10-04:00  _    __     __           _                  __
[INFO] 2022-09-01T08:16:10-04:00 | |  / /__  / /___  _____(_)________ _____  / /_____  _____
[INFO] 2022-09-01T08:16:10-04:00 | | / / _ \/ / __ \/ ___/ / ___/ __ `/ __ \/ __/ __ \/ ___/
[INFO] 2022-09-01T08:16:10-04:00 | |/ /  __/ / /_/ / /__/ / /  / /_/ / /_/ / /_/ /_/ / /
[INFO] 2022-09-01T08:16:10-04:00 |___/\___/_/\____/\___/_/_/   \__,_/ .___/\__/\____/_/
[INFO] 2022-09-01T08:16:10-04:00                                   /_/
[INFO] 2022-09-01T08:16:10-04:00 Digging deeper!                  https://www.velocidex.com
[INFO] 2022-09-01T08:16:10-04:00 Generating keys please wait....
? Path to the logs directory. /opt/velociraptor/logs
? Where should i write the server config file? /etc/velociraptor/server.config.yaml
? Where should i write the client config file? /etc/velociraptor/client.config.yaml
Next, edit the Velociraptor configuration file and define your bind address:
cp server.config.yaml /etc/velociraptor/server.config.yaml
nano /etc/velociraptor/server.config.yaml
Replace 127.0.0.1 with your-server-ip:
API:
  bind_address: 209.23.13.108
GUI:
  bind_address: 209.23.13.108

Monitoring:
  bind_address: 209.23.13.108
Save and close the file, then create an administrative user with the following command:
velociraptor --config /etc/velociraptor/server.config.yaml user add admin --role administrator
Set your admin password as shown below:
Enter user's password:
Step 3 – Start Velociraptor Frontend
You can now start the Velociraptor Frontend with the following command:
velociraptor -c /etc/velociraptor/server.config.yaml frontend -v
If everything is fine, you will get the following output:
[INFO] 2025-12-11T05:33:02Z  _    __     __           _                  __
[INFO] 2025-12-11T05:33:02Z | |  / /__  / /___  _____(_)________ _____  / /_____  _____
[INFO] 2025-12-11T05:33:02Z | | / / _ \/ / __ \/ ___/ / ___/ __ `/ __ \/ __/ __ \/ ___/
[INFO] 2025-12-11T05:33:02Z | |/ /  __/ / /_/ / /__/ / /  / /_/ / /_/ / /_/ /_/ / /
[INFO] 2025-12-11T05:33:02Z |___/\___/_/\____/\___/_/_/   \__,_/ .___/\__/\____/_/
[INFO] 2025-12-11T05:33:02Z                                   /_/
[INFO] 2025-12-11T05:33:02Z Digging deeper!                  https://www.velocidex.com
[INFO] 2025-12-11T05:33:02Z This is Velociraptor 0.75.1 built on 2025-09-03T16:01:20Z (46ff090b9)
Press the CTRL+C to stop Velociraptor. We will configure the systemd service for Velociraptor in the next step.
Step 4 – Create a Systemd Unit File for Velociraptor
It is a good idea to create a systemd service file to manage the Velociraptor service. You can create it with the following command:
nano /etc/systemd/system/velociraptor.service
Add the following lines:
[Unit]
Description=Velociraptor linux amd64
After=syslog.target network.target

[Service]
Type=simple
Restart=always
RestartSec=120
LimitNOFILE=20000
Environment=LANG=en_US.UTF-8
ExecStart=/usr/local/bin/velociraptor -c /etc/velociraptor/server.config.yaml frontend -v

[Install]
WantedBy=multi-user.target
Save and close the file, then reload the systemd daemon to apply the changes:
systemctl daemon-reload
Next, start and enable the Velociraptor service with the following command:
systemctl enable --now velociraptor
You can check the status of Velociraptor with the following command:
systemctl status velociraptor
You will get the following output:
● velociraptor.service - Velociraptor linux amd64
     Loaded: loaded (/etc/systemd/system/velociraptor.service; enabled; preset: disabled)
     Active: active (running) since Thu 2025-12-11 00:26:40 EST; 2s ago
 Invocation: 8e1d25af7f9e4ce8896d52207cceb982
   Main PID: 265041 (velociraptor)
      Tasks: 15 (limit: 24812)
     Memory: 74M (peak: 74.7M)
        CPU: 2.046s
     CGroup: /system.slice/velociraptor.service
             ├─265041 /usr/local/bin/velociraptor -c /etc/velociraptor/server.config.yaml frontend -v
             └─265048 /usr/local/bin/velociraptor -c /etc/velociraptor/server.config.yaml frontend -v

Dec 11 00:26:41 oracle velociraptor[265041]: [INFO] 2025-12-11T05:26:41Z server_monitoring_service: Watching for events from Server.Internal.MetadataModifications
Dec 11 00:26:41 oracle velociraptor[265041]: [INFO] 2025-12-11T05:26:41Z Converting legacy client index to new format
Dec 11 00:26:41 oracle velociraptor[265041]: [INFO] 2025-12-11T05:26:41Z CryptoServerManager: Watching for events from Server.Internal.ClientDelete
Dec 11 00:26:41 oracle velociraptor[265041]: [INFO] 2025-12-11T05:26:41Z Throttling connections to 100 QPS
Dec 11 00:26:41 oracle velociraptor[265041]: [INFO] 2025-12-11T05:26:41Z Starting gRPC API server on 209.23.13.108:8001
Dec 11 00:26:41 oracle velociraptor[265041]: [INFO] 2025-12-11T05:26:41Z Launched Prometheus monitoring server on 209.23.13.108:8003
Dec 11 00:26:41 oracle velociraptor[265041]: [INFO] 2025-12-11T05:26:41Z GUI will use the Basic authenticator
Dec 11 00:26:41 oracle velociraptor[265041]: [INFO] 2025-12-11T05:26:41Z GUI is ready to handle TLS requests on https://209.23.13.108:8889/
Dec 11 00:26:41 oracle velociraptor[265041]: [INFO] 2025-12-11T05:26:41Z Frontend is ready to handle client TLS requests at https://localhost:8000/
Dec 11 00:26:42 oracle velociraptor[265041]: [INFO] 2025-12-11T05:26:42Z Compiled all artifacts.
Step 5 – Access the Velociraptor Web Interface
At this point, Velociraptor is installed, started, and listening on port 8889. You can now access it using the URL https://your-server-ip:8889. You should see the Velociraptor login page:
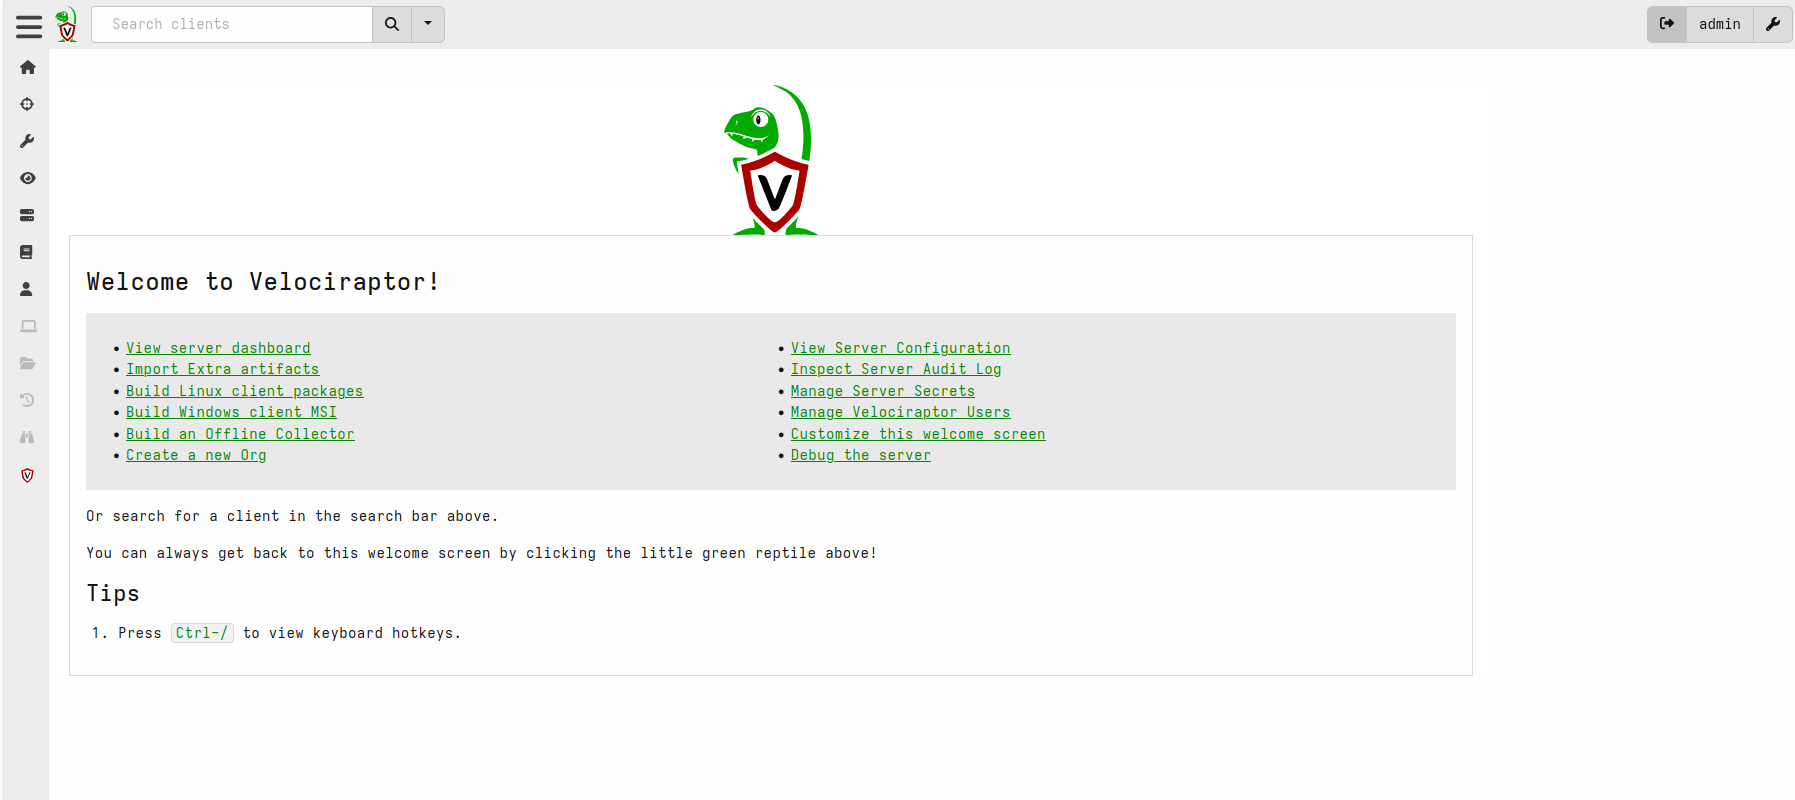
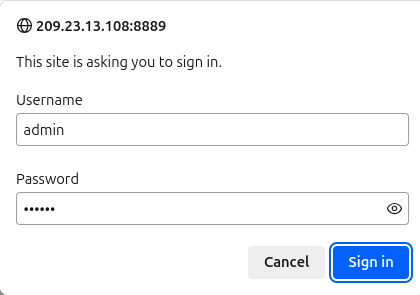 Provide your admin username, password and click Sign in. You will see the Velociraptor dashboard.
Conclusion
Congratulations! You have successfully installed Velociraptor on Oracle Linux 10. You can now use Velociraptor for endpoint monitoring, digital forensic investigations, and threat hunting. For more information, Try it on dedicated hosting from Atlantic.Net!
* This post is for informational purposes only and does not constitute professional, legal, financial, or technical advice. Each situation is unique and may require guidance from a qualified professional.
Readers should conduct their own due diligence before making any decisions.