OpenCart is an open-source e-commerce platform written in PHP. It is simple, lightweight, user-friendly, and provides a web interface to manage it from the web browser. It allows you to easily manage product inventory, orders, affiliates, discounts, product reviews, payment gateways, and more. OpenCart comes with a lot of plugins and themes that help you to make your store more attractive and powerful. If you are looking to host your own online store, then OpenCart is a great choice for you.
In this tutorial, we will show you how to install OpenCart on Rocky Linux 10.
Step 1 – Install Apache, MariaDB, and PHP
First, you will need to install Apache web server and MariaDB to your system. You can install them using the following command:
dnf install httpd mariadb-server -y
After installing both packages, you will also need to install PHP version 8.3 and all required extensions.
First, install the EPEL with the following command:
dnf install epel-release -y
Finally, install PHP with all required extensions using the following command:
dnf install php php-gd php-ldap php-zip php-odbc php-pear php-xml php-mbstring php-mysqlnd php-snmp php-soap curl curl-devel unzip git -y
Once all the packages are installed, start the Apache and MariaDB service and enable them to start at system reboot:
systemctl start httpd
systemctl enable httpd
systemctl start mariadb
systemctl enable mariadb
Step 2 – Create OpenCart Database
OpenCart uses MariaDB as a database backend, so you will need to create a database and user for OpenCart.
First, secure the MariaDB installation and set the MariaDB root password using the following command:
mysql_secure_installation
Answer all the questions as shown below:
Enter current password for root (enter for none):
Set root password? [Y/n] Y
New password:
Re-enter new password:
Remove anonymous users? [Y/n] Y
Disallow root login remotely? [Y/n] Y
Remove test database and access to it? [Y/n] Y
Reload privilege tables now? [Y/n] Y
Next, log in to MariaDB using the following command:
mysql -u root -p
Once you are logged in, create a user and database with the following command:
CREATE DATABASE opencart;
CREATE USER 'opencart'@'localhost' IDENTIFIED BY 'password';
Next, grant all the privileges to the OpenCart database with the following command:
GRANT ALL PRIVILEGES ON opencart.* TO 'opencart'@'localhost';
Next, flush the privileges and exit from MariaDB with the following command:
FLUSH PRIVILEGES;
EXIT;
Step 3 – Download OpenCart
You can download the latest version of the OpenCart from the GitHub repository using the following command:
git clone https://github.com/opencart/opencart.git
Once the download is completed, change the directory to the downloaded directory and copy the upload directory to Apache web root directory:
cd opencart
mv upload /var/www/html/opencart
You will also need to copy the sample configuration file:
cp /var/www/html/opencart/config-dist.php /var/www/html/opencart/config.php
cp /var/www/html/opencart/admin/config-dist.php /var/www/html/opencart/admin/config.php
Next, set proper permissions and ownership using the following command:
chown -R apache:apache /var/www/html/opencart
chmod -R 777 /var/www/html/opencart
Step 4 – Configure Apache to Host OpenCart
Next, you will need to create an Apache virtual host configuration file to host OpenCart on the internet:
nano /etc/httpd/conf.d/opencart.conf
Add the following lines:
<VirtualHost *:80>
ServerAdmin [email protected]
DocumentRoot /var/www/html/opencart/
ServerName opencart.yourdomain.com
<Directory /var/www/html/opencart/>
Options FollowSymLinks
AllowOverride All
Order allow,deny
allow from all
</Directory>
ErrorLog /var/log/httpd/yourdomain.com-error_log
CustomLog /var/log/httpd/yourdomain.com-access_log common
</VirtualHost>
Save and close the file, then restart the Apache service to apply the changes:
systemctl restart httpd
Step 5 – Configure Firewall
If you are using firewalld then you will need to allow HTTP and HTTPS services through the firewall. You can allow them using the following command:
firewall-cmd --permanent --add-service=http
firewall-cmd --permanent --add-service=https
Next, reload firewalld to apply the changes:
firewall-cmd --reload
Step 6 – Access OpenCart Web UI
You can now access the OpenCart Web UI using the URL http://opencart.yourdomain.com. You should see the following page:
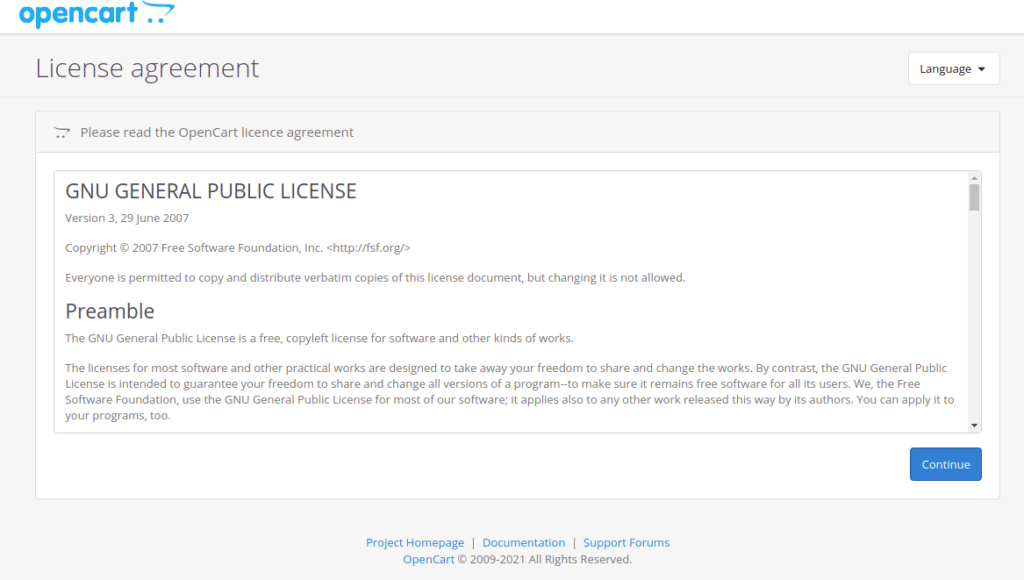
Accept the license agreement and click on the Continue button. You should see the following page:

Make sure all PHP extensions are installed then click on the Continue button. You should see the following page:
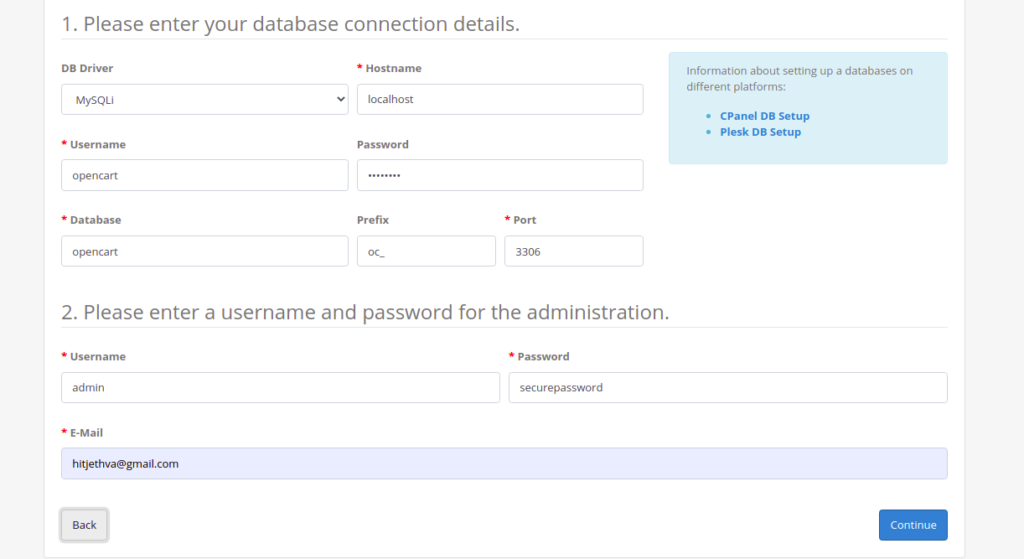
Provide your database details, admin username, password, and click on the Continue button. You should see the following page:
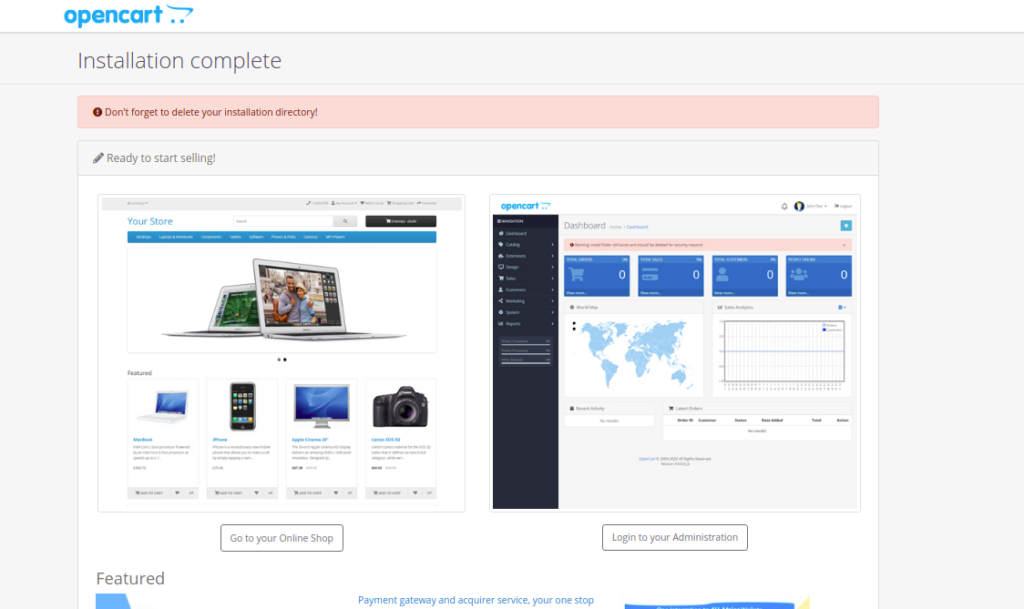
Now, open your terminal and remove the install directory using the following command:
rm -rf /var/www/html/opencart/install
Next, go back to the OpenCart web interface and click on Login to your Administration. You should see the OpenCart login page:
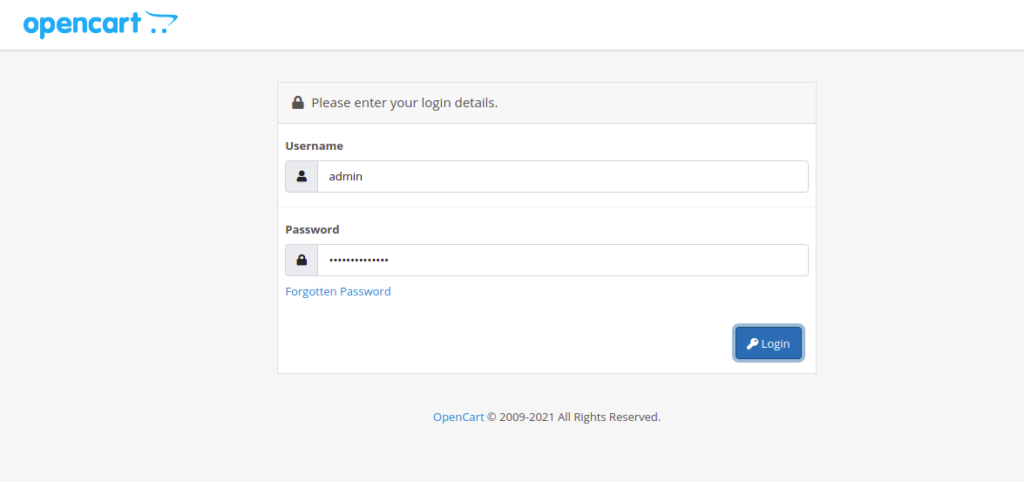
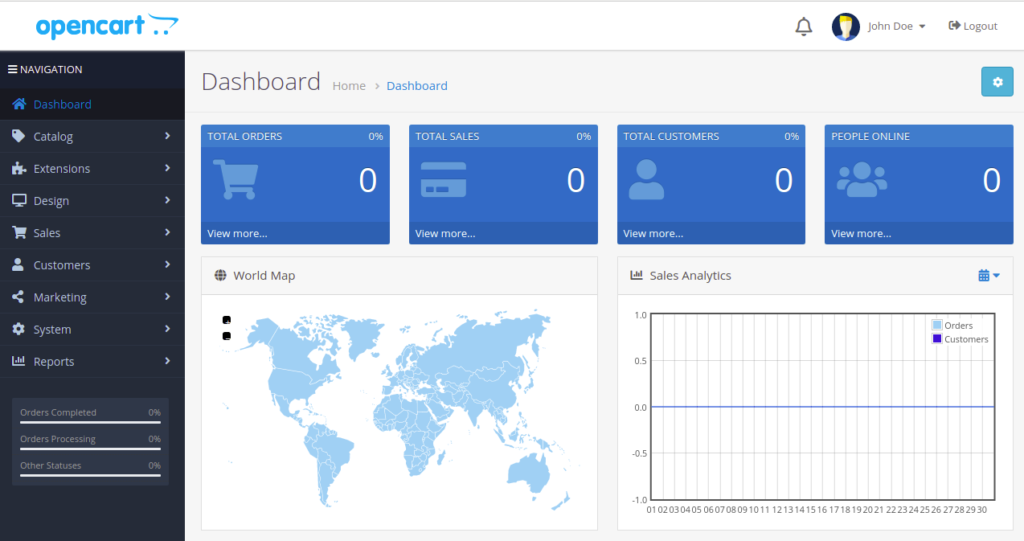
Provide your admin username, password and click on the Login button. You should see the OpenCart dashboard on the following page:
Conclusion
Congratulations! Your OpenCart platform is now ready to use. You can now deploy your own online store using OpenCart. Get started on dedicated hosting from Atlantic.Net.
* This post is for informational purposes only and does not constitute professional, legal, financial, or technical advice. Each situation is unique and may require guidance from a qualified professional.
Readers should conduct their own due diligence before making any decisions.