SonarQube is an open-source and self-hosted code quality analysis tool used to check code in several programming languages via plugins. It allows development teams to find bugs and code duplication in a software application. It helps developers to decrease application size, code complexity, time, and cost of maintenance and makes code easier to read and understand. It is written in Java and supports several databases including Postgres, MySQL, Oracle, and SQL Server.
In this post, we will show you how to install SonarQube on Arch Linux.
Step 1 – Configure Repository
By default, the default repository is outdated in Arch Linux, so you will need to modify the default mirror list. You can do it by editing the mirror list configuration file:
nano /etc/pacman.d/mirrorlist
Remove all lines and add the following lines:
## Score: 0.7, United States
Server = http://mirror.us.leaseweb.net/archlinux/$repo/os/$arch
## Score: 0.8, United States
Server = http://lug.mtu.edu/archlinux/$repo/os/$arch
Server = http://mirror.nl.leaseweb.net/archlinux/$repo/os/$arch
## Score: 0.9, United Kingdom
Server = http://mirror.bytemark.co.uk/archlinux/$repo/os/$arch
## Score: 1.5, United Kingdom
Server = http://mirrors.manchester.m247.com/arch-linux/$repo/os/$arch
Server = http://archlinux.dcc.fc.up.pt/$repo/os/$arch
## Score: 6.6, United States
Server = http://mirror.cs.pitt.edu/archlinux/$repo/os/$arch
## Score: 6.7, United States
Server = http://mirrors.acm.wpi.edu/archlinux/$repo/os/$arch
## Score: 6.8, United States
Server = http://ftp.osuosl.org/pub/archlinux/$repo/os/$arch
## Score: 7.1, India
Server = http://mirror.cse.iitk.ac.in/archlinux/$repo/os/$arch
## Score: 10.1, United States
Server = http://mirrors.xmission.com/archlinux/$repo/os/$arch
Save and close the file, then update all the package indexes with the following command:
pacman -Syu
Step 2 – Install Java JDK
SonarQube is based on Java, so you will need to install Java on your server. You can install it with the following command.
pacman -S jdk17-openjdk unzip
Once Java is installed, you can verify it using the following command.
java --version
You will get the Java version information in the following output.
openjdk 17.0.6 2023-01-17
OpenJDK Runtime Environment (build 17.0.6+10)
OpenJDK 64-Bit Server VM (build 17.0.6+10, mixed mode)
Step 3 – Install and Configure PostgreSQL
First, install the PostgreSQL server with the following command.
pacman -S postgresql
Next, initialize the PostgreSQL database with the following command.
sudo -u postgres initdb --locale en_US.UTF-8 -D /var/lib/postgres/data
Next, start and enable the PostgreSQL service using the following command.
systemctl start postgresql
systemctl enable postgresql
Next, connect to the PostgreSQL shell.
sudo -u postgres psql
Next, create a database and user for SonarQube:
CREATE USER sonarqube WITH PASSWORD 'password';
CREATE DATABASE sonarqube OWNER sonarqube;
GRANT ALL PRIVILEGES ON DATABASE sonarqube TO sonarqube;
Next, exit from the PostgreSQL shell with the following command.
\q
Step 4 – Download SonarQube
First, create a dedicated user to run SonarQube.
useradd -b /opt/sonarqube -s /bin/bash sonarqube
Next, download the latest version of SonarQube using the following command.
wget https://binaries.sonarsource.com/Distribution/sonarqube/sonarqube-9.9.0.65466.zip
Once the download is completed, unzip the downloaded file with the following command.
unzip sonarqube-9.9.0.65466.zip
Next, move the extracted directory to /opt using the following command.
mv sonarqube-9.9.0.65466 /opt/sonarqube
Next, change the ownership of the SonarQube directory.
chown -R sonarqube:sonarqube /opt/sonarqube
Next, edit the SonarQube configuration file.
nano /opt/sonarqube/conf/sonar.properties
Change the following lines as per your settings.
sonar.jdbc.username=sonarqube
sonar.jdbc.password=password
sonar.web.javaOpts=-Xmx512m -Xms128m -XX:+HeapDumpOnOutOfMemoryError
sonar.web.javaAdditionalOpts=-server
sonar.web.host=0.0.0.0
sonar.web.port=9000
sonar.log.level=INFO
sonar.path.logs=logs
Save and close the file when you are done.
Step 5 – Create a Systemd Service File for SonarQube
Next, you will need to create a systemd service file to manage the SonarQube service. You can create it with the following command.
nano /etc/systemd/system/sonarqube.service
Add the following configurations.
[Unit]
Description=SonarQube service
After=syslog.target network.target

[Service]
Type=forking
ExecStart=/opt/sonarqube/bin/linux-x86-64/sonar.sh start
ExecStop=/opt/sonarqube/bin/linux-x86-64/sonar.sh stop
User=sonarqube
Group=sonarqube
Restart=always
LimitNOFILE=65536
LimitNPROC=4096

[Install]
WantedBy=multi-user.target
Save and close the file, then reload the systemd daemon to apply the changes.
systemctl daemon-reload
Next, start and enable the SonarQube service.
systemctl start sonarqube
systemctl enable sonarqube
You can check the status of SonarQube using the following command.
systemctl status sonarqube
Output.
● sonarqube.service - SonarQube service
     Loaded: loaded (/etc/systemd/system/sonarqube.service; disabled; preset: disabled)
     Active: active (running) since Sun 2023-03-26 04:42:04 UTC; 17s ago
    Process: 1008 ExecStart=/opt/sonarqube/bin/linux-x86-64/sonar.sh start (code=exited, status=0/SUCCESS)
   Main PID: 1033 (java)
      Tasks: 119 (limit: 4685)
     Memory: 1.1G
        CPU: 33.270s
     CGroup: /system.slice/sonarqube.service
             ├─1033 java -Xms8m -Xmx32m --add-exports=java.base/jdk.internal.ref=ALL-UNNAMED --add-opens=java.base/java.lang=ALL-UNNAMED --add-opens=java.base/java.nio>
             ├─1058 /usr/lib/jvm/java-17-openjdk/bin/java -XX:+UseG1GC -Djava.io.tmpdir=/opt/sonarqube/temp -XX:ErrorFile=/opt/sonarqube/logs/es_hs_err_pid%p.log -Des.>
             └─1168 /usr/lib/jvm/java-17-openjdk/bin/java -Djava.awt.headless=true -Dfile.encoding=UTF-8 -Djava.io.tmpdir=/opt/sonarqube/temp -XX:-OmitStackTraceInFast>

Mar 26 04:42:04 archlinux systemd[1]: Starting SonarQube service...
Mar 26 04:42:04 archlinux sonar.sh[1008]: /usr/bin/java
Mar 26 04:42:04 archlinux systemd[1]: Started SonarQube service.
Mar 26 04:42:04 archlinux sonar.sh[1008]: Starting SonarQube...
Mar 26 04:42:04 archlinux sonar.sh[1008]: Started SonarQube.
Step 6 – Access SonarQube Web UI
At this point, SonarQube is installed and running. Now, open your web browser and access the SonarQube web interface using the URL http://your-server-ip:9000. You should see the SonarQube login page:
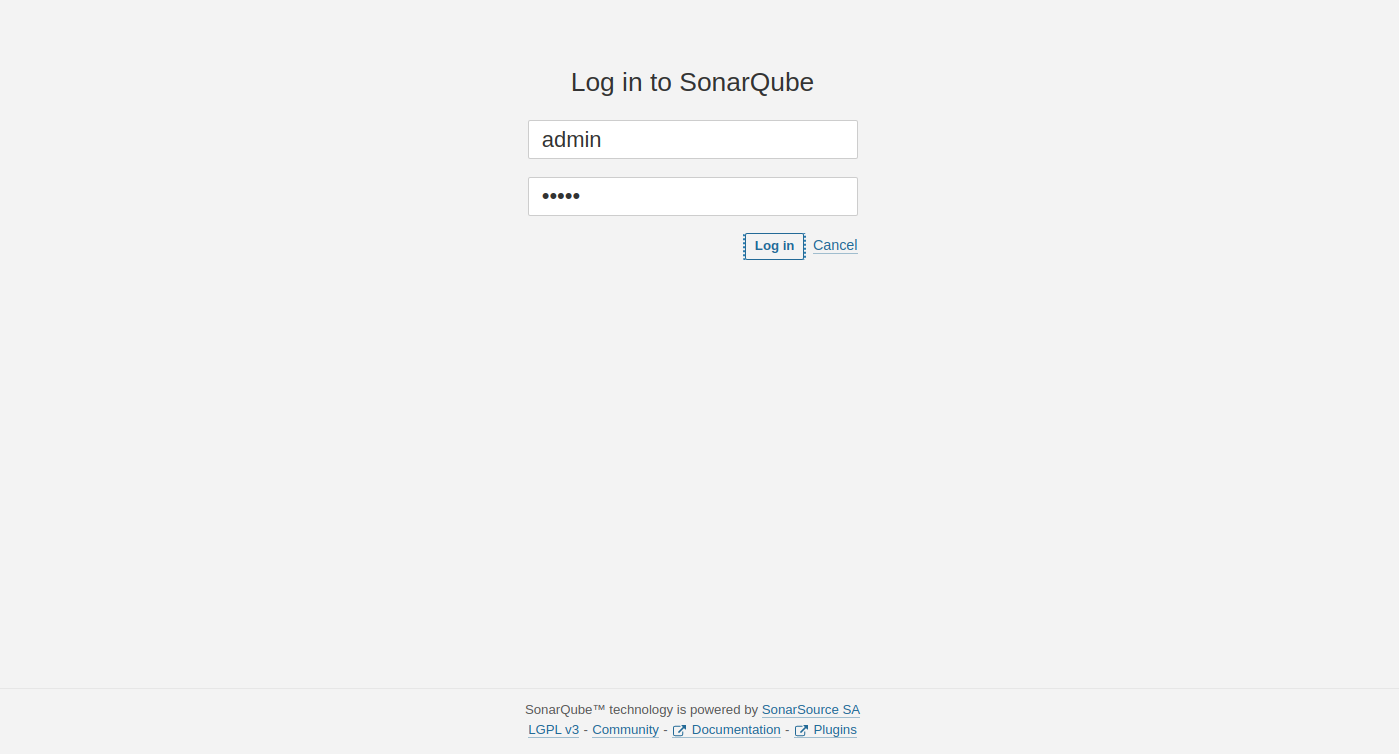
Provide the default admin username and password as admin/admin then click on the Login button. You should see the password change screen.
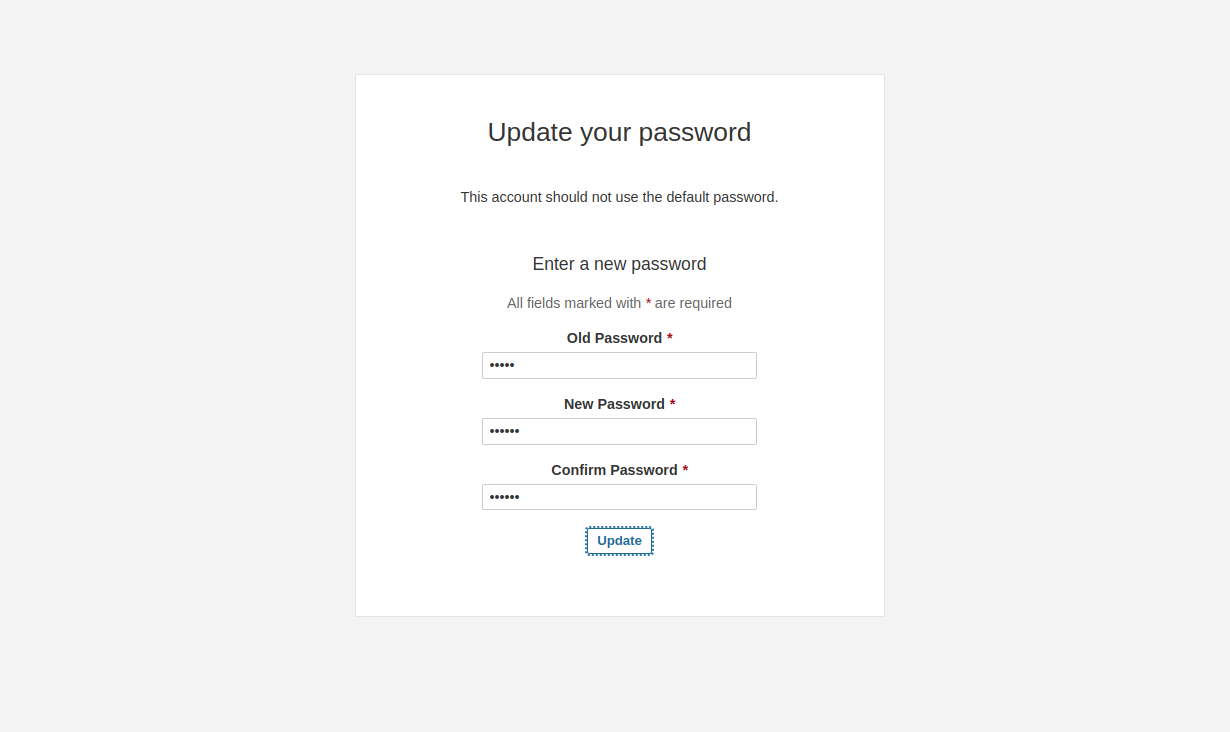
Change your default password, then click on the Update button. You should see the SonarQube dashboard on the following screen.
Conclusion
In this post, we explained how to install SonarQube on Arch Linux. You can now create your first project manually or import it from the other DevOps platform. You can now try to deploy SonarQube on dedicated server hosting from Atlantic.Net!
* This post is for informational purposes only and does not constitute professional, legal, financial, or technical advice. Each situation is unique and may require guidance from a qualified professional.
Readers should conduct their own due diligence before making any decisions.