After deploying the Kubernetes cluster, configuring and deploying applications and services on the Kubernetes cluster are very complicated processes.
Helm is a Kubernetes package manager that helps to streamline the installation and management of applications. It allows you to search and install software built for Kubernetes. It uses Helm charts to make your deploying process easier.
In this post, we will show you how to install and use Helm Kubernetes package manager on Ubuntu 20.04.
Step 1 – Install Helm
By default, the Helm package is not included in the Ubuntu default repository, so you will need to install it from the installation script provided by Helm.
First, download the Helm installation script with the following command:
curl -fsSL -o get_helm.sh https://raw.githubusercontent.com/helm/helm/master/scripts/get-helm-3
Once the script is downloaded, set execution permissions with the following command:
chmod +x get_helm.sh
Next, install the Helm package with the following command:
./get_helm.sh
You should get the following output:
Downloading https://get.helm.sh/helm-v3.6.0-linux-amd64.tar.gz
Verifying checksum... Done.
Preparing to install helm into /usr/local/bin
helm installed into /usr/local/bin/helm
Once Helm is installed, verify the installed version of Helm with the following command:
helm version
You should get the following output:
version.BuildInfo{Version:"v3.6.0", GitCommit:"7f2df6467771a75f5646b7f12afb408590ed1755", GitTreeState:"clean", GoVersion:"go1.16.3"}
To list all command options available in Helm, run the following command:
helm
Output:
Usage:
  helm [command]

Available Commands:
  completion  generate autocompletion scripts for the specified shell
  create      create a new chart with the given name
  dependency  manage a chart's dependencies
  env         helm client environment information
  get         download extended information of a named release
  help        Help about any command
  history     fetch release history
  install     install a chart
  lint        examine a chart for possible issues
  list        list releases
  package     package a chart directory into a chart archive
  plugin      install, list, or uninstall Helm plugins
  pull        download a chart from a repository and (optionally) unpack it in local directory
  repo        add, list, remove, update, and index chart repositories
  rollback    roll back a release to a previous revision
  search      search for a keyword in charts
  show        show information of a chart
  status      display the status of the named release
  template    locally render templates
  test        run tests for a release
  uninstall   uninstall a release
  upgrade     upgrade a release
  verify      verify that a chart at the given path has been signed and is valid
  version     print the client version information
Step 2 – How to Use Helm
In this section, we will show you how to use the Helm command to manage packages.
If you want to search for a specific chart, run the following command:
helm search hub apache
You should get the following output:
URL                                               	CHART VERSION                	APP VERSION  	DESCRIPTION
https://artifacthub.io/packages/helm/bitnami/ap...	8.5.5                        	2.4.48       	Chart for Apache HTTP Server
https://artifacthub.io/packages/helm/cloudposse...	0.1.3                        	             	Apache Helm chart for Kubernetes
https://artifacthub.io/packages/helm/apache-iot...	0.1.0                        	0.11.2       	A Helm chart for Apache IoTDB
https://artifacthub.io/packages/helm/pfisterer-...	0.1.9                        	1.5.0        	Apache Knox
https://artifacthub.io/packages/helm/gh-shessel...	1.0.22                       	5.7.2        	Web publishing platform for building blogs and ...
https://artifacthub.io/packages/helm/psu-swe/co...	0.9.0                        	1.0          	A Helm chart for Kubernetes
https://artifacthub.io/packages/helm/apache-sol...	0.3.0                        	v0.3.0       	The Solr Operator enables easy management of So...
https://artifacthub.io/packages/helm/apache-air...	1.0.0                        	2.0.2        	Helm chart to deploy Apache Airflow, a platform...
https://artifacthub.io/packages/helm/apache/pulsar	2.7.2                        	2.7.2        	Apache Pulsar Helm chart for Kubernetes
To search a repo for Apache, run the following command:
helm search repo apache
You should get the following error:
Error: no repositories configured
Now, you can add a stable repository to your system using the following command:
helm repo add stable https://charts.helm.sh/stable
Output:
"stable" has been added to your repositories
Now, search the Apache repo again with the following command:
helm search repo apache
Output:
NAME                	CHART VERSION	APP VERSION	DESCRIPTION
stable/hadoop       	1.1.4        	2.9.0      	DEPRECATED - The Apache Hadoop software library...
stable/ignite       	1.2.2        	2.7.6      	DEPRECATED - Apache Ignite is an open-source di...
stable/jenkins      	2.5.4        	lts        	DEPRECATED - Open source continuous integration...
stable/kafka-manager	2.3.5        	1.3.3.22   	DEPRECATED - A tool for managing Apache Kafka.
stable/spark        	0.1.2        	           	A Apache Spark Helm chart for Kubernetes. Apach...
stable/superset     	1.1.13       	0.36.0     	DEPRECATED - Apache Superset (incubating) is a ...
To list all repositories which you have added, run the following command:
helm repo list
Output:
NAME  	URL
stable	https://charts.helm.sh/stable
Step 3 – Deploy Jenkins with Helm
In this section, we will show you how to install Jenkins on the Kubernetes cluster with Helm.
First, you will need to add the Bitnami repository to your system.
Run the following command to add the repository:
helm repo add bitnami https://charts.bitnami.com/bitnami
Output:
"bitnami" has been added to your repositories
Now, check the added repository with the following command:
helm repo list
Output:
NAME   	URL
stable 	https://charts.helm.sh/stable
bitnami	https://charts.bitnami.com/bitnami
Next, install Jenkins on the Kubernetes cluster with the following command:
helm install my-jenkins bitnami/jenkins
You should get the following output:
NAME: my-jenkins
LAST DEPLOYED: Mon Jun  7 06:48:32 2021
NAMESPACE: default
STATUS: deployed
REVISION: 1
TEST SUITE: None
NOTES:
** Please be patient while the chart is being deployed **

1. Get the Jenkins URL by running:

** Please ensure an external IP is associated to the my-jenkins service before proceeding **
** Watch the status using: kubectl get svc --namespace default -w my-jenkins **

  export SERVICE_IP=$(kubectl get svc --namespace default my-jenkins --template "{{ range (index .status.loadBalancer.ingress 0) }}{{.}}{{ end }}")
  echo "Jenkins URL: http://$SERVICE_IP/"

2. Login with the following credentials

  echo Username: user
  echo Password: $(kubectl get secret --namespace default my-jenkins -o jsonpath="{.data.jenkins-password}" | base64 --decode)
Note: Please remember the “Username: user” from the above output.
Next, verify the Jenkins with the following command:
kubectl get svc --namespace default -w my-jenkins
Output:
NAME         TYPE           CLUSTER-IP       EXTERNAL-IP   PORT(S)                      AGE
my-jenkins   LoadBalancer   10.106.248.146        80:31006/TCP,443:30067/TCP   73s
Next, get the Jenkins admin user password with the following command:
kubectl get secret --namespace default my-jenkins -o jsonpath="{.data.jenkins-password}" | base64 --decode
Output:
EOzueJ3jqX
Step 4 – Access Jenkins
Now, open your web browser and access Jenkins using the URL http://your-server-ip:31006. You should see the following page:
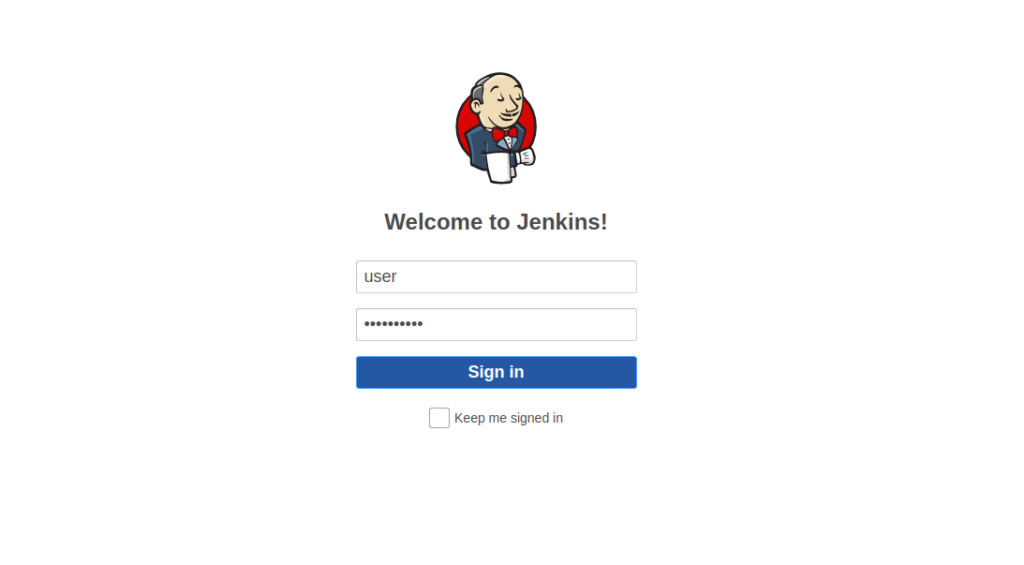
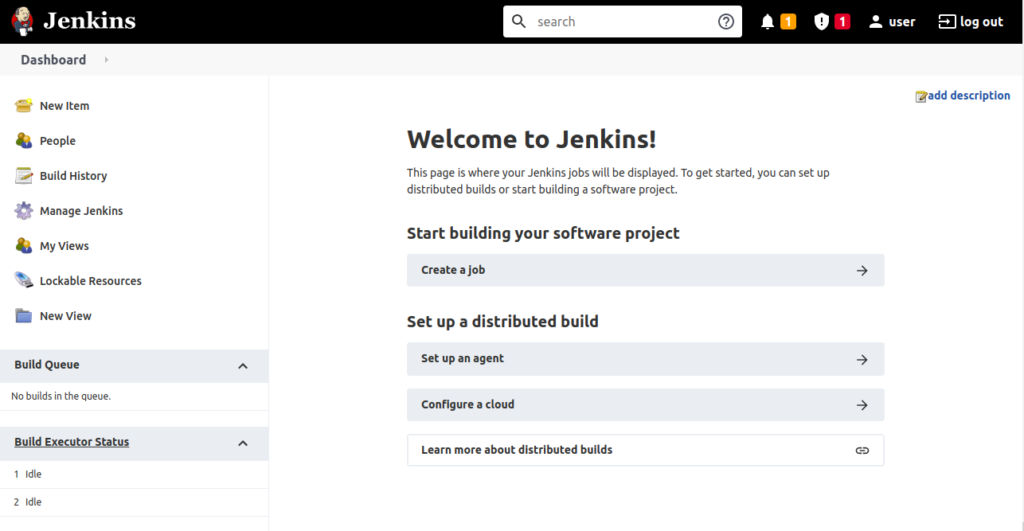
Provide your admin username, password and click on the Sign In button. You should see the Jenkins dashboard on the following page:
To list your Jenkins namespace, run the following command:
helm ls
Output:
NAME      	NAMESPACE	REVISION	UPDATED                                	STATUS  	CHART        	APP VERSION
my-jenkins	default  	1       	2021-06-07 06:48:32.145492504 +0000 UTC	deployed	jenkins-8.0.1	2.289.1
To remove your Jenkins namespace, run the following command:
helm delete my-jenkins
Output:
release "my-jenkins" uninstalled
Conclusion
In the above guide, you learned how to install and manage packages in the Kubernetes cluster with Helm in order to make your package management process easier. Try Helm Kubernetes Package Manager on dedicated hosting from Atlantic.Net.
* This post is for informational purposes only and does not constitute professional, legal, financial, or technical advice. Each situation is unique and may require guidance from a qualified professional.
Readers should conduct their own due diligence before making any decisions.