Introduction
Debian 12 (Bookworm) is a stable and powerful Linux distribution that is widely used for both servers and desktops. When installing Debian with the minimal or server option, you typically get a command-line interface without a graphical environment. For users who prefer a full desktop experience, you can install a desktop environment on top of the base system.
GNOME is the default desktop environment for Debian. It provides a modern, user-friendly interface with a clean design, intuitive navigation, and built-in productivity tools. With GNOME, you can perform daily tasks such as browsing the web, managing files, configuring system settings, and running desktop applications with ease.
In this tutorial, you will learn how to install and configure the GNOME Desktop Environment on Debian 12.
Step 1 – Update the System
Before installing the GNOME Desktop Environment, it’s best practice to update your Debian 12 system. This ensures you have the latest package versions, security updates, and bug fixes.
1. Run the following command to refresh your system’s package index.
apt update -y
2. Once the package index is updated, upgrade all installed packages to their latest versions.
apt upgrade -y
3. For a more thorough upgrade that also handles dependencies and kernel updates, you can run.
apt full-upgrade -y
Step 2 – Install GNOME Desktop Environment
Debian 12 provides multiple desktop environments, and GNOME is the default choice. Depending on your needs, you can install either the full desktop package (which includes GNOME and additional applications) or the lightweight core package (which installs only the essentials).
1. If you want the complete GNOME experience with all default applications, run.
apt -y install task-gnome-desktop
This will install GNOME, the GDM3 display manager, and a wide range of GNOME apps such as the file manager, settings, calendar, and more.
2. If you prefer a lighter installation with just the GNOME essentials, you can install the core package instead.
apt install gnome-core -y
This is useful for systems with limited resources or if you want to customize GNOME by installing only the applications you need.
3. Next, reboot the server to apply the changes.
reboot
Step 3 – Enable and Configure Display Manager
A display manager provides the graphical login screen that allows you to log into your desktop environment. Since we installed GNOME, the recommended display manager is GDM3 (GNOME Display Manager).
1. During the GNOME installation, Debian usually installs gdm3 automatically. To confirm it is installed and running, check its status:
systemctl status gdm3
Output.
● gdm.service - GNOME Display Manager
     Loaded: loaded (/lib/systemd/system/gdm.service; static)
     Active: active (running) since Sat 2025-09-06 09:39:19 UTC; 22s ago
    Process: 510 ExecStartPre=/usr/share/gdm/generate-config (code=exited, status=0/SUCCESS)
   Main PID: 537 (gdm3)
      Tasks: 3 (limit: 4620)
     Memory: 9.8M
        CPU: 80ms
     CGroup: /system.slice/gdm.service

             └─537 /usr/sbin/gdm3

Sep 06 09:39:19 debian systemd[1]: Starting gdm.service - GNOME Display Manager...
Sep 06 09:39:19 debian systemd[1]: Started gdm.service - GNOME Display Manager.
Sep 06 09:39:19 debian gdm-launch-environment][551]: pam_unix(gdm-launch-environment:session): session opened for user gnome-initial-setup(uid=113) by (uid=0)
2. To make sure GDM3 starts automatically at system boot, run:
systemctl enable gdm3
Now that GNOME and the GDM3 display manager are installed and enabled, you can start using the desktop environment.
Step 4 – Access GNOME Desktop
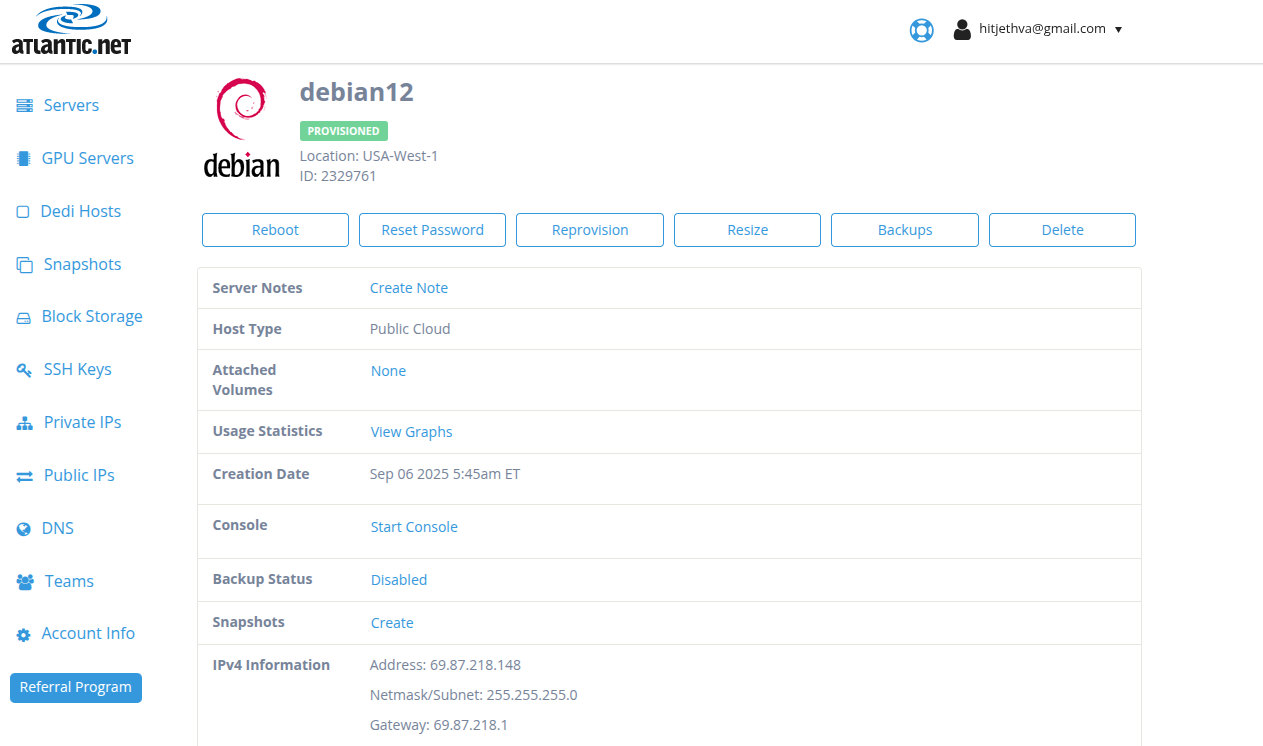
1. First, log in to your Atlantic.Net portal and click on your server. You will see the following screen.
2. Click on the start console. This starts an in-browser VNC session to your server’s local display so you can interact with the GNOME login and setup screens.
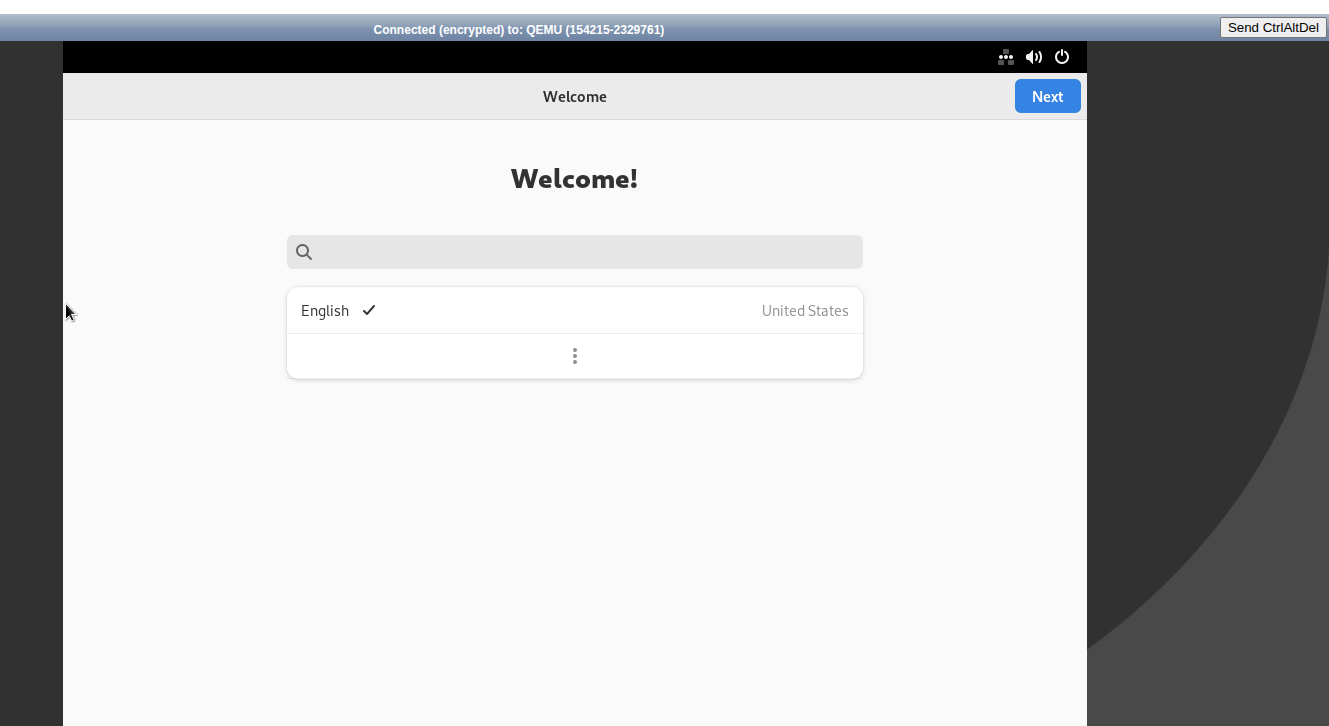
3. Select your Language and click Next.
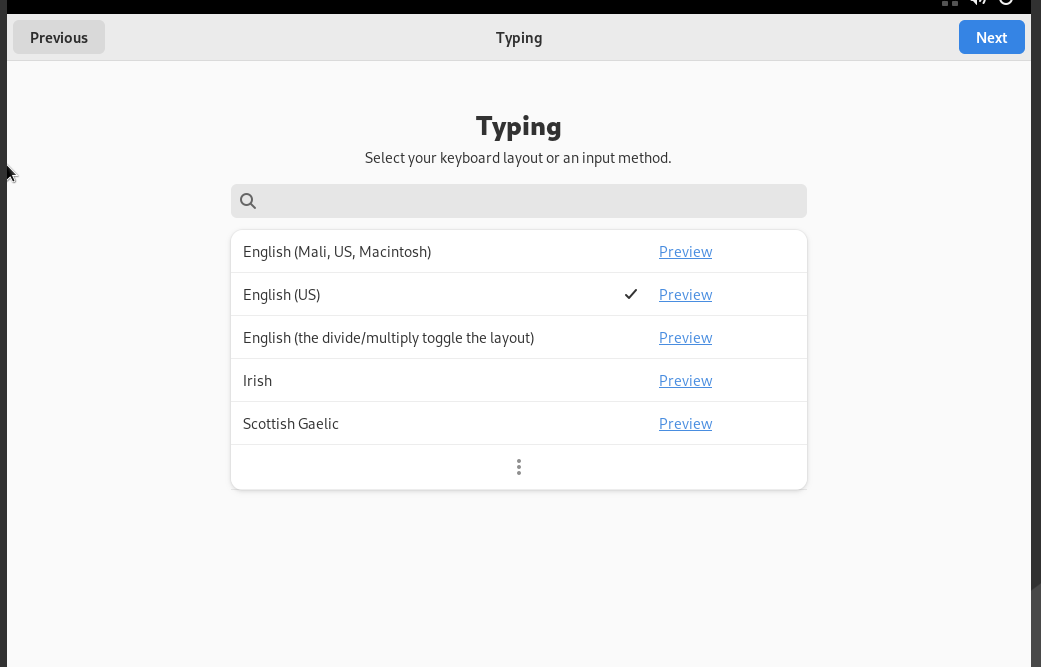
4. Pick your keyboard layout and click Next.
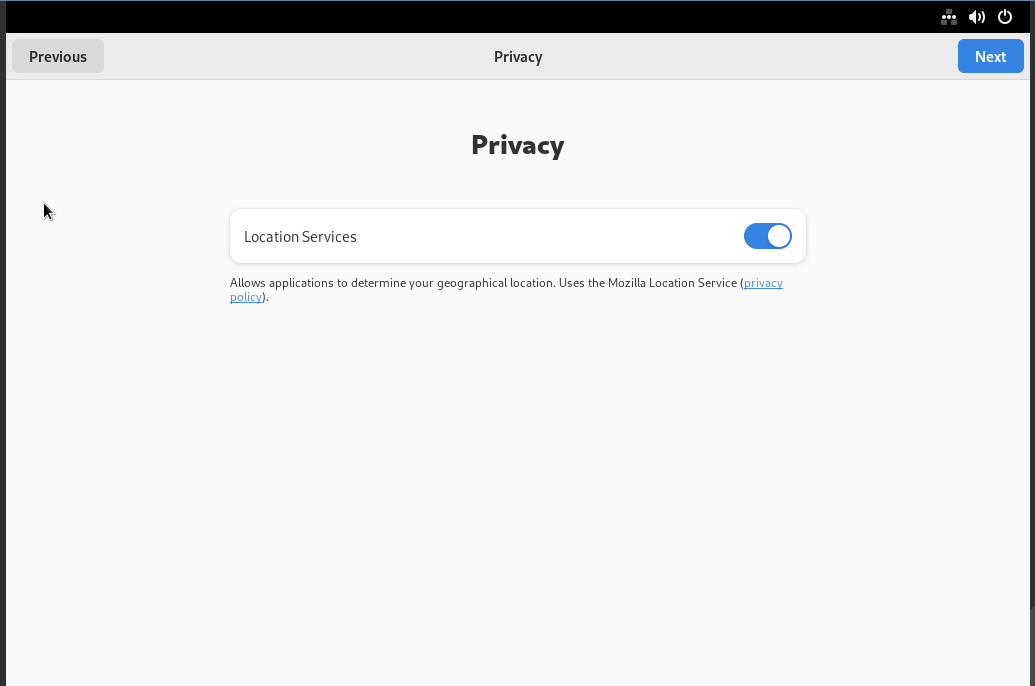
5. Choose whether to allow Location Services and click Next.
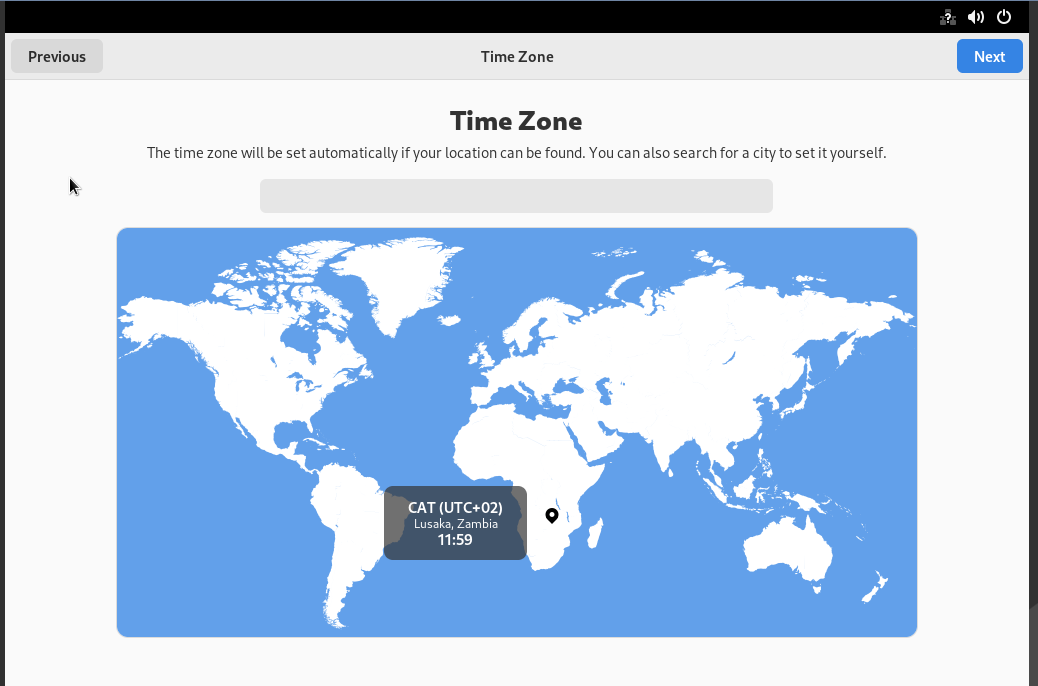
6. Set your time zone and click Next.
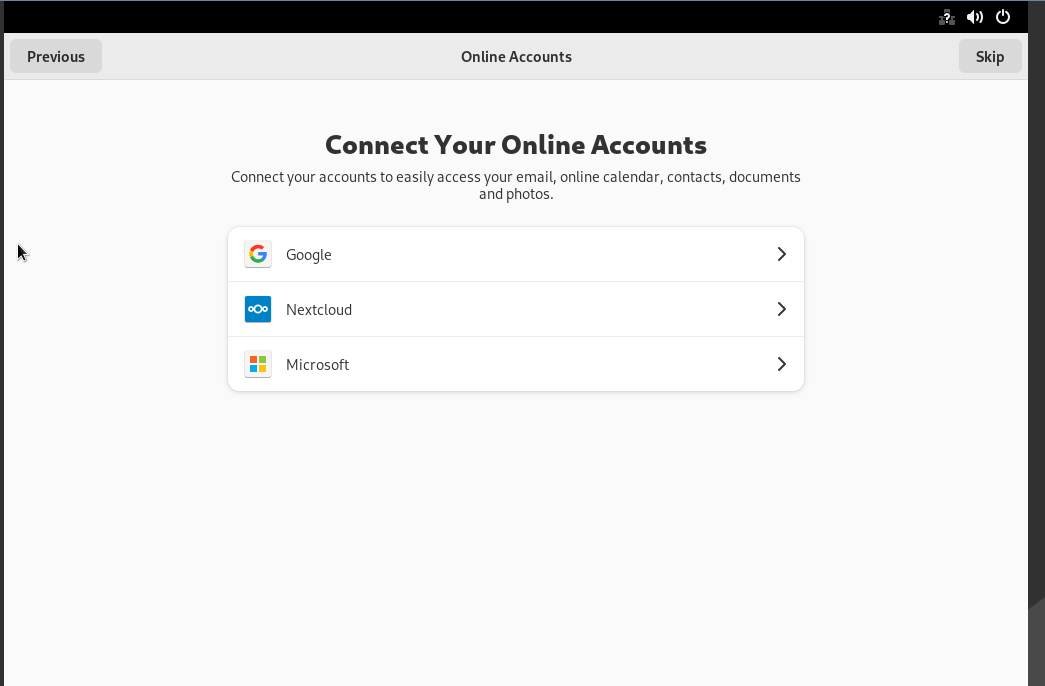
7. Connect your online accounts or click Skip.
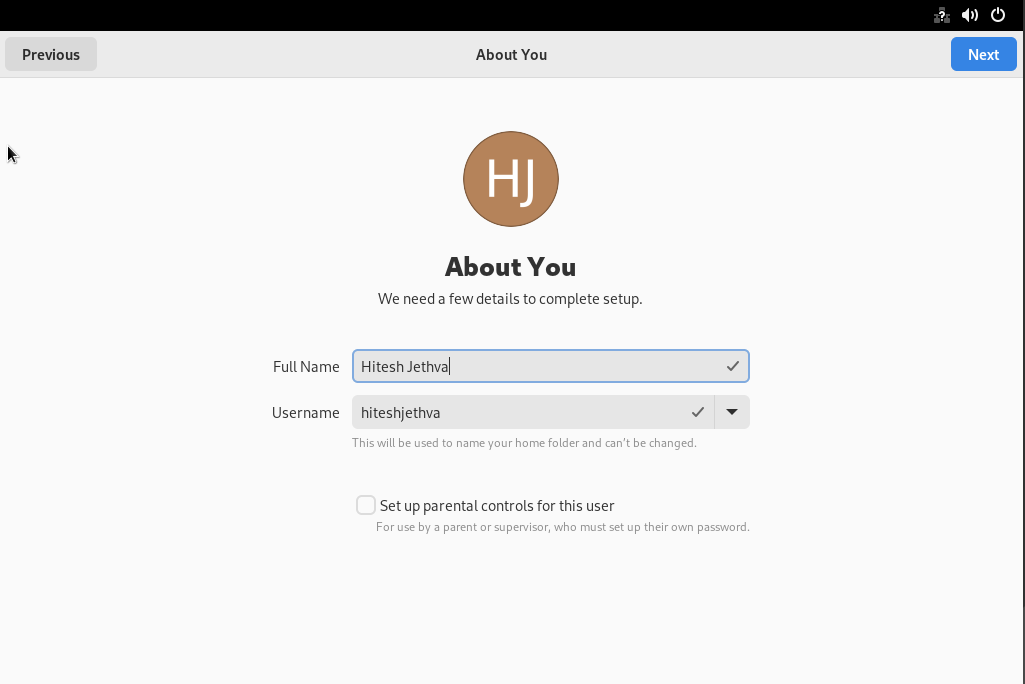
8. Enter your full name, username and click Next.
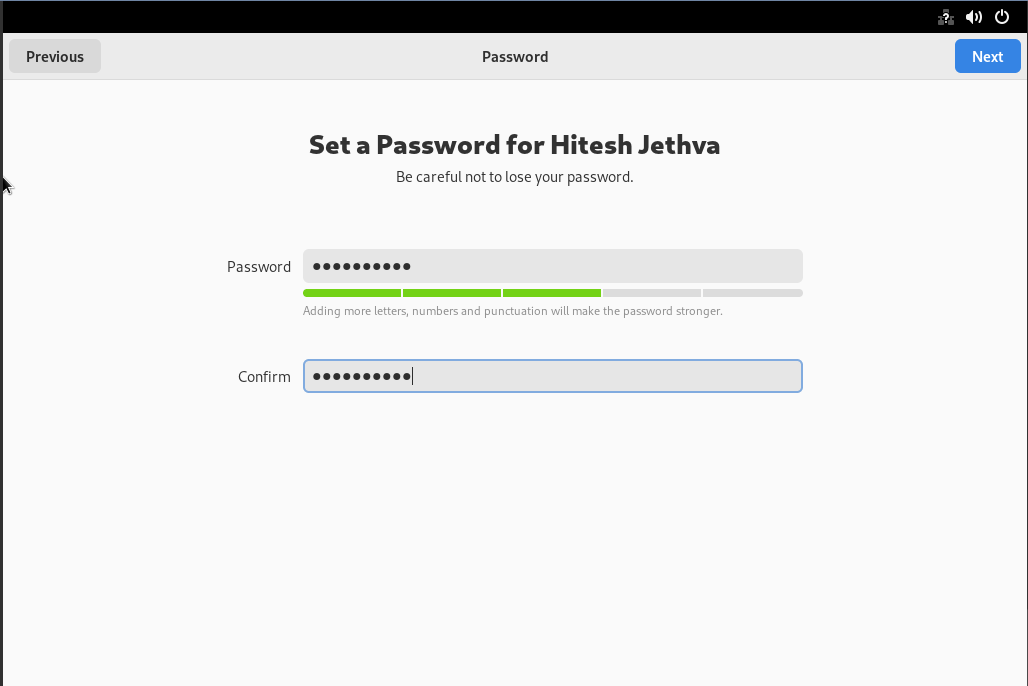
9. Set a password for your user and click Next. Once setup is complete, you will see the following screen.

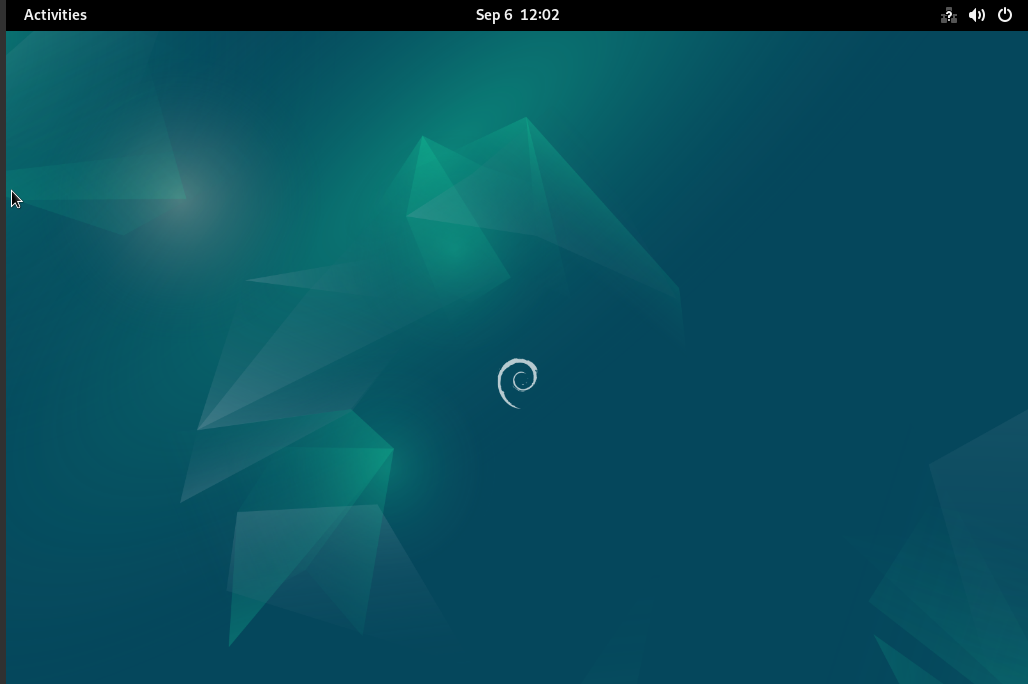
10. Click Start Using Debian GNU/Linux. You will be redirected to your Debian Desktop session.
Conclusion
In this tutorial, you learned how to install and configure the GNOME Desktop Environment on Debian 12. With GNOME now running on Debian 12, you have a modern, user-friendly desktop environment ready for daily use. You can further personalize it with themes, extensions, and additional applications, making Debian 12 both powerful and easy to use as a desktop operating system.
* This post is for informational purposes only and does not constitute professional, legal, financial, or technical advice. Each situation is unique and may require guidance from a qualified professional.
Readers should conduct their own due diligence before making any decisions.