There are several reasons you want to use multiple versions of PHP with Nginx on your server. If you have two applications, one application which runs on PHP 7.0 and a second application which runs on PHP 7.2, then you must use multiple PHP versions on your server. You can also use a separate server for each PHP version, but it will increase your hosting cost. Installing multiple versions of PHP with Nginx is the best choice to reduce hosting cost.
In this tutorial, we will install multiple versions of PHP and configure Nginx to work with both versions of PHP.
Prerequisites
- A fresh Ubuntu 18.04 VPS with a minimum 2 GB RAM.
- Two valid domain names pointed with your VPS IP address. In this tutorial, we will use site1.example.com and site2.example.com.
Note : You can refer the Atlantic DNS Guide to manage the DNS records.
Step 1 – Install Nginx and MariaDB
First, you will need to install the Nginx web server on your server. You can install Nginx by just running the following command:
apt-get install nginx mariadb-server -y
Once installed, start Nginx and MariaDB server, and enable them to start after system reboot with the following command:
systemctl start nginx
systemctl start mariadb
systemctl enable nginx
systemctl enable mariadb
Step 2 – Install PHP 7.0 and PHP 7.2 with PHP-FPM
First, you will need to add PHP repository to your server to install multiple versions of PHP. You can add Ondrej PHP repository with the following command:
apt-get install software-properties-common -y
add-apt-repository ppa:ondrej/php
Next, update the repository with the following command:
apt-get update -y
Once the repository is up to date, install PHP 7.0, PHP 7.2 and PHP-FPM with the following command:
apt-get install php7.0 php7.0-fpm php7.2 php7.2-fpm -y
Once the installation has been completed, check the status of PHP-FPM with the following command:
systemctl status php7.0-fpm
systemctl status php7.2-fpm
Step 3 – Create Website1 and Website2
Next, create a document root directory for Website1 and Website2 with the following command:
mkdir /var/www/html/site1.example.com
mkdir /var/www/html/site2.example.com
Next, create a sample index.php file for website site1.example.com:
nano /var/www/html/site1.example.com/index.php
Add the following lines:
<?php
phpinfo();
?>
Save and close the file. Then, create an index.php file for site2.example.com:
nano /var/www/html/site2.example.com/index.php
Add the following lines:
<?php
phpinfo();
?>
Save and close the file. Then, change the ownership of both websites to www-data:
chown -R www-data:www-data /var/www/html/site1.example.com
chown -R www-data:www-data /var/www/html/site2.example.com
Step 4 – Configure Nginx
Next, you will need to create an Nginx virtual host file for domain site1.linuxbuz.com that uses PHP 7.0.
You can do it with the following command:
nano /etc/nginx/sites-available/site1.example.com.conf
Add the following lines:
server {
   listen 80;
   root /var/www/html/site1.example.com/;
   index index.php;
server_name site1.example.com;
   location / {
      try_files $uri $uri/ =404;
   }
   location ~ \.php$ {
      try_files $uri =404;
      fastcgi_split_path_info ^(.+\.php)(/.+)$;
      fastcgi_pass unix:/var/run/php/php7.0-fpm.sock;
      fastcgi_index index.php;
      fastcgi_param SCRIPT_FILENAME $document_root$fastcgi_script_name;
      include fastcgi_params;
   }
}
Save and close the file.
Next, create an Nginx virtual host file for domain site2.example.com that uses PHP 7.2.
nano /etc/nginx/sites-available/site2.example.com.conf
Add the following lines:
server {
   listen 80;

   root /var/www/html/site2.example.com/;
   index index.php;

   server_name site2.example.com;

   location / {
      try_files $uri $uri/ =404;
   }

   location ~ \.php$ {
      try_files $uri =404;
      fastcgi_split_path_info ^(.+\.php)(/.+)$;
      fastcgi_pass unix:/var/run/php/php7.2-fpm.sock;
      fastcgi_index index.php;
      fastcgi_param SCRIPT_FILENAME $document_root$fastcgi_script_name;
      include fastcgi_params;
   }
}
Save and close the file. Then, enable both virtual host files with the following command:
ln -s /etc/nginx/sites-available/site1.example.com.conf /etc/nginx/sites-enabled/
ln -s /etc/nginx/sites-available/site2.example.com.conf /etc/nginx/sites-enabled/
Finally, restart Nginx and PHP-FPM service to apply all the configuration changes:
systemctl restart nginx
systemctl restart php7.0-fpm
systemctl restart php7.2-fpm
Step 5 – Test Both Websites
Both websites are now installed and configured run with multiple versions of PHP.
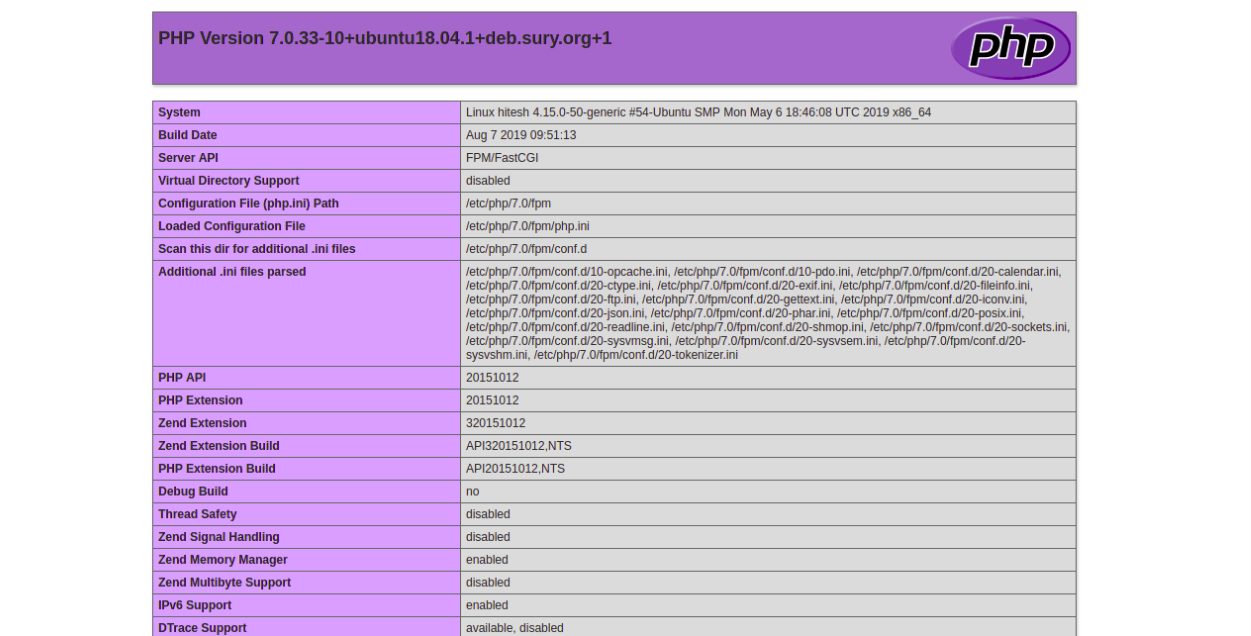
Now, open your web browser and type the URL http://site1.example.com. You will get the following page that indicates that your Website1 is running with PHP 7.0.
Next, open your web browser and type the URL http://site2.example.com. You will get the following page that indicates that your Website2 is running with PHP 7.2.

That’s it for now.
Conclusion
In the above article, you have learned how to host multiple websites with different PHP versions on Ubuntu 18.04. You should now have enough knowledge to use different PHP versions with different applications. If you’re ready to get started with a virtual private server for hosting your websites, visit Atlantic.Net’s VPS Hosting page to find a hosting package that’s right for you.
* This post is for informational purposes only and does not constitute professional, legal, financial, or technical advice. Each situation is unique and may require guidance from a qualified professional.
Readers should conduct their own due diligence before making any decisions.