Verified and Tested 03/12/2015
Introduction
In this how-to, we will walk you through Configuring Active Directory in Windows Server 2012.
Active Directory, also known as AD, is a service that comes with many Windows Server Operating Systems. It is used to manage Domain Networks distinguishing an administrator user and everyday users.
Once the AD DS role is installed, the server will need to be configured for your domain.
Prerequisites
– A Server with Windows Server 2012. If you do not have a server already, you can visit our VPS Hosting page and spin a new server up in under 30 seconds.
– Active Directory(AD) installed on your server. See the following article, “Installing Active Directory in Windows Server 2012,” for more information.
Configuring Active Directory
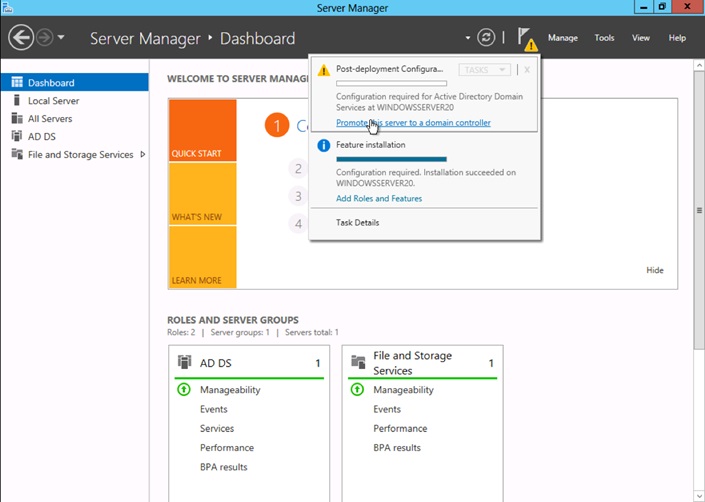
Open the Server Manager from the taskbar.
Open the Notifications Pane by selecting the Notifications icon from the top of the Server Manager. From the notification regarding configuring AD DS, click Promote this server to a domain controller.
Promote Server
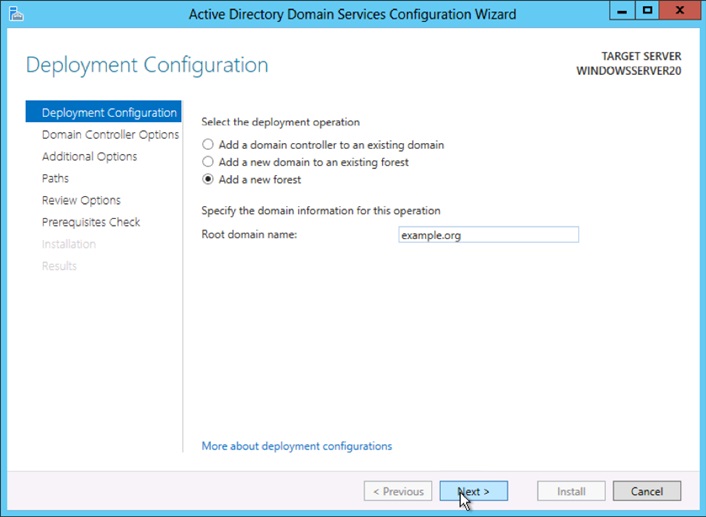
From the Deployment Configuration tab, select Add a new forest from the radial options menu. Insert your root domain name into the Root domain name field.
Deployment Configuration
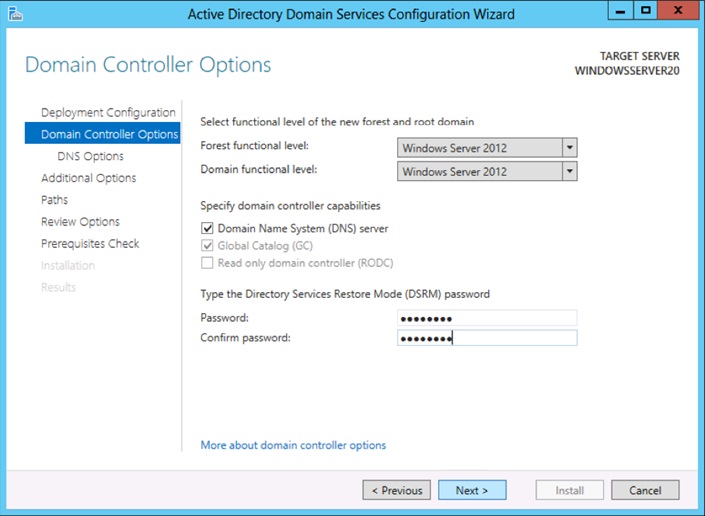
Review and select a Domain and Forest functional level. Once selected, fill in a DSRM password in the provided password fields. The DSRM password is used when booting the Domain Controller into recovery mode.
Domain Controller Options
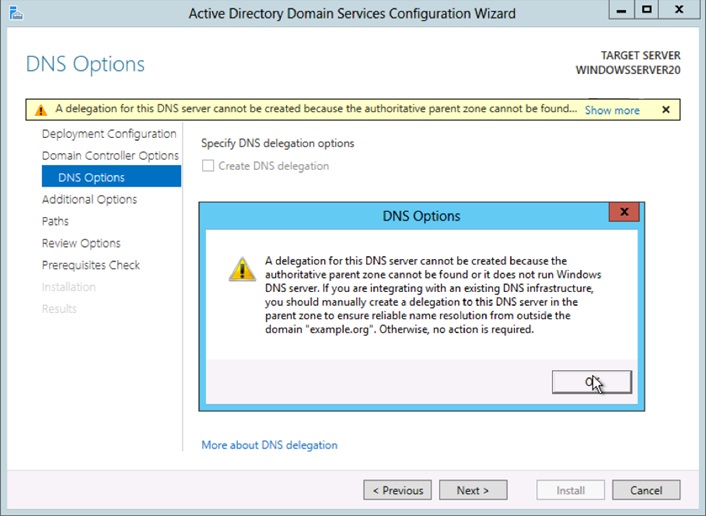
Review the warning on the DNS Options tab and select Next.
DNS Options
Confirm or enter a NetBIOS name and click Next.
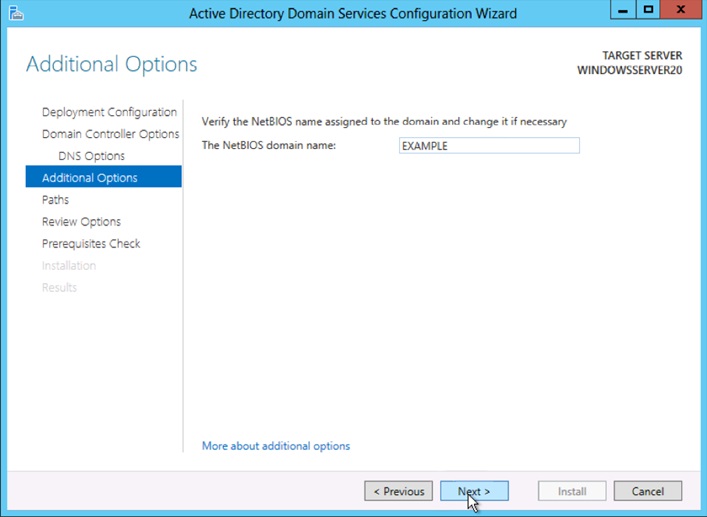
Additional Options
Configure the location of the SYSVOL, Log files, and Database folders and click Next.
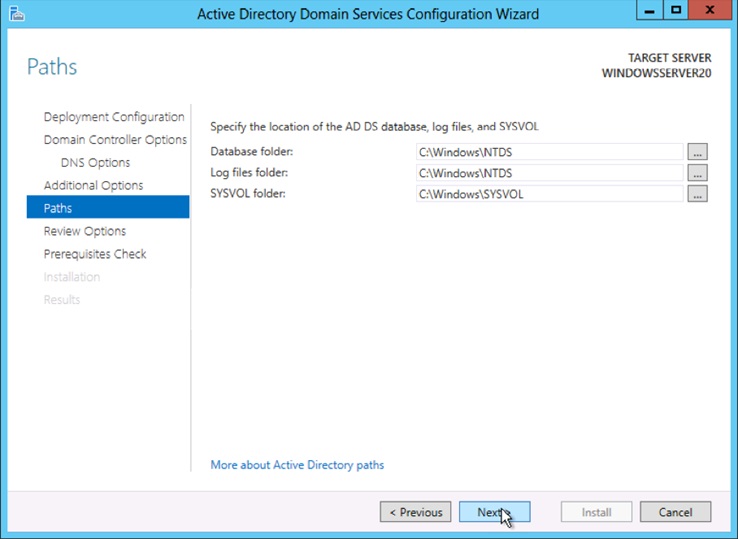
Paths
Review the configuration options and click Next.
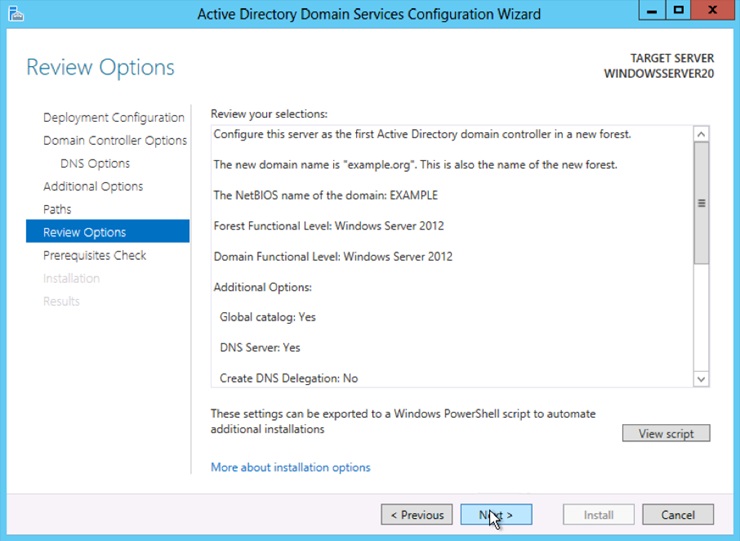
Review Options
The system will check to ensure all necessary prerequisites are installed on the system before moving forward. If the system passes these checks, you will proceed by clicking Install. Then, the system will automatically reboot.
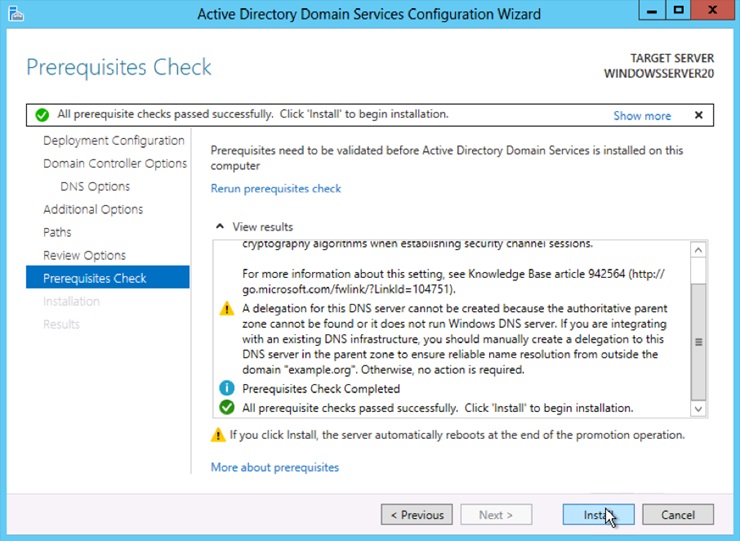
Prerequisite checks
Once the server has completed the reboot, reconnect via RDP.
Congratulations! You have just Configured Active Directory in Windows Server 2012. Thank you for following along in this How-To, and check back with us for any new updates.
Learn more about our VPS hosting services and VPS hosting price.
* This post is for informational purposes only and does not constitute professional, legal, financial, or technical advice. Each situation is unique and may require guidance from a qualified professional.
Readers should conduct their own due diligence before making any decisions.