Apache Solr is an open-source, REST API-based search platform built on Apache Lucene Framework. It is also called “Searching On Lucene w/Replication.” Written in Java Language, Apache Solr is designed for scalability and fault tolerance. Solr is enterprise-ready, fast, and highly scalable, making it ideal for use in search-based and big data analytics applications. In simple terms, Solr is a ready-to-deploy search engine that is optimized to search large volumes of text-centric data.
In this post, we will show you how to install Apache Solr on Oracle Linux 10.
Step 1 – Install Java JDK
Apache Solr is written in Java, so Java must be installed on your server. If not installed, you can install it with the following command:
dnf update -y
dnf install java-21-openjdk -y
Once installed, you can verify the Java version using the following command:
java --version
You should get the following output:
openjdk 21.0.9 2025-10-21 LTS
OpenJDK Runtime Environment (Red_Hat-21.0.9.0.10-1.0.1) (build 21.0.9+10-LTS)
OpenJDK 64-Bit Server VM (Red_Hat-21.0.9.0.10-1.0.1) (build 21.0.9+10-LTS, mixed mode, sharing)
You will also need to install the EPEL repository on your server. You can install it with the following command:
dnf install -y https://dl.fedoraproject.org/pub/epel/epel-release-latest-10.noarch.rpm
Also Read
How to Install and Manage Java Versions on Oracle Linux 8
Step 2 – Download Apache Solr
By default, Apache Solr is not included in the Oracle Linux default repository, so you will need to download it from their official website.
You can download it with the following command:
wget https://dlcdn.apache.org/solr/solr/9.10.0/solr-9.10.0.tgz
Once Apache Solr is downloaded, download the SHA512 checksum using the following command:
wget https://downloads.apache.org/solr/solr/9.10.0/solr-9.10.0.tgz.sha512
Next, calculate the SHA512 checksum of the Apache Solr downloaded file:
gpg --print-md SHA512 solr-9.10.0.tgz
Sample output:
solr-9.10.0.tgz: F97153CE 12A1B881 34B54C4A 5A74F6EE DD67E060 92B6CAA3 CC9DDAFF
                 7B65FA3D 4816E770 2FB07A54 CC0E8372 4EB9CEAB 78AF7710 0B688CD6
                 8323B5A9 88E031BE
Next, compare the hash value to the contents of the SHA512 file:
cat solr-9.10.0.tgz.sha512
Sample output:
f97153ce12a1b88134b54c4a5a74f6eedd67e06092b6caa3cc9ddaff7b65fa3d4816e7702fb07a54cc0e83724eb9ceab78af77100b688cd68323b5a988e031be *solr-9.10.0.tgz
After matching the SHA512 hashes, extract the downloaded file with the following command:
tar xzf solr-9.10.0.tgz
Step 3 – Install Apache Solr
At this point, Apache Solr is downloaded and ready for installation. You can install it using the following command:
./solr-9.10.0/bin/install_solr_service.sh solr-9.10.0.tgz
Once the installation is complete, you should get the following output:
{
  "solr_home":"/var/solr/data",
  "version":"9.10.0 6fe796b4300e3fceffd8a2e450c4a3ba0fe85f81 - janhoy - 2025-11-02 17:26:05",
  "startTime":"Thu Jan 01 22:28:56 EST 2026",
  "uptime":"0 days, 0 hours, 0 minutes, 11 seconds",
  "memory":"119.2 MB (%23.3) of 512 MB"}
By default, Solr listens on localhost. So you will need to configure it to listen on all interface.
nano /etc/default/solr.in.sh
Change the following lines:
SOLR_HOST="0.0.0.0"
SOLR_JETTY_HOST="0.0.0.0"
SOLR_ZK_EMBEDDED_HOST="0.0.0.0"
Next, restart the Solr service.
systemctl restart solr
At this point, Apache Solr is started and listens on port 8983. You can check it with the following command:
ss -altnp | grep 8983
Sample output:
LISTEN 0 50 *:8983 *:* users:(("java",pid=4739,fd=157))
Step 4 – Configure Firewall
If the firewalld firewall is installed and running in your server, then you will need to allow port 8983 through firewalld. You can allow it with the following command:
firewall-cmd --add-port=8983/tcp --permanent
Next, reload the firewall using the following command:
firewall-cmd --reload
Also Read
How to Setup Firewall with Firewalld
Step 5 – Access Apache Solr
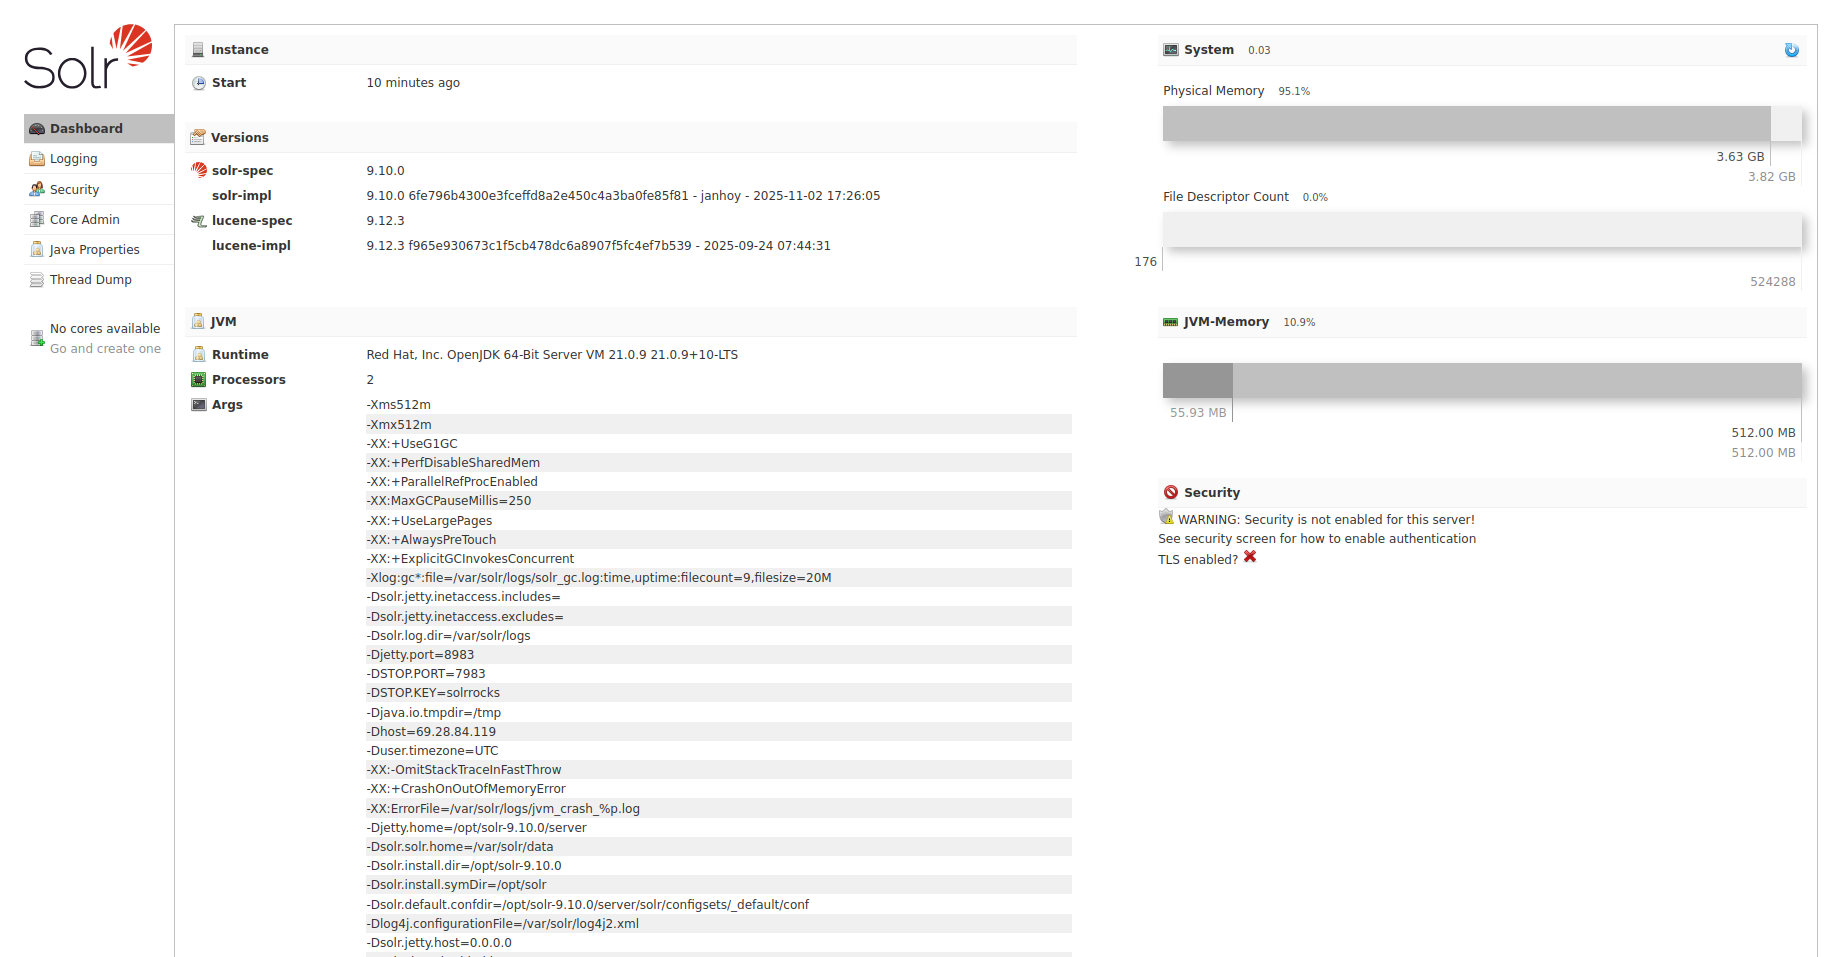
You can now open your web browser and access the Apache Solr web interface using the URL http://your-server-ip:8983/solr. You should see the Apache Solr dashboard on the following page:
Conclusion
Congratulations! You have successfully installed Apache Solr on Oracle Linux 10. You can now start building a search-based big analytics application using the Apache Solr. Give it a try on your virtual private server from Atlantic.Net!
* This post is for informational purposes only and does not constitute professional, legal, financial, or technical advice. Each situation is unique and may require guidance from a qualified professional.
Readers should conduct their own due diligence before making any decisions.