Table of Contents
Introduction
Numerous applications will require Microsoft’s .NET framework to work correctly. By default, Windows Server 2012 R2 does not have .NET 3.5 installed. This article will explain how to install .NET 3.5 on your cloud server.
Installing .NET on Windows Server 2012 R2
Find and open the “Add Roles and Feature Wizard”
 Server Manager
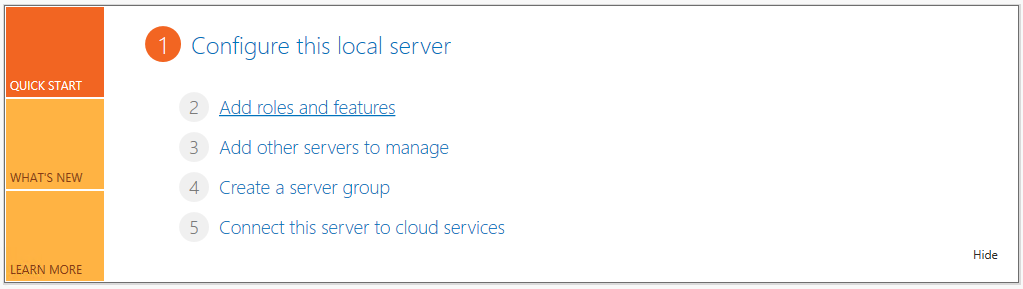
The easiest way to get there is through the server manager window.
 Add roles and features
Click on “Add roles and features”. This will open a new window as shown below.
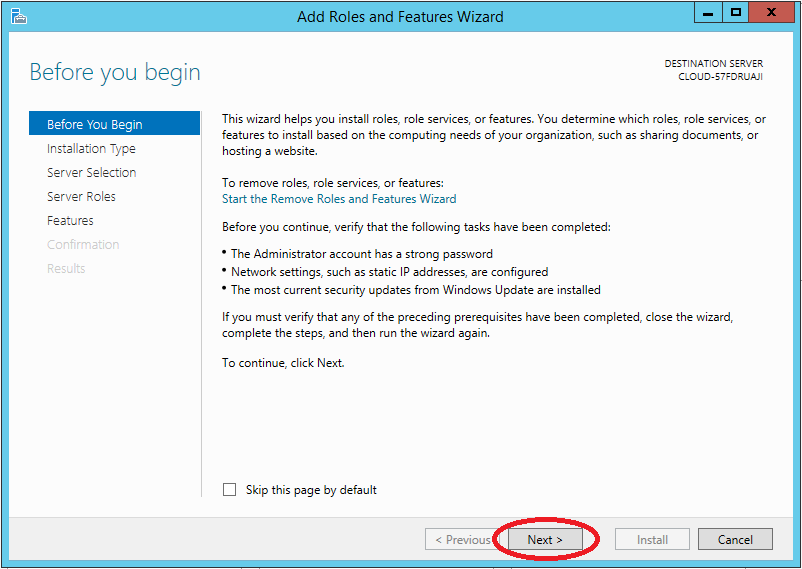 Before You Begin
 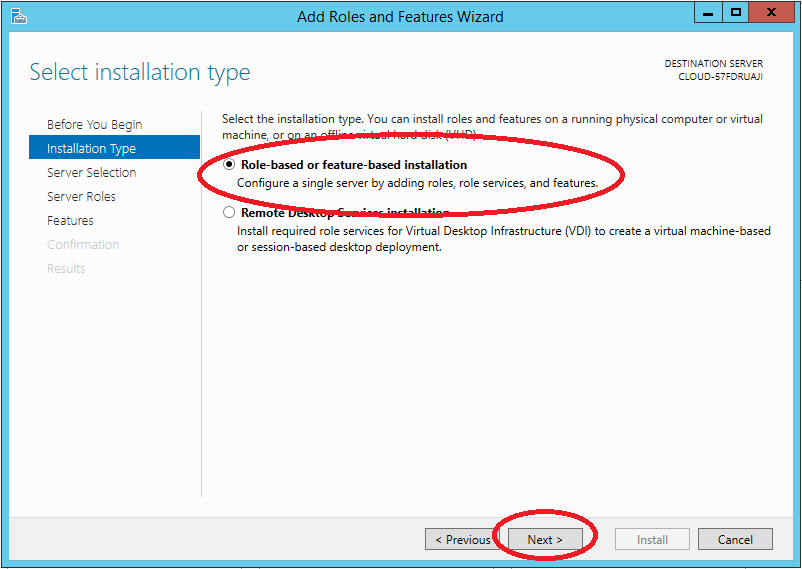 Installation Type
 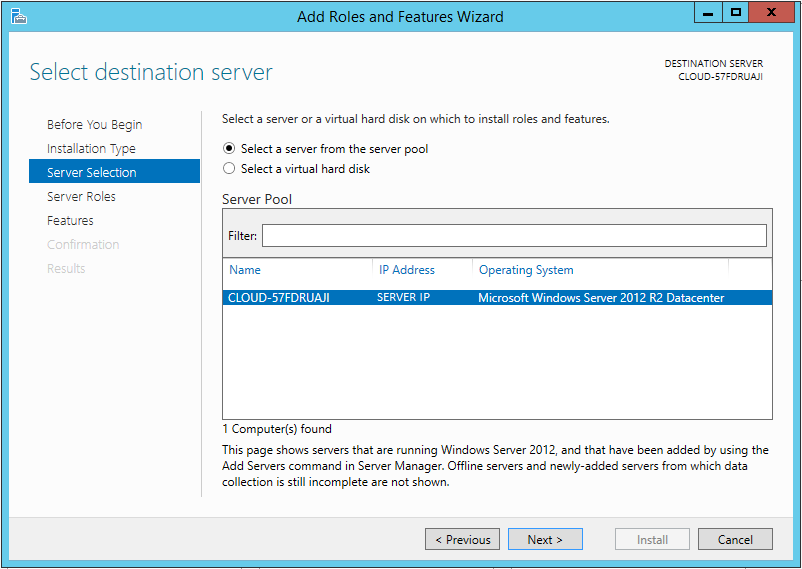 Server Selection
You should see only one server under the “Server Selection” window. This will be the case for most users that are not managing multiple servers. Otherwise, you will need to make sure to select the applicable server you wish to install .NET 3.5 on. Click Next to proceed.
The next window will drop you into the “Server Roles” category. You will need to click on the Features category to find “.NET Framework 3.5 Features”. Select the following and click Next to proceed with the installation confirmation.
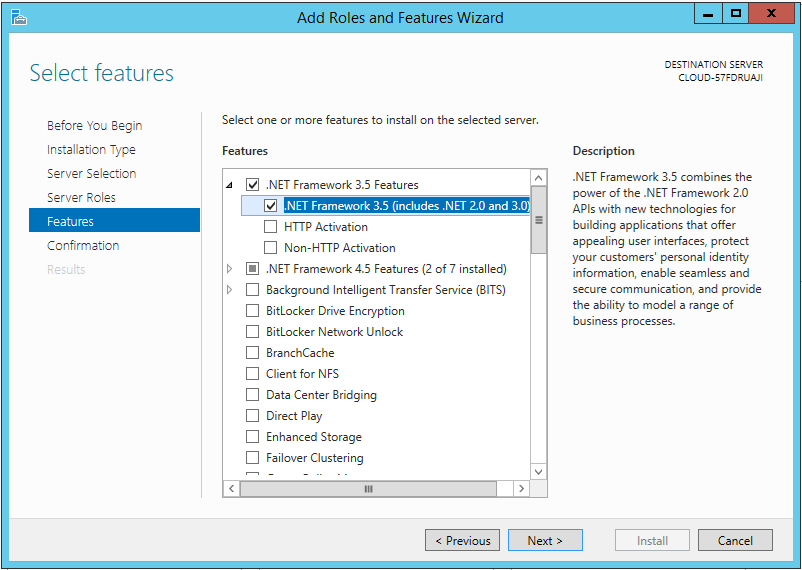 Select feature
 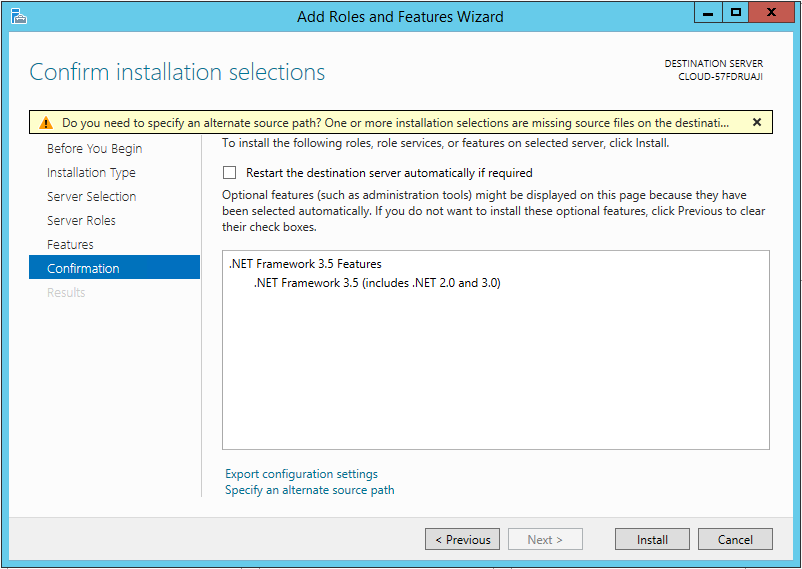 Confirm Installation selection
Click the Install button and monitor for completion.
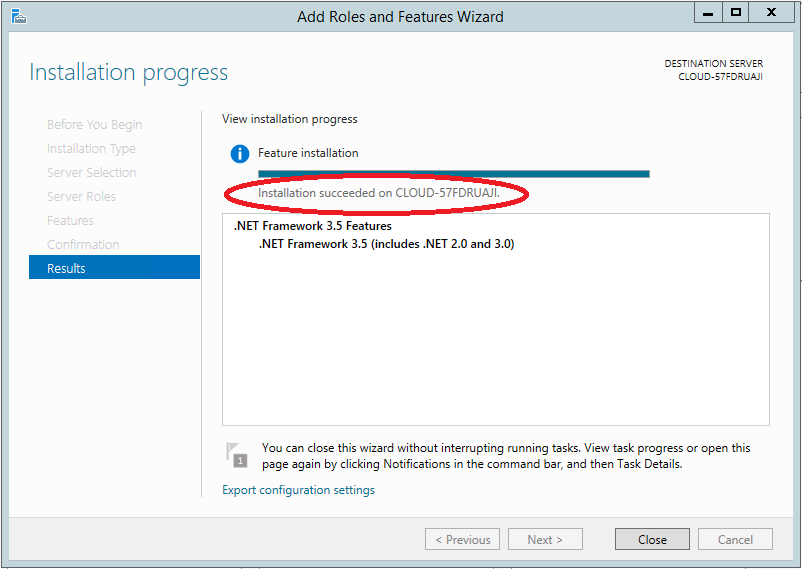 Verify Results
You now have .Net Framework 3.5 installed!
* This post is for informational purposes only and does not constitute professional, legal, financial, or technical advice. Each situation is unique and may require guidance from a qualified professional.
Readers should conduct their own due diligence before making any decisions.