OpenLiteSpeed is a free, open-source, lightweight web server developed by LiteSpeed Technologies. Compared to Apache and Nginx, OpenLiteSpeed is known for its speed and performance. Furthermore, it also provides a web-based interface to easily manage virtual hosts, modules, and websites.
Features
- Event-driven architecture
- Handles hundreds of thousands of concurrent connections
- Web-based admin panel
- Ability to bind certain processes to particular workers
- Support of third-party modules through API
- Compatibility with third-party PHP accelerators
In this post, we will show you how to install an OpenLiteSpeed web server on Rocky Linux 8.
Step 1 – Install OpenLiteSpeed Repo
By default, the OpenLiteSpeed package is not included in the Rocky Linux 8 default repo, so you will need to add the OpenLiteSpeed repo to your system. You can install it using the following command:
rpm -Uvh http://rpms.litespeedtech.com/centos/litespeed-repo-1.1-1.el8.noarch.rpm
You will also need to install the EPEL repo to your system. You can install it with the following command:
dnf install epel-release -y
Once the installation is complete, you can proceed to install OpenLiteSpeed.
Also Read
How to Install Lighttpd Web Server on Oracle Linux 8
Step 2 – Install OpenLiteSpeed
Now, you can install the OpenLiteSpeed web server by running the following command:
dnf install openlitespeed -y
After the installation, start and enable the OpenLiteSpeed service with the following command:
systemctl start lsws
systemctl enable lsws
You can check the status of OpenLiteSpeed with the following command:
systemctl status lsws
You will get the following output:
● lshttpd.service - OpenLiteSpeed HTTP Server
   Loaded: loaded (/usr/lib/systemd/system/lshttpd.service; enabled; vendor preset: disabled)
   Active: active (running) since Sat 2022-01-29 06:30:51 UTC; 20s ago
  Process: 92840 ExecStart=/usr/local/lsws/bin/lswsctrl start (code=exited, status=0/SUCCESS)
 Main PID: 92865 (litespeed)
   CGroup: /system.slice/lshttpd.service
           ├─92865 openlitespeed (lshttpd - main)
           ├─92869 openlitespeed (lscgid)
           ├─92882 openlitespeed (lshttpd - #01)
           └─92883 lsphp

Jan 29 06:30:48 rockylinux systemd[1]: Starting OpenLiteSpeed HTTP Server...
Jan 29 06:30:49 rockylinux lswsctrl[92840]: [OK] litespeed: pid=92865.
Jan 29 06:30:51 rockylinux systemd[1]: Started OpenLiteSpeed HTTP Server.
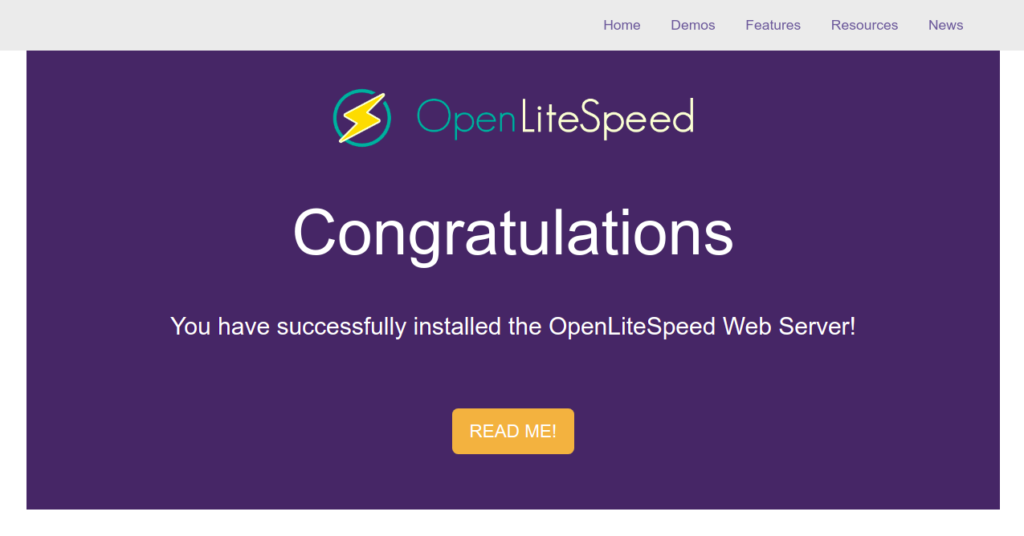
By default, OpenLiteSpeed listens on port 8088. You can access it using the URL http://your-server-ip:8088. You should see the OpenLiteSpeed test page on the following screen:
Step 3 – Setup OpenLiteSpeed Admin Password
In order to access the OpenLiteSpeed admin interface, you will need to set the admin password. You can set it using the following command:
/usr/local/lsws/admin/misc/admpass.sh
You will be asked to define the admin username and password as shown below:
Please specify the user name of administrator.
This is the user name required to login the administration Web interface.

User name [admin]: admin

Please specify the administrator's password.
This is the password required to login the administration Web interface.

Password:
Retype password:
Administrator's username/password is updated successfully!
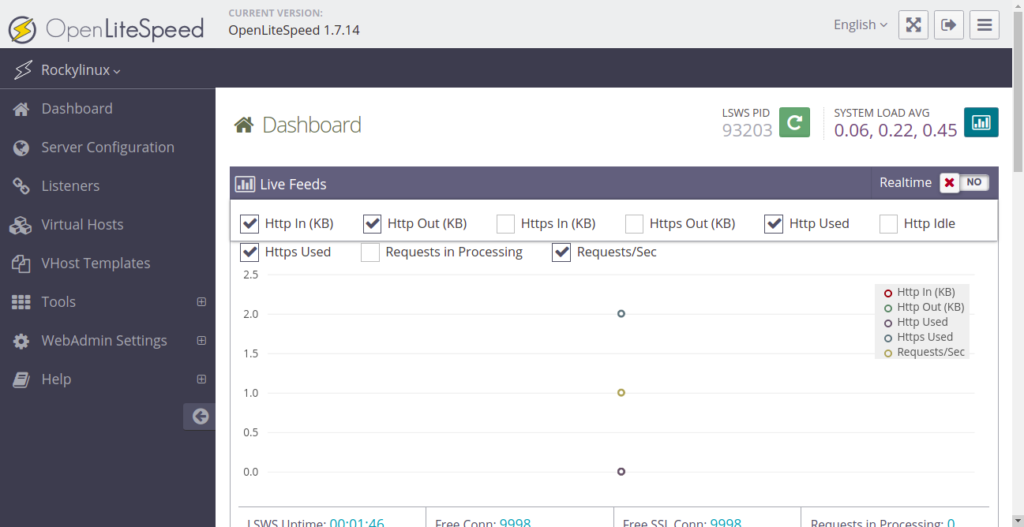
You can now access the OpenLiteSpeed admin interface using the URL https://your-server-ip-address:7080. You should see the OpenLiteSpeed login screen:
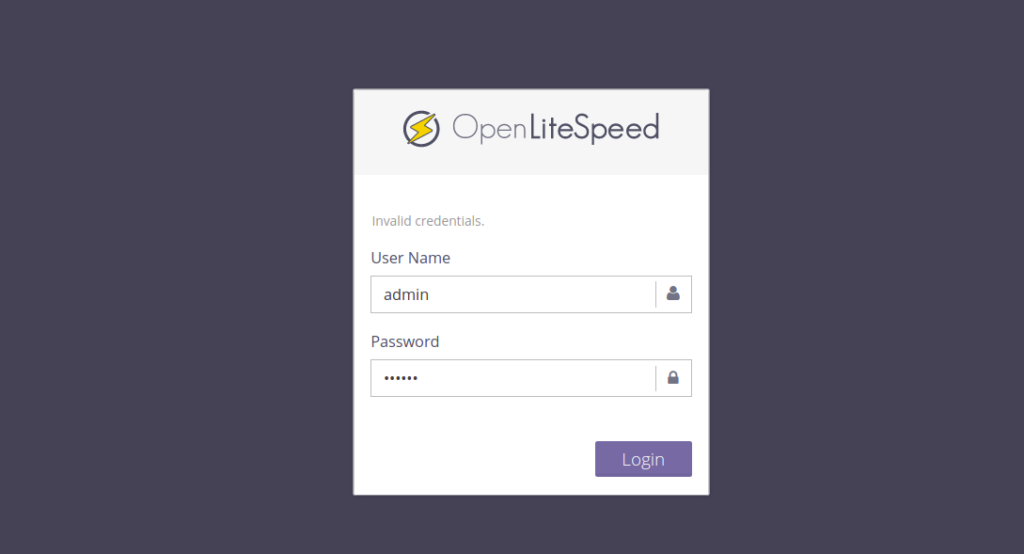
Provide your admin username and password and click on the Login button. You should see the OpenLiteSpeed dashboard on the following screen:
Step 4 – Install PHP 7.4 on OpenLiteSpeed
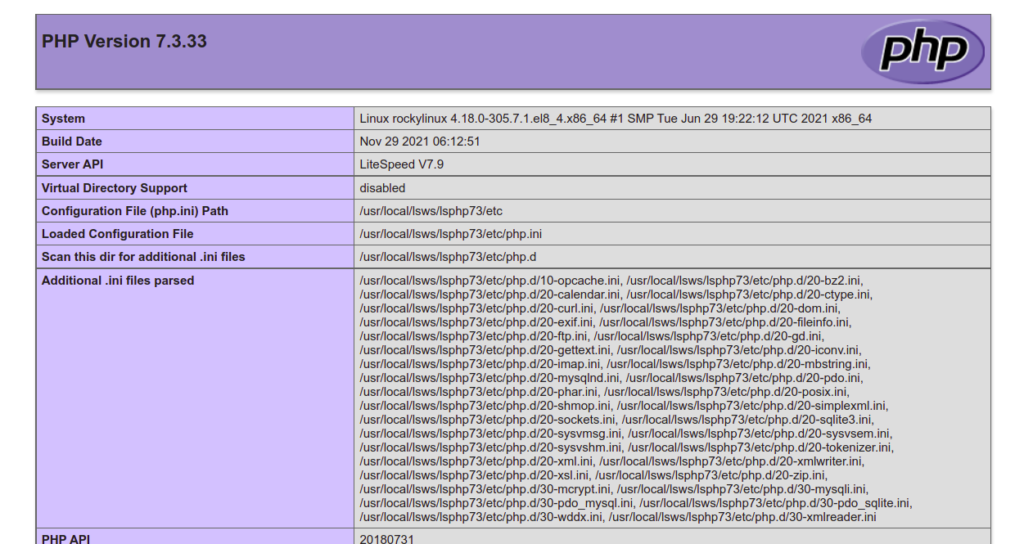
By default, OpenLiteSpeed comes with PHP version 7.3. You can check it using the URL http://your-server-ip-address:8088/phpinfo.php. You should see the PHP version on the following screen:
If you want to install PHP version 7.4, run the following command:
dnf install lsphp74 lsphp74-mysqlnd lsphp74-common lsphp74-xml lsphp74-mbstring lsphp74-mcrypt lsphp74-process lsphp74-bcmath lsphp74-pdo
lsphp74-soap lsphp74-gd lsphp74-opcache
After installing PHP 7.4, you will need to edit the httpd_config.conf configuration file and change the default PHP version to PHP 7.4:
nano /usr/local/lsws/conf/httpd_config.conf
Find the following line:
path $SERVER_ROOT/lsphp73/bin/lsphp
And replace it with the following line:
path $SERVER_ROOT/lsphp74/bin/lsphp
Save and close the file, then stop all PHP processes with the following command:
kill -9 `pidof lsphp`
Next, restart the OpenLiteSpeed service to apply the changes:
systemctl restart lsws
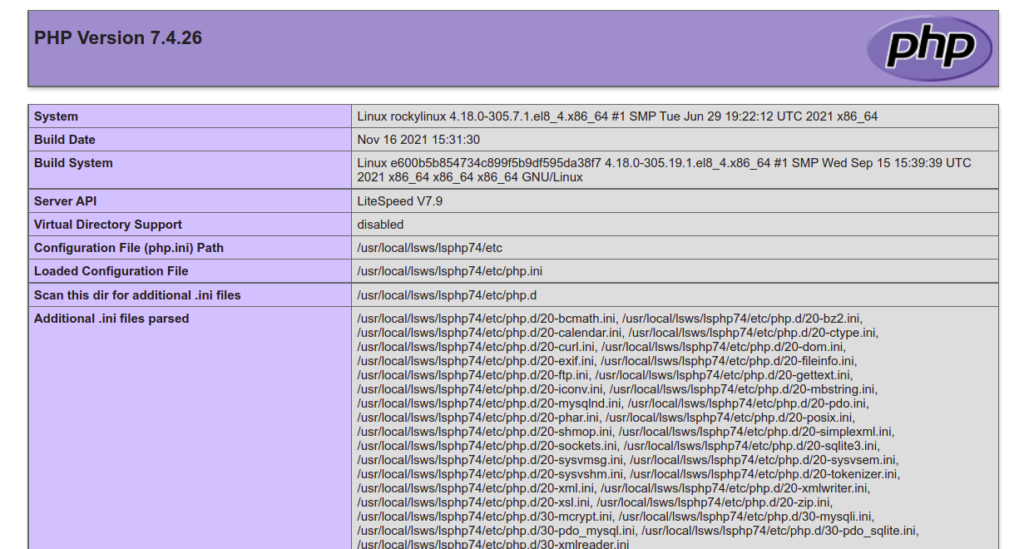
Now, open your web browser and verify the PHP version using the URL http://your-server-ip-address:8088/phpinfo.php. You should see the PHP 7.4 on the following screen:
Also Read
How to Install Linux, Apache, MySQL, PHP on Ubuntu 20.04
Conclusion
In the above guide, we explained how to install the OpenLiteSpeed web server on Rocky Linux 8. We also explained how to install and change the default PHP version. You can now start creating your website using the OpenLiteSpeed web interface. Try it on dedicated server hosting from Atlantic.Net!