Hestia Control Panel is a powerful, free, open-source web hosting control panel that can be used to host websites, mail servers, DNS, and other web hosting features from the central location. It is designed for speed, security, and stability, and capably runs on a low-resource server. Hestia Control Panel comes with a user-friendly web and command-line interface that enables deployment and management of web domains, mail accounts, and DNS zones without hassle.
In this tutorial, we will show you how to install Hestia Control Panel on Debian 12.
[jumpbox]
Prerequisites
- A fresh Debian 12 64-bit VPS with 4GB RAM.
- A valid domain name that your server IP points to.
- A root password configured on your server.
Step 1 – Download Hestia Installation Script
Before starting, you will need to install the required dependencies on your server. You can install all of them with the following command:
apt-get install ca-certificates gnupg2 curl wget unzip systemd-timesyncd -y
Next, start and enable the timesyncd service.
systemctl enable --now systemd-timesyncd
After installing all the packages, you will need to download the Hestia installation script. You can download it with the following command:
wget https://raw.githubusercontent.com/hestiacp/hestiacp/release/install/hst-install.sh
Once downloaded, give proper permission to the downloaded script with the following command:
chmod 755 hst-install.sh
Step 2 – Install Hestia
Now, run the downloaded installation script to start the installation with the following command:
bash hst-install.sh
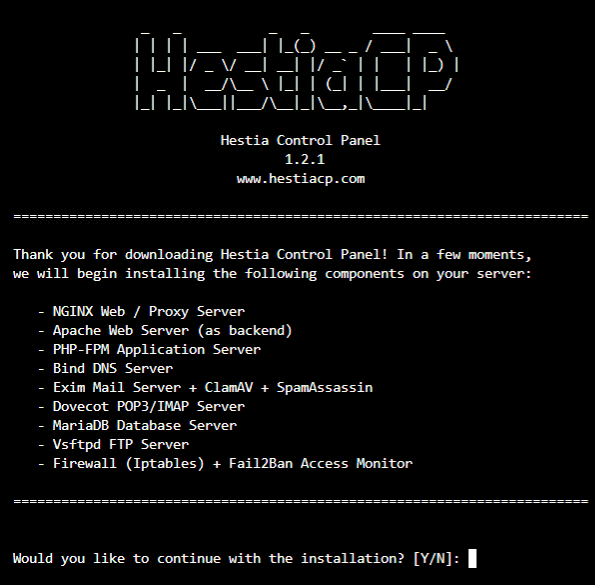
You should see the following output:
Please use a valid username (ex. user).
Please enter administrator username: hjethva
Please enter administrator password: securepassword
Press Y to continue the installation
Please enter admin email address: [email protected]
Please enter FQDN hostname [debian10]: hestia.example.com
Provide your admin username, password, email address and valid domain name, and hit Enter to start the installation. Once the installation has been completed successfully, you should see the following output:
Congratulations!

You have successfully installed Hestia Control Panel on your server.

Ready to get started? Log in using the following credentials:

	Admin URL:  https://hestia.example.com:8083
	Backup URL: https://69.87.218.182:8083
 	Username:   hjethva
	Password:   The password you chose during installation.

Thank you for choosing Hestia Control Panel to power your full stack web server,
we hope that you enjoy using it as much as we do!

Please feel free to contact us at any time if you have any questions,
or if you encounter any bugs or problems:

Documentation:  https://docs.hestiacp.com/
Forum:          https://forum.hestiacp.com/
GitHub:         https://www.github.com/hestiacp/hestiacp

Note: Automatic updates are enabled by default. If you would like to disable them,
please log in and navigate to Server > Updates to turn them off.

Help support the Hestia Control Panel project by donating via PayPal:
https://www.hestiacp.com/donate

--
Sincerely yours,
The Hestia Control Panel development team

Made with love & pride by the open-source community around the world.
[ ! ] IMPORTANT: The system will now reboot to complete the installation process.
Press any key to continue
Press the Enter key to restart your server.
Note : Please remember the Hestia login URL and credentials as shown in the above output.
Step 3 – Manage Hestia Service
You can manage the Hestia service easily with systemd utility.
For example, you can start and stop the Hestia service with the following command:
systemctl start hestia
systemctl stop hestia
You can also verify the status of the Hestia service with the following command:
systemctl status hestia
You should see the following output:
● hestia.service - LSB: starts the hestia control panel
     Loaded: loaded (/etc/init.d/hestia; generated)
     Active: active (running) since Fri 2025-09-05 12:11:06 UTC; 1min 55s ago
       Docs: man:systemd-sysv-generator(8)
    Process: 447 ExecStart=/etc/init.d/hestia start (code=exited, status=0/SUCCESS)
      Tasks: 3 (limit: 4637)
     Memory: 26.0M
        CPU: 80ms
     CGroup: /system.slice/hestia.service
             ├─471 "nginx: master process /usr/local/hestia/nginx/sbin/hestia-nginx"
             ├─474 "nginx: worker process"
             └─496 "php-fpm: master process (/usr/local/hestia/php/etc/php-fpm.conf)"
Step 4 – Secure Hestia with Let’s Encrypt SSL
By default, Hestia is secured with a self-signed certificate, but it is not signed by a certificate authority (CA). Therefore, it is recommended to install an SSL certificate signed by a CA to place normal traffic in a protected, encrypted wrapper.
Let’s Encrypt is a free and non-profit certificate authority run by Internet Security Research Group. Its aim is to create a more secure and privacy-respecting Web by promoting the widespread adoption of HTTPS.
You can secure your Hestia with Let’s Encrypt free SSL by just running the following command:
v-add-letsencrypt-host
If successful, nothing will be displayed on the screen.
Step 5 – Access Hestia Control Panel
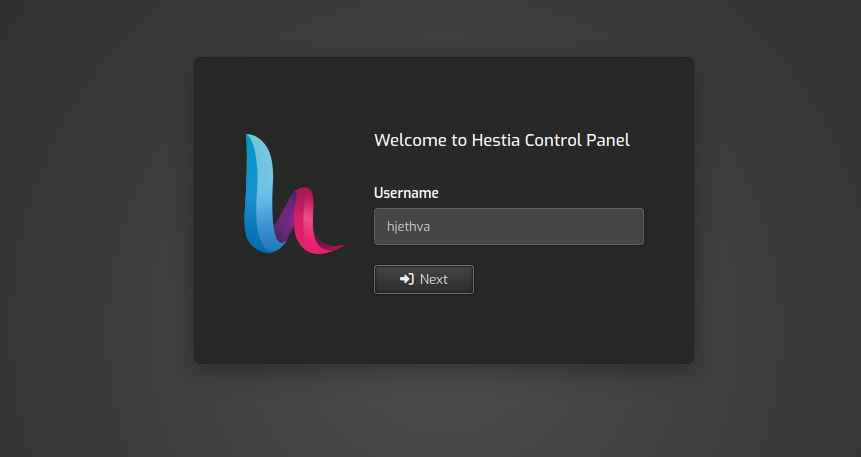
Now, open your web browser and type the URL https://hestia.example.com:8083. You will be redirected to the Hestia login screen:
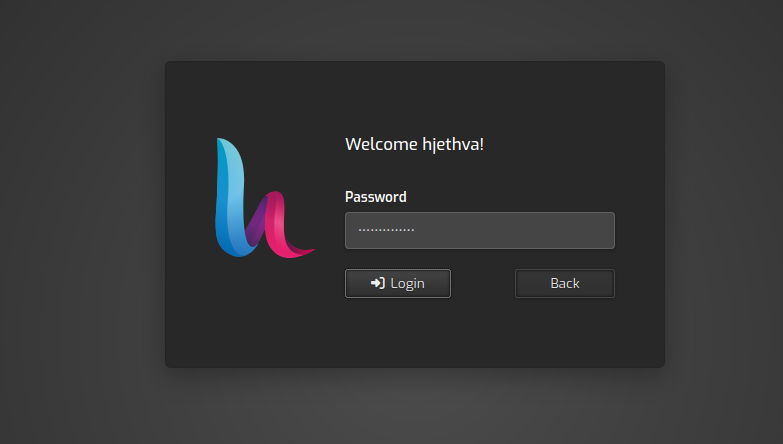
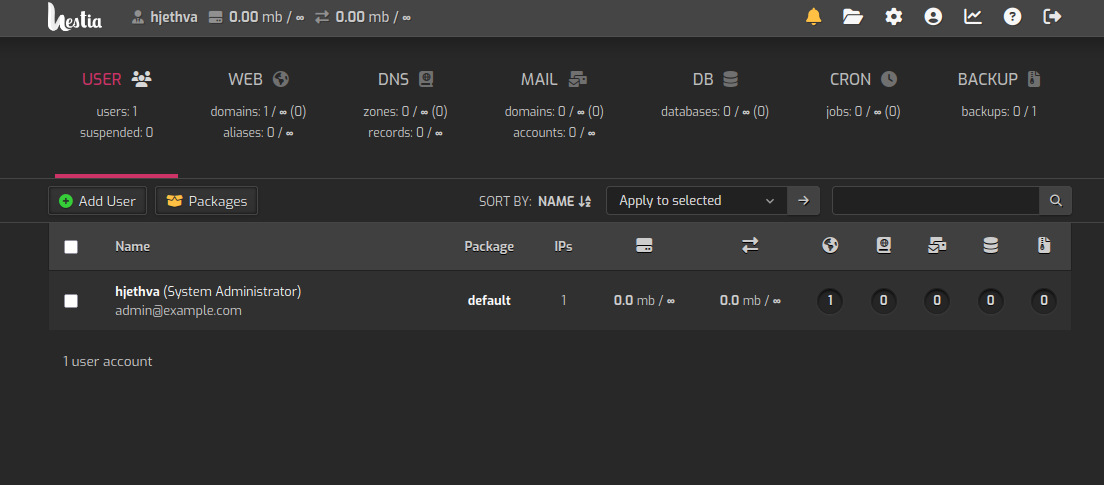
Provide your admin username, password, and click on the login button. You should see the Hestia Control Panel default dashboard.
Conclusion
Congratulations! You have successfully installed Hestia Control Panel and secure it with Let’s Encrypt SSL on Debian 12. You can now start setting up your host environment and other settings after logging on to the back-end panel. Get started today on your VPS hosting account from Atlantic.Net!
* This post is for informational purposes only and does not constitute professional, legal, financial, or technical advice. Each situation is unique and may require guidance from a qualified professional.
Readers should conduct their own due diligence before making any decisions.