Table of Contents
Verified and Tested 07/3/15
Introduction
This tutorial will show you how to install Hiawatha Web Server on CentOS 7. Hiawatha is a web server built with the focus on security. It has built-in rules that can prevent cross-site scripting and forgery, SQL injections, and resource expenditure. Although its focus is on security, it also excels in performance due to its lightweight design.
[jumpbox]
Installing Hiawatha on CentOS 7
Before we install Hiawatha, we need to make sure that our firewall is in order.
First, we need to update our firewall to allow HTTP and HTTPS traffic.
Check to see if your firewall is running by running
sudo systemctl status firewalld
If the firewall is not running, run the following command:
sudo systemctl start firewalld
If you want the firewall to start when CentOS 7 boots up, run the following command:
sudo systemctl enable firewalld
To allow HTTP and HTTPS, run the following commands:
sudo firewall-cmd --permanent --add-service=http
sudo firewall-cmd --permanent --add-service=https
You need to run the following command so that the rules above take effect.
sudo firewall-cmd --reload
Now that we have taken care of the firewall, we can install Hiawatha. In this how-to we are going to use the repo provided by Anku. Download the RPM with the following command:
sudo wget http://anku.ecualinux.com/7/x86_64/anku-release-8-1.noarch.rpm
Note: In some instances, you may not have wget installed, install it with the following command:
sudo yum install wget
Now that the RPM has been downloaded we can install it with the following command:
sudo rpm -ivh anku-release-8-1.noarch.rpm
Install Hiawatha with the following command:
sudo yum install hiawatha
Run the following command to start Hiawatha:
sudo service hiawatha start
We can now verify Hiawatha is working by opening your browser and entering the URL http://your-server-address. You should get an “Installation successful” page similar to the image below.
Note: If you do not know your IP address, run the following command:
sudo ip addr show eth0An example of using the ip addr command and getting the IP 192.168.100.10
In our example, we would put
http://192.168.100.10into our browser’s address bar.

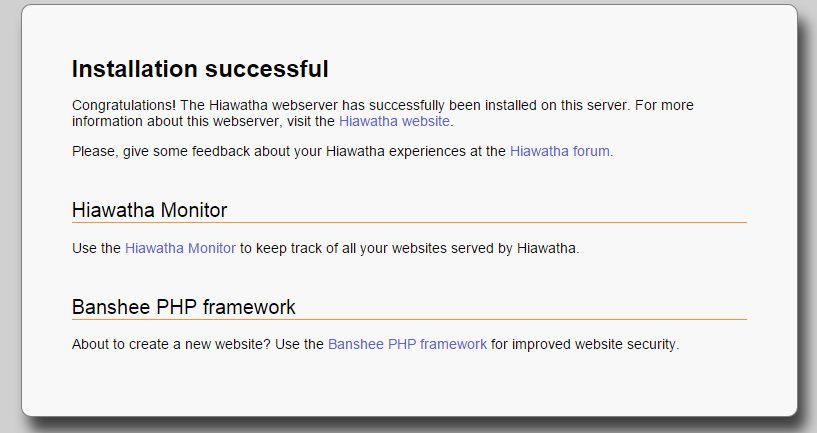
An example of the Hiawatha installation web page
Using the default settings, you can put your web content in the following directory:
/var/www/hiawatha
For any configuration changes that you may want to make, you can go to the following directory:
/etc/hiawatha
Congratulations on installing Hiawatha webserver on a CentOS server. Thank you for following along in this How-To, and check back with us for any new updates.
* This post is for informational purposes only and does not constitute professional, legal, financial, or technical advice. Each situation is unique and may require guidance from a qualified professional.
Readers should conduct their own due diligence before making any decisions.