Nginx is a free, open-source software solution for web serving, reverse proxying, caching, load balancing, media streaming, and more. Compared to Apache, Nginx is a high‑performance, highly scalable, and highly available web server. Thanks to its ability to handle massive numbers of connections, it is the preferred web server of many websites that deal with high traffic.
By default, the latest Nginx mainline version is not included in the Rocky Linux Appresteam repository. For a production environment, it is always recommended to install the latest version.
In this post, we will show you how to install the latest Nginx Mainline on Rocky Linux 10.
Step 1 – Add an Nginx Repository
First, install the dnf-utils package using the following command:
dnf install dnf-utils -y
Next, create an Nginx repo with the following command:
nano /etc/yum.repos.d/nginx.repo
Add the following lines:
[nginx-stable]
name=nginx stable repo
baseurl=http://nginx.org/packages/centos/$releasever/$basearch/
gpgcheck=1
enabled=1
gpgkey=https://nginx.org/keys/nginx_signing.key
module_hotfixes=true

[nginx-mainline]
name=nginx mainline repo
baseurl=http://nginx.org/packages/mainline/centos/$releasever/$basearch/
gpgcheck=1
enabled=0
gpgkey=https://nginx.org/keys/nginx_signing.key
module_hotfixes=true
Save and close the file, then enable the Nginx Mainline repo using the following command:
yum-config-manager --enable nginx-mainline
Step 2 – Install Nginx Mainline on Rocky Linux 10
Now, run the following command to install the latest Nginx Mainline package to your server.
dnf install nginx
You should see the following output:
nginx stable repo                                                                                               48 kB/s |  32 kB     00:00
nginx mainline repo                                                                                            111 kB/s |  86 kB     00:00
Dependencies resolved.
===============================================================================================================================================
 Package                     Architecture                 Version                                   Repository                            Size
===============================================================================================================================================
Installing:
 nginx                       x86_64                       1:1.29.3-1.el8.ngx                        nginx-mainline                       823 k

Transaction Summary
===============================================================================================================================================
Install  1 Package

Total download size: 823 k
Installed size: 2.8 M
Is this ok [y/N]: y
Once Nginx is installed, start the Nginx service and enable it to start at system reboot:
systemctl start nginx
systemctl enable nginx
Next, verify the status of Nginx with the following command:
systemctl status nginx
You should get the following output:
● nginx.service - The nginx HTTP and reverse proxy server
     Loaded: loaded (/etc/systemd/system/nginx.service; disabled; preset: disabled)
    Drop-In: /etc/systemd/system/nginx.service.d
             └─php-fpm.conf
     Active: active (running) since Tue 2025-10-21 00:50:23 EDT; 4s ago
 Invocation: eb29a7cc471746ec823b615fb2431507
    Process: 129170 ExecStartPre=/usr/bin/rm -f /run/nginx.pid (code=exited, status=0/SUCCESS)
    Process: 129172 ExecStartPre=/usr/sbin/nginx -t (code=exited, status=0/SUCCESS)
    Process: 129174 ExecStart=/usr/sbin/nginx (code=exited, status=0/SUCCESS)
   Main PID: 129176 (nginx)
      Tasks: 3 (limit: 24809)
     Memory: 2.9M (peak: 2.9M)
        CPU: 34ms
     CGroup: /system.slice/nginx.service
             ├─129176 "nginx: master process /usr/sbin/nginx"
             ├─129177 "nginx: worker process"
             └─129178 "nginx: worker process"

Oct 21 00:50:23 rocky systemd[1]: Starting nginx.service - The nginx HTTP and reverse proxy server...
Oct 21 00:50:23 rocky nginx[129172]: nginx: the configuration file /etc/nginx/nginx.conf syntax is ok
Oct 21 00:50:23 rocky nginx[129172]: nginx: configuration file /etc/nginx/nginx.conf test is successful
Oct 21 00:50:23 rocky systemd[1]: nginx.service: Failed to create reference to PID  from file '/run/nginx.pid': Invalid argument
Oct 21 00:50:23 rocky systemd[1]: Started nginx.service - The nginx HTTP and reverse proxy server.
Now, verify the Nginx version using the following command:
nginx -v
You should see the Nginx version in the following output:
nginx version: nginx/1.29.2
Step 3 – Configure Firewall
By default, Nginx listens on ports 80 and 443. If any firewall is installed and configured on your server, then you will need to allow both ports via firewalld. You can allow them with the following command:
firewall-cmd --permanent --zone=public --add-service=http
firewall-cmd --permanent --zone=public --add-service=https
Next, reload firewalld to apply the changes:
firewall-cmd --reload
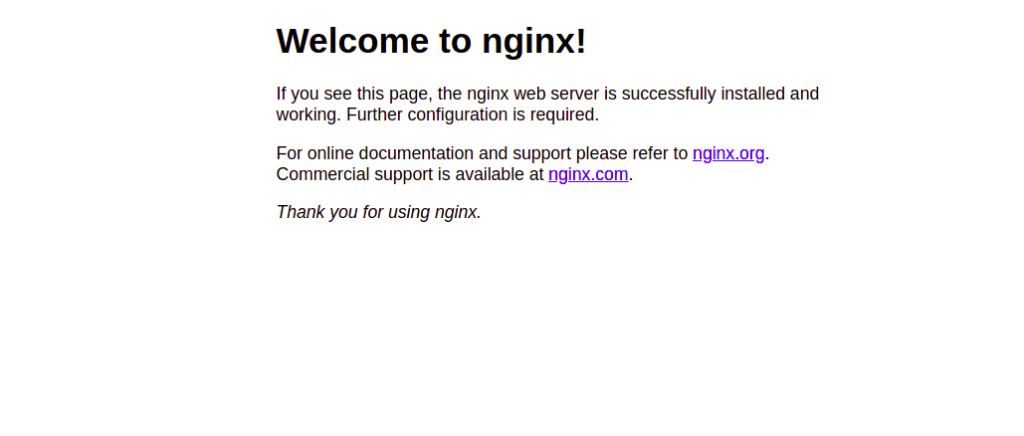
Step 4 – Access Nginx Default Page
Now, open your web browser and access the Nginx default page using the URL http://your-server-ip. You should see the Nginx default page on the following screen:
Conclusion
In the above post, we explained how to install the latest Nginx mainline version to Rocky Linux 10. You can now easily update your current Nginx version to the latest version; try it on VPS hosting from Atlantic.Net!
* This post is for informational purposes only and does not constitute professional, legal, financial, or technical advice. Each situation is unique and may require guidance from a qualified professional.
Readers should conduct their own due diligence before making any decisions.