RethinkDB is a powerful NoSQL database management system designed for applications that require continuous data access. It supports many popular languages, including PHP, Java, Ruby, and Python. You can use it for automatic failover and robust fault tolerance. RethinkDB has very low response times and update latency. In addition, it has a beautiful, user-friendly web interface that lets you manage databases online.
This tutorial will show you how to install RethinkDB on Oracle Linux 10.
Step 1 – Install RethinkDB
By default, RethinkDB is not available in the Oracle Linux 8 default repository, so you will need to create a repo for RethinkDB. You can make it with the following command:
nano /etc/yum.repos.d/rethinkdb.repo
Add the following lines:
[rethinkdb]
name=RethinkDB
enabled=1
baseurl=https://download.rethinkdb.com/repository/rocky/9/x86_64/
gpgkey=https://download.rethinkdb.com/repository/raw/pubkey.gpg
gpgcheck=1
dnf install rethinkdb -y
Once RethinkDB is installed, you can verify the RethinkDB version with the following command:
rethinkdb --version
You should get the following output:
rethinkdb 2.4.4 (x86_64-redhat-linux) (GCC 11.4.1)
Step 2 – Configure RethinkDB
First, you will need to copy the RethinkDB sample configuration file with the following command:
cp /etc/rethinkdb/default.conf.sample /etc/rethinkdb/instances.d/instance1.conf
Next, edit the configuration file using the following command:
nano /etc/rethinkdb/instances.d/instance1.conf
Then, change the following lines to enable the RethinkDB web console:
http-port=8080
server-name=server1

directory=/var/lib/rethinkdb/default
log-file=/var/log/rethinkdb
bind=0.0.0.0
Save and close the file when you are finished. Next, create the necessary files and provide proper permissions with the following command:
touch /var/log/rethinkdb
chown -R rethinkdb:rethinkdb  /var/log/rethinkdb /var/lib/rethinkdb
chmod -R 775 /var/log/rethinkdb /var/lib/rethinkdb
Now, start the RethinkDB service and enable it to start at system reboot with the following command:
systemctl enable --now rethinkdb
systemctl start rethinkdb
Finally, you can directly verify the status of the RethinkDB service with the following command:
systemctl status rethinkdb
You should get the following output:
● rethinkdb.service - LSB: This starts a set of rethinkdb server instances.
     Loaded: loaded (/etc/rc.d/init.d/rethinkdb; generated)
     Active: active (running) since Tue 2025-12-09 22:56:38 EST; 4s ago
 Invocation: f821b4161e83491a8de47645f508a5c4
       Docs: man:systemd-sysv-generator(8)
    Process: 3288 ExecStart=/etc/rc.d/init.d/rethinkdb start (code=exited, status=0/SUCCESS)
      Tasks: 71 (limit: 24812)
     Memory: 53.9M (peak: 54.3M)
        CPU: 99ms
     CGroup: /system.slice/rethinkdb.service
             ├─3399 /usr/bin/rethinkdb --daemon --config-file /etc/rethinkdb/instances.d/instance1.conf --runuser rethinkdb --rungroup rethinkdb --pid-file /var/run/rethinkdb/instance>
             └─3400 /usr/bin/rethinkdb --daemon --config-file /etc/rethinkdb/instances.d/instance1.conf --runuser rethinkdb --rungroup rethinkdb --pid-file /var/run/rethinkdb/instance>
At this point, RethinkDB is started and listening on port 8080. You can check it with the following command:
ss -antpl | grep 8080
You should get the following output:
LISTEN 0 128 *:8080 *:* users:(("rethinkdb",pid=173906,fd=25))
Step 3 – Access RethinkDB Web Interface
Now, open your web browser and access the RethinkDB using the URL http://your-server-ip:8080. You should see the following page:

Now, click on the Tables button. You should see the following page:
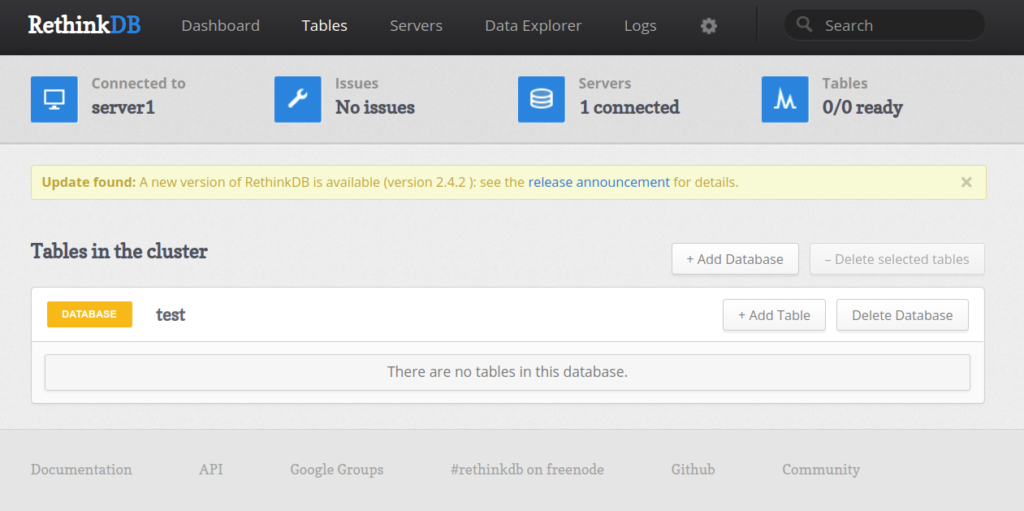
Click on the Add Database button. You should see the following page:
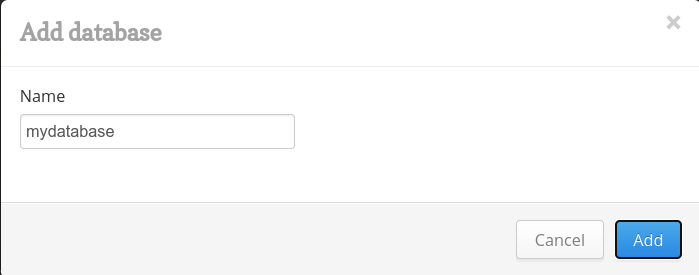
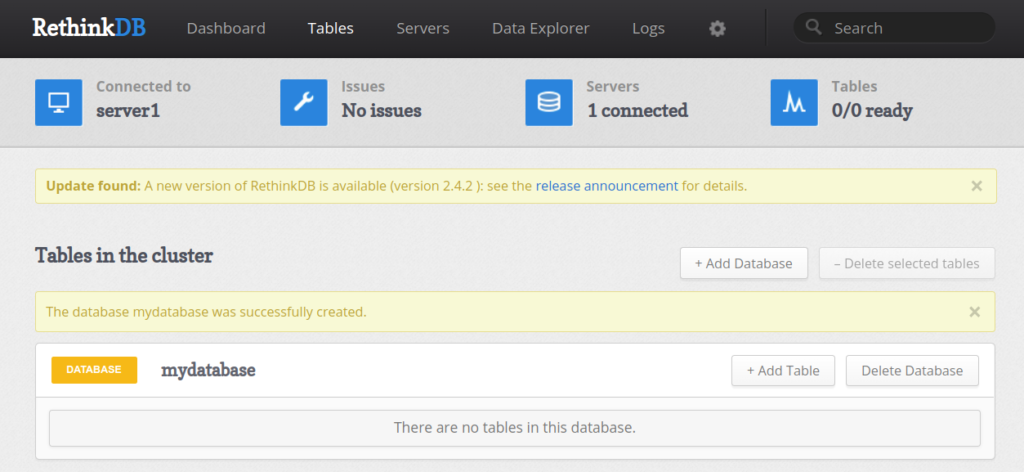
Provide your database name and click on the Add button. You should see your database on the next page:
Conclusion
This post explained how to install RethinkDB on Oracle Linux 10. You can now use RethinkDB with your application and manage it over the web. For more information, visit the RethinkDB official documentation. Give it a try today on VPS hosting from Atlantic.Net!
* This post is for informational purposes only and does not constitute professional, legal, financial, or technical advice. Each situation is unique and may require guidance from a qualified professional.
Readers should conduct their own due diligence before making any decisions.