Ruby is a free, open-source, dynamic programming language known for its simplicity and productivity. It is a general-purpose language commonly used for standard libraries, servers, web applications, and other system utilities. It is portable and works on most operating systems, including Linux, Windows, macOS, UNIX, DOS, BeOS, and many more. It has exception handling features that make it easy to handle errors.
In this tutorial, we will show you several ways to install Ruby on Ubuntu 18.04.
Option 1 – Install Ruby from Ubuntu Repository
The simplest way to install Ruby in your system is using the Ubuntu repository. At the time of writing this article, the latest stable version of Ruby available in the Ubuntu repository is 2.5.1.
You can run the following command to install Ruby in your system:
apt-get install ruby-full -y
Once the installation is completed, you can check the installed version of Ruby with the following command:
ruby --version
You should get the following output:
ruby 2.5.1p57 (2018-03-29 revision 63029) [x86_64-linux-gnu]
Option 2 – Install Ruby with RVM
RVM, which stands for “Ruby Version Manager,” is a command-line tool that can be used to install and manage multiple versions of Ruby.
First, you will need to install all the dependencies required to build Ruby from the source. You can install them with the following command:
apt-get install gcc autoconf curl g++ gnupg automake bison libc6-dev libffi-dev libgdbm-dev libncurses5-dev libsqlite3-dev pkg-config sqlite3 zlib1g-dev libtool libyaml-dev make libgmp-dev libreadline-dev libssl-dev
Once all the packages are installed, install the keys with the following command:
gpg --keyserver hkp://keys.gnupg.net --recv-keys 409B6B1796C275462A1703113804BB82D39DC0E3 7D2BAF1CF37B13E2069D6956105BD0E739499BDB
Next, run the following command to download the RVM installation script from the project’s website:
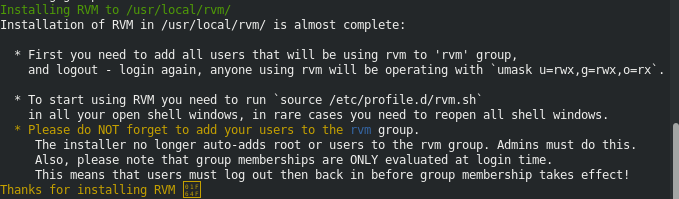
curl -sSL https://get.rvm.io | bash -s stable
You should get the following output:
Once the installation is completed, start using RVM with the following command:
source /etc/profile.d/rvm.sh
Next, install Ruby version 2.6.5 using the following command:
rvm install 2.6.5
Once the installation is completed, you should get the following output:

Next, set the installed version as the default version with the following command:
rvm use 2.6.5 --default
You can now verify the Ruby version using the following command:
ruby -v
You should get the following output:
ruby 2.6.5p114 (2019-10-01 revision 67812) [x86_64-linux]
Option 3 – Install Ruby with Rbenv
Rbenv is a Ruby version management tool that allows you to install multiple versions of Ruby in your system. It is very similar to RVM, with a focus on managing multiple Ruby versions.
Before starting, you will need to install all the required packages to build Ruby from the source. You can install all of them using the following command:
apt-get install autoconf bison build-essential git curl libssl-dev libreadline-dev zlib1g-dev libyaml-dev libreadline-dev libncurses5-dev libffi-dev libgdbm-dev -y
Once all the packages are installed, run the following command to download rbenv and ruby-build repositories from GitHub.
curl -sL https://github.com/rbenv/rbenv-installer/raw/master/bin/rbenv-installer | bash -
Next, you will need to add the .rbenv/bin to the user PATH. You can do this by editing ~/.bashrc file:
nano ~/.bashrc
Add the following lines at the end of the file:
export PATH="$HOME/.rbenv/bin:$PATH"
eval "$(rbenv init -)"
Save and close the file when you are finished. Then, activate the environment with the following command:
source ~/.bashrc
Before installing Ruby, you can list all available Ruby versions with the following command:
rbenv install -l
Next, run the following command to install the Ruby 2.6.5 in your system.
rbenv install 2.6.5
Note: The installation will take several minutes to complete.
Once the installation is completed, you should get the following output:
Downloading ruby-2.6.5.tar.bz2...
-> https://cache.ruby-lang.org/pub/ruby/2.6/ruby-2.6.5.tar.bz2
Installing ruby-2.6.5...
Installed ruby-2.6.5 to /root/.rbenv/versions/2.6.5
Next, make this Ruby version global with the following command:
rbenv global 2.6.5
Next, verify the installed version of Ruby with the following command:
ruby -v
You should get the following output:
ruby 2.6.5p114 (2019-10-01 revision 67812) [x86_64-linux]
Conclusion
In the above tutorial, you learned how to install Ruby using different methods. You can now install Ruby using your desired method. Get started with Ruby today with a VPS hosting account from Atlantic.Net!
* This post is for informational purposes only and does not constitute professional, legal, financial, or technical advice. Each situation is unique and may require guidance from a qualified professional.
Readers should conduct their own due diligence before making any decisions.