Modoboa is a free, open-source, complete mail server solution that comes with Postfix and Dovecot. It is written in Python and allows you to set up a fully functional mail server within a minute. You can create an unlimited number of mailboxes and domains from a web-based interface. It has Let’s Encrypt integration and also includes Amavis frontend to block spam and detect viruses in email.
If you are a beginner and don’t know how to set up a mail server, then Modoboa is the best option for you. In this post, we will learn how to set up a mail server with Modoboa on Ubuntu 20.04 server.
Step 1 – Install Required Dependencies
Before starting, you will need to install Python and other required dependencies to your server. You can install all of them with the following command:
apt-get install python3-virtualenv python3-pip git curl gnupg2
Once all the packages are installed, set up an FQDN hostname with the following command:
hostnamectl set-hostname email.linuxbuz.com
Step 2 – Install and Configure Modoboa
First, download the latest version of Modoboa with the following command:
git clone https://github.com/modoboa/modoboa-installer
Once the download is completed, change the directory to the downloaded directory and check the configuration file with the following command:
cd modoboa-installer
python3 ./run.py --stop-after-configfile-check linuxbuz.com
You should see that the Modoboa configuration file is not found:
Welcome to Modoboa installer!

Configuration file installer.cfg not found, creating new one.
Next, create a configuration file for Modoboa with the following command:
nano installer.cfg
Change the following lines that match your domain name and email address:
[general]
hostname = email.%(domain)s

[certificate]
generate = true
type = letsencrypt

[letsencrypt]
email = admin@gmail.com

[database]
engine = postgres
host = 127.0.0.1
install = true
Save and close the file, then start the Modoboa installation with the following command:
python3 ./run.py --interactive linuxbuz.com
Once the installation has been finished, you should get the following output:
Welcome to Modoboa installer!

Warning:
Before you start the installation, please make sure the following DNS records exist for domain 'linuxbuz.com':
  email IN A
       IN MX  email.linuxbuz.com.

Your mail server will be installed with the following components:
modoboa automx amavis clamav dovecot nginx razor postfix postwhite spamassassin uwsgi radicale opendkim
Do you confirm? (Y/n) y
The process can be long, feel free to take a coffee and come back later ;)
Starting...

Generating new certificate using letsencrypt
Installing amavis
Installing spamassassin
Installing razor
Installing clamav
Installing modoboa
Installing automx
Installing radicale
Installing uwsgi
Installing nginx
Installing opendkim
Installing postfix
Installing postwhite
Installing dovecot
Congratulations! You can enjoy Modoboa at https://email.linuxbuz.com (admin:password)
Next, you will need to edit the Nginx main configuration file and increase the hash_bucket size limit:
nano /etc/nginx/nginx.conf
Add the following line after http{
server_names_hash_bucket_size 64;
Save and close the file, then restart the Nginx service to apply the changes:
systemctl restart nginx
Step 3 – Access Modoboa Web UI
Now, open your web browser and access the Modoboa web UI using the URL https://email.linuxbuz.com. You will be redirected to the Modoboa login page:
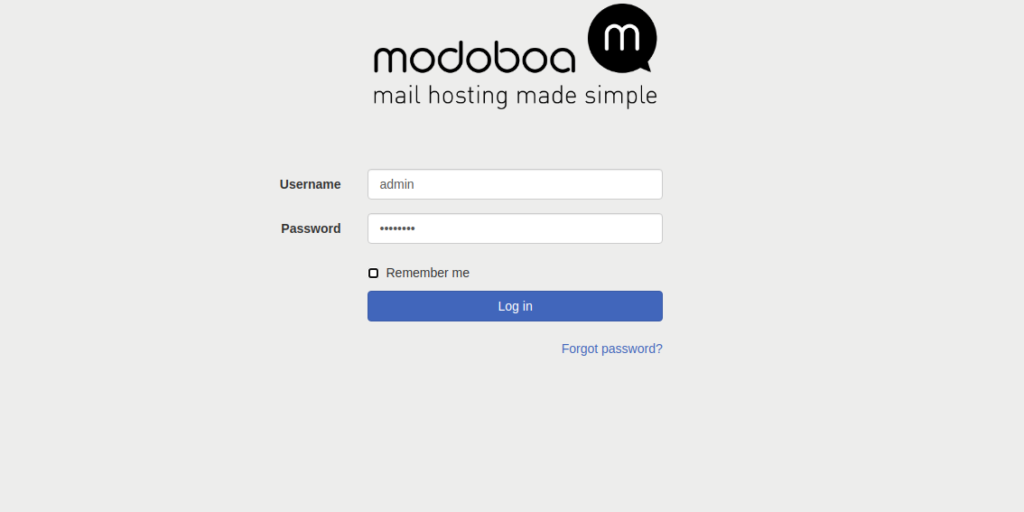
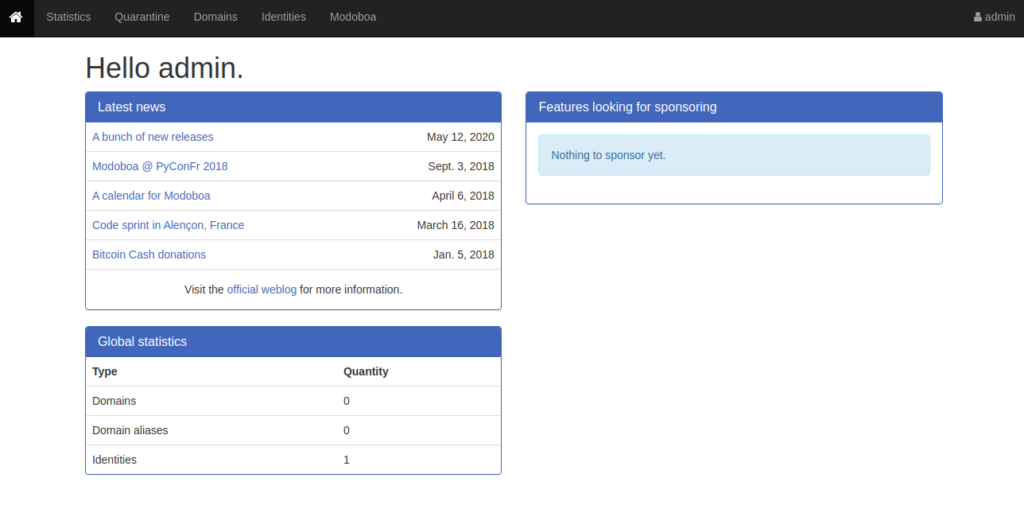
Provide default admin username and password as admin / password and click on the Login button. You should see the Modoboa dashboard in the following page:
Conclusion
Congratulations! You have successfully installed the Modoboa mail server on Ubuntu 20.04. You can now add a mailbox from the Modaboa admin panel and start sending mail from the web UI using your VPS hosting account from Atlantic.Net.
* This post is for informational purposes only and does not constitute professional, legal, financial, or technical advice. Each situation is unique and may require guidance from a qualified professional.
Readers should conduct their own due diligence before making any decisions.