WordPress is an open-source and popular content management system. However, installing and setting up WordPress on a new server is a very time-consuming process, especially if you need to do it again and again. In this case, you can use Docker and Docker compose to simplify your WordPress installation process using just a single command.
In this post, we will show you how to deploy WordPress with Docker and Docker Compose.[jumpbox]
Step 1 – Install Docker and Docker Compose
First, you will need to install some required dependencies on your server. You can install them with the following commands:
apt-get update -y
apt-get install apt-transport-https ca-certificates curl gnupg-agent software-properties-common -y
After installing all of them, add the Docker repository with the following command:
curl -fsSL https://download.docker.com/linux/ubuntu/gpg | apt-key add -
add-apt-repository "deb [arch=amd64] https://download.docker.com/linux/ubuntu $(lsb_release -cs) stable"
Once the repository is added, install Docker and Docker Compose with the following command:
apt-get install docker-ce docker-compose -y
After installing both packages, you can proceed to the next step.
Step 2 – Create a Docker-Compose YML File
Next, you will need to create a docker-compose.yml file to deploy the WordPress.
First, create a new directory named wordpress with the following command:
mkdir wordpress
Next, change the directory to wordpress and create a new docker-compose.yml file:
cd wordpress
nano docker-compose.yml
Add the following lines:
wordpress:
    image: wordpress
    links:
     - mariadb:mysql
    environment:
     - WORDPRESS_DB_PASSWORD=secure-password
     - WORDPRESS_DB_USER=root
    ports:
     - "your-server-ip:80:80"
    volumes:
     - ./html:/var/www/html
mariadb:
    image: mariadb
    environment:
     - MYSQL_ROOT_PASSWORD=secure-password
     - MYSQL_DATABASE=wordpress
    volumes:
     - ./database:/var/lib/mysql
Save and close the file when you are finished.
Note: Replaced your-server-ip with your public IP.
The above file will download WordPress and MariaDB images from the Docker registry, create a database and set a password, link both containers, and expose the container on port 80.
Step 3 – Deploy WordPress
Now, change the directory to wordpress and launch the WordPress and MariaDB container with the following command:
docker-compose up -d
You should get the following output:
Pulling mariadb (mariadb:)...
latest: Pulling from library/mariadb
345e3491a907: Pull complete
57671312ef6f: Pull complete
5e9250ddb7d0: Pull complete
2d512e2ff778: Pull complete
57c1a7dc2af9: Pull complete
b846f4f4774a: Pull complete
66409f940bd2: Pull complete
82d8723e99d8: Pull complete
55edbf0f673e: Pull complete
c34793730ad6: Pull complete
8f1925a0d734: Pull complete
72904fb5fd0b: Pull complete
Digest: sha256:0c3c560359a6da112134a52122aa9b78fec5f9dd292a01ee7954de450f25f0c1
Status: Downloaded newer image for mariadb:latest
Pulling wordpress (wordpress:)...
latest: Pulling from library/wordpress
69692152171a: Pull complete
2040822db325: Pull complete
9b4ca5ae9dfa: Pull complete
ac1fe7c6d966: Pull complete
5b26fc9ce030: Pull complete
3492f4769444: Pull complete
1dec05775a74: Pull complete
77107a42338e: Pull complete
f58e4093c52a: Pull complete
d32715f578d3: Pull complete
7a73fb2558ce: Pull complete
667b573fcff7: Pull complete
75e2da936ffe: Pull complete
759622df3a7b: Pull complete
c2f98ef02756: Pull complete
50e11300b0a6: Pull complete
de37513870b9: Pull complete
f25501789abc: Pull complete
0cf8e3442952: Pull complete
d45ce270a7e6: Pull complete
534cdc5a6ea6: Pull complete
Digest: sha256:e9da0d6c867249f364cd2292ea0dd01d7281e8dfbcc3e4b39b823f9a790b237b
Status: Downloaded newer image for wordpress:latest
Creating wordpress_mariadb_1 ... done
Creating wordpress_wordpress_1 ... done
You can verify the downloaded images with the following command:
docker images
Output:
REPOSITORY   TAG       IMAGE ID       CREATED       SIZE
wordpress    latest    c2dd1984ad5b   3 days ago    551MB
mariadb      latest    eff629089685   13 days ago   408MB
You can also verify the running container with the following command:
docker-compose ps
Output:
        Name                       Command               State           Ports
---------------------------------------------------------------------------------------
wordpress_mariadb_1     docker-entrypoint.sh mysqld      Up      3306/tcp
wordpress_wordpress_1   docker-entrypoint.sh apach ...   Up      45.58.43.20:80->80/tcp
Step 4 – Access WordPress Installation Wizard
At this point, WordPress has been deployed and listening on port 80. You can access it using the URL http://your-server-ip. You should see the following page:
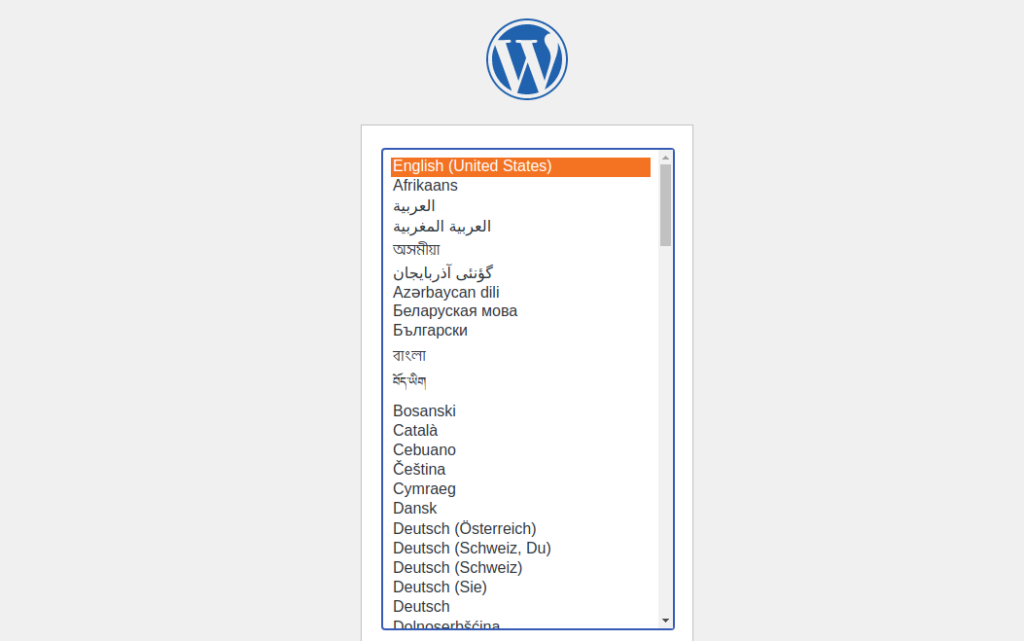
You can now follow the steps to complete the WordPress installation.
If you want to update both WordPress and MariaDB images, run the following command:
docker-compose pull
Now, push changes to your containers using the commands below.
docker-compose up -d
If you want to stop and remove all containers, run the following command:
docker-compose down
Conclusion
In the above guide, you learned how to deploy a WordPress with Docker and Docker Compose. Try it out on dedicated hosting from Atlantic.Net.
* This post is for informational purposes only and does not constitute professional, legal, financial, or technical advice. Each situation is unique and may require guidance from a qualified professional.
Readers should conduct their own due diligence before making any decisions.