Teampass is a free, open-source, self-hosted password manager used for managing passwords in a collaborative way. It offers a large set of features that allow you to manage all your passwords in an organized way. You can define access rights on users to allow them to access only a given set of data. Teampass uses MariaDB/MySQL as a database backend to store the password securely.
In this post, we will explain how to install the Teampass password manager on Rocky Linux 8.
Step 1 – Install Apache, MariaDB, and PHP
First, you will need to install the Apache web server, MariaDB database server, PHP, and other PHP extensions to your server. You can run the following command to install all of them.
dnf install httpd mariadb-server php php-cli php-mysqli php-pear php-json php-devel php-curl php-mbstring php-bcmath php-common php-gd php-xml git wget -y
Once all the packages are installed, edit the php.ini file and change some recommended settings:
nano /etc/php.ini
Change the following values:
memory_limit = 256M
upload_max_filesize = 100M
max_execution_time = 360
date.timezone = Asia/Kolkata
Save and close the file, then start and enable the Apache and MariaDB services using the following command:
systemctl start httpd mariadb
systemctl enable httpd mariadb
Also Read
Install a LAMP Stack on Rocky Linux 8
Step 2 – Create a Database for Teampass
Next, you will need to create a database and user for Teampass. To do so, first log in to the MariaDB shell with the following command:
mysql
Once you are logged in, create a database and user with the following command:
create database teampassdb;
grant all privileges on teampassdb.* to teampassuser@localhost identified by "securepassword";
Next, flush the privileges and exit from the MariaDB shell with the following command:
flush privileges;
exit;
Also Read
How to Install SysPass Password Manager on Oracle Linux 8
Step 3 – Install Teampass
First, change the directory to Apache default root directory and download the latest version of Teampass from the Git repository:
cd /var/www/html
git clone https://github.com/nilsteampassnet/TeamPass.git
Next, set proper permissions and ownership to the Teampass directory:
chmod -R 775 /var/www/html/TeamPass
chown -R apache:apache /var/www/html/TeamPass
Step 4 – Create an Apache Virtual Host for Teampass
Next, you will need to create an Apache virtual host configuration file to host Teampass on the internet.
nano /etc/httpd/conf.d/teampass.conf
Add the following lines:
<VirtualHost *:80>
     ServerAdmin [email protected]
     DocumentRoot /var/www/html/TeamPass
     ServerName teampass.example.com
     <Directory /var/www/html/TeamPass>

          Options FollowSymlinks
          AllowOverride All
          Require all granted
     </Directory>

     ErrorLog /var/log/httpd/teampass_error.log
     CustomLog /var/log/httpd/teampass_access.log combined

</VirtualHost>
Save and close the file, then restart the Apache service to apply the configuration changes:
systemctl restart httpd
At this point, the Apache web server is configured to serve Teampass. You can now proceed to the Teampass web interface.
Step 5 – Access Teampass Web Interface
Now, open your web browser and access the Teampass web interface using the URL http://teampass.example.com. You should see the Teampass welcome page:
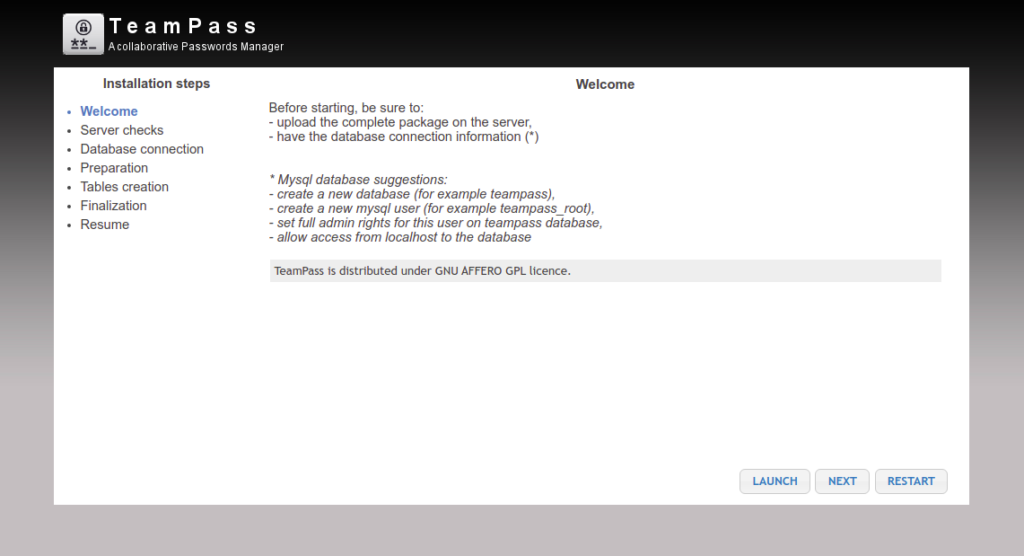
Click on the LAUNCH then NEXT button. You should see the server check page:
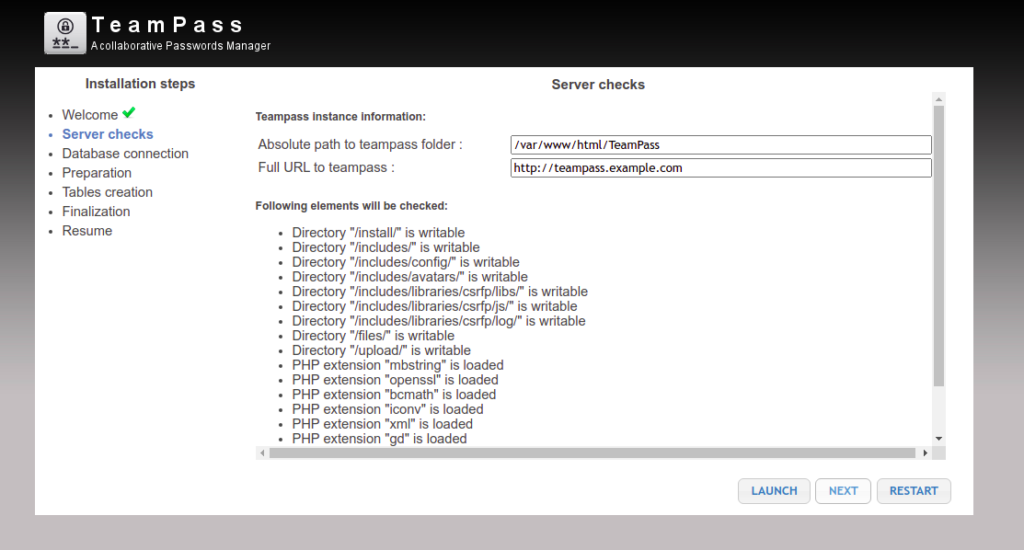
Click on the LAUNCH then NEXT button. You should see the Database information page:
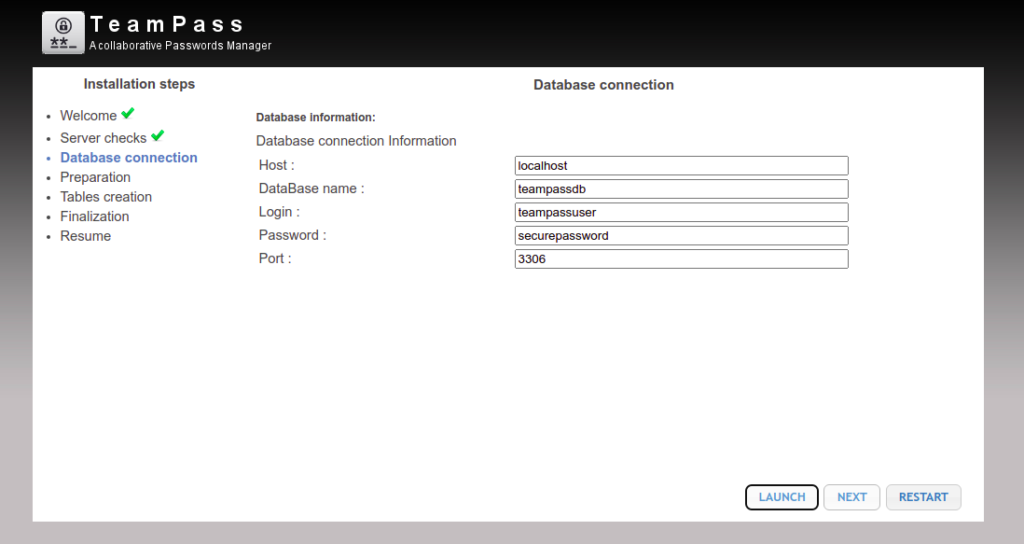
Click on the LAUNCH then NEXT button. You should see the Preparation page:
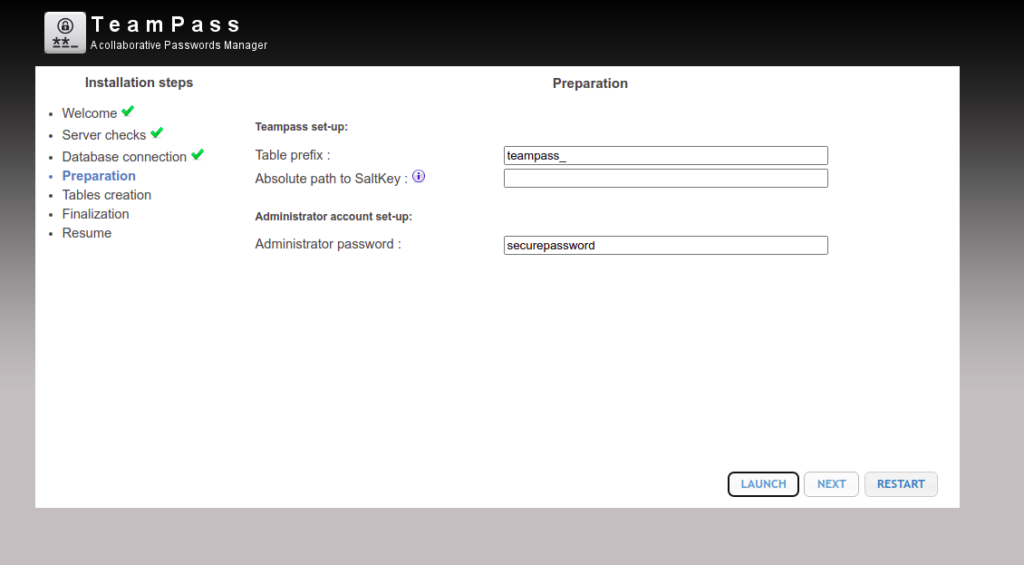
Click on the LAUNCH then NEXT button. You should see the Table creation page:
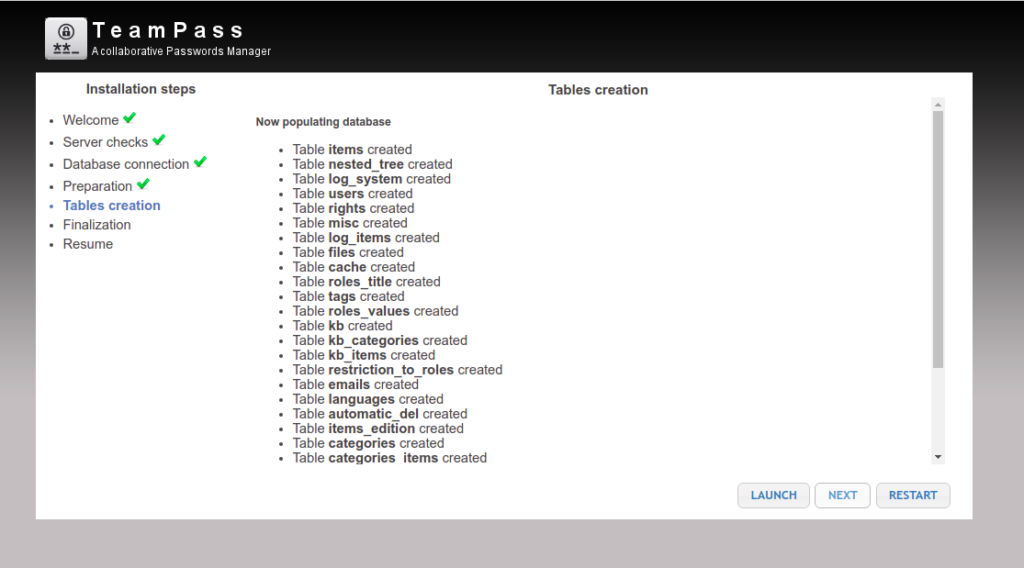
Click on the LAUNCH then NEXT button. You should see the Finalization page:
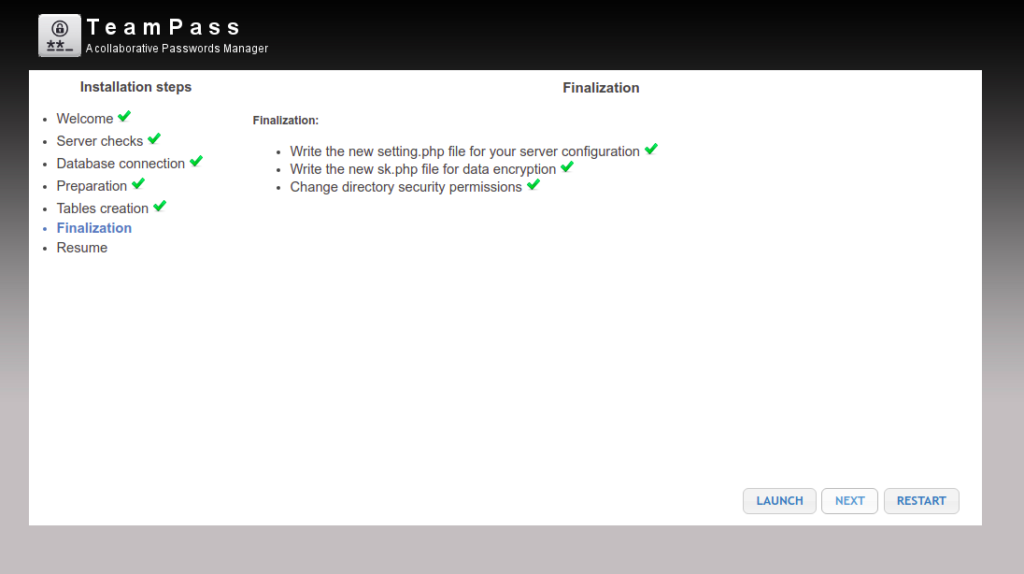
Click on the LAUNCH then NEXT button. Once the installation is complete, you should see the following page:
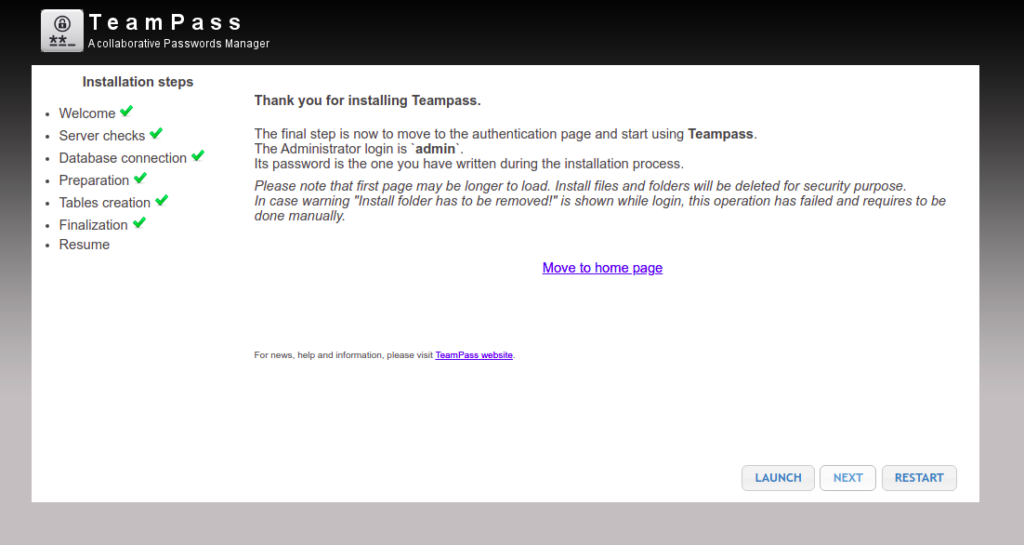
Click on the Move to home page. You should see the Teampass login page:

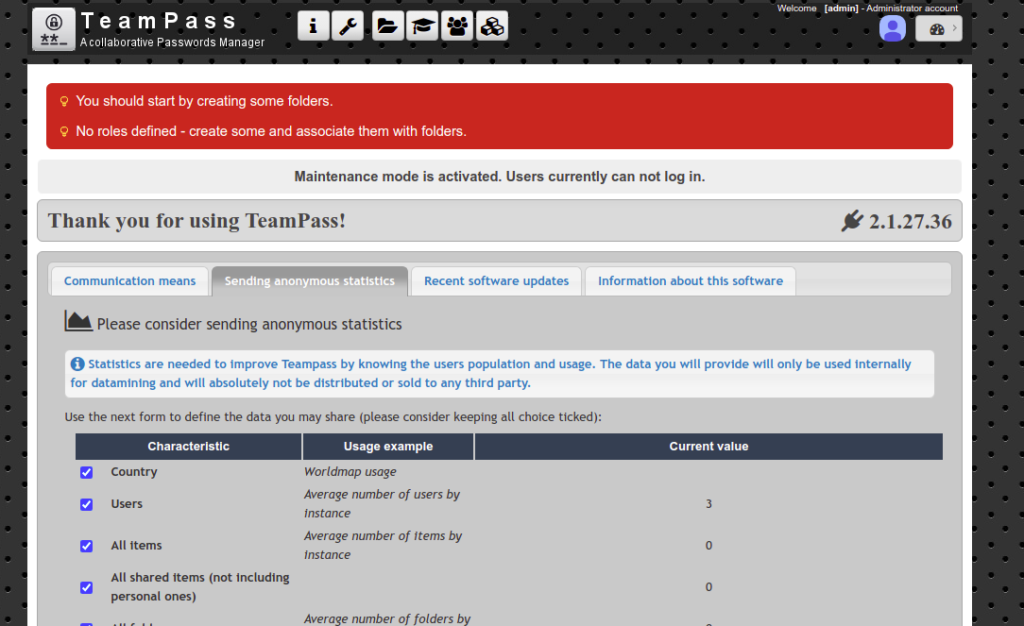
Provide your admin username, password and click on the Log In button. You should see the Teampass dashboard.
Conclusion
In the above guide, we explained how to install the Teampass password manager on Rocky Linux 8. You can now implement Teampass in your organization to store all credentials and share them among the team members. Try installing Teampass password manager on dedicated server hosting from Atlantic.Net!