Introduction
A load balancer is a useful service that distributes workloads across multiple servers. Load balancing increases fault tolerance to your site and improves performance.
In this how-to, we will guide you through installing NGINX and configuring NGINX to do Round Robin load balancing. For this guide, we will be using Ubuntu 14.04. Below is a network diagram that is an overview of how this is being set up.
 NGINX Car by Walker Cahall
Prerequisites
A server with Ubuntu 14.04 installed.
Two or more web servers that can be accessed by your load balancer. See our LAMP or LEMP how-to’s for help on installing a web server that sits behind your load balancer.
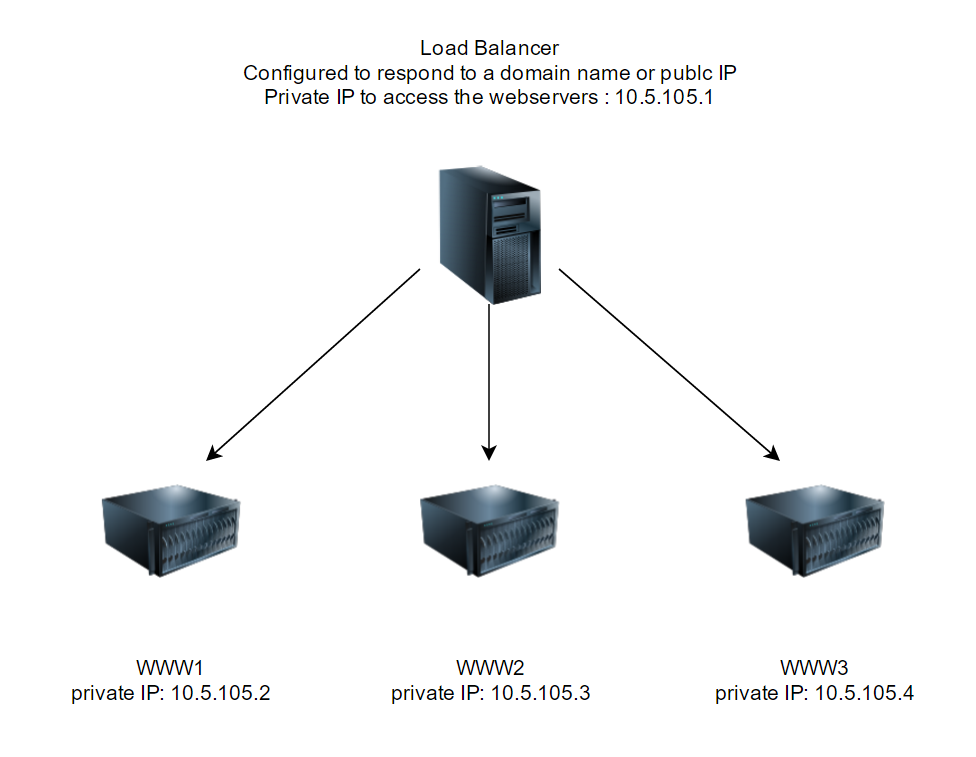
Load Balancer Setup Network Diagram
Server Preparation
Let’s start off by making sure that your system is up to date by running the following command:
sudo apt-get update
Installing NGINX on Ubuntu 14.04
Next, we’re going to install NGINX with the following command:
sudo apt-get install nginx
Once installed, verify that NGINX is working by going to your server IP address in your browser. You should get a page similar to the one below:
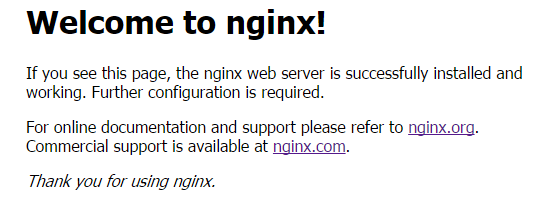 An example on the NGINX web page on Ubuntu 14.04
Configuring NGINX Load Balancing
Now that NGINX is installed, we need to edit our NGINX config and enable load balancing with upstream. The NGINX default configuration file on Ubuntu systems is located at /etc/nginx/sites-available/default . You can edit it with the following command:
sudo nano /etc/nginx/sites-available/default
Since the default configuration is set up for a basic website, we can remove it and add in the following configuration. We are adding upstream to our configuration, which is an NGINX module that enables load balancing. In upstream replace the private IPs in this example with your web servers. You can use private IPs, public IP’s or hostnames and you are going to want to set the server_name to you domain name or IP address. You can set the upstream name to whatever you would like, just so long as it is the same on the proxy_pass. In this case, we are using the name www.
upstream www {
        server 10.5.105.2;
        server 10.5.105.3;
        server 10.5.105.4;
}
server {
        listen 80;
        server_name example.atlantic.net;
        location / {
          proxy_pass http://www;
        }
}
Essentially, this configuration enables NGINX to listen for you Domain name or Public IP and once it is accessed, it passes traffic to the next web server in the round robin sequence.
Now that we have made our configuration changes we need to restart NGINX with the following command:
sudo service nginx restart
You can then test it out by going to your hostname or IP of your load balancer in your browser. For testing, we have 3 default NGINX servers sitting behind our load balancer, each with a slightly modified index page.
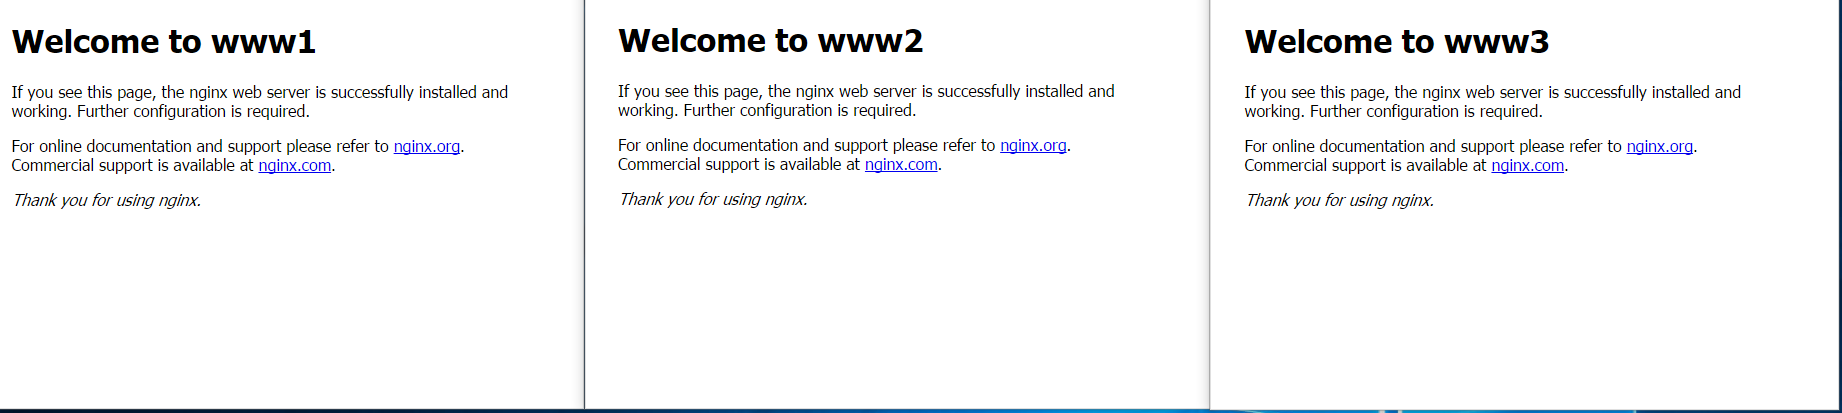 An example of my web servers: WWW1, WWW2 and WWW3
With the configuration above, our load balancer is distributing the load equally across our 3 servers. However, there are cases in which you may want a particular web server to take on more traffic than another.
NGINX Load Balancing Weight
To accomplish different distribution, we can add the NGINX weight directive. The default weight is 1, which the example above uses. If we want our 1st webserver to take 50% of our traffic we could use the following configuration.
upstream www {
        server 10.5.105.2 weight=2;
        server 10.5.105.3;
        server 10.5.105.4;
}
You can experiment with different weights per web server to make your ideal configuration. Remember to always restart NGINX when adding to your configuration files.
sudo service nginx restart
A/B Testing With NGINX Load Balancing
Typically when load balancing your web servers are identical. However, you can do A/B testing with NGINX load balancing and different web server. A/B testing is the practice of testing two different implementations, usually a new site function or design versus an existing or old site. Ideally, you would want less traffic going to your new server to see if it is effective or not. You can again accomplish this by weight. Below, our 3rd web server is our new server which will be getting 10% of the traffic:
upstream www {
        server 10.5.105.2 weight=5;
        server 10.5.105.3 weight=4;
        server 10.5.105.4;
}
However, if a user kept refreshing their page, it might be confusing to them that they keep getting different pages. We can fix that with IP hash.
Using IP HASH On Your NGINX Load Balancer
To eliminate confusion, add ip_hash to your upstream configuration. IP hash works by using your client’s IP address as a hashing key so that your client will always goes to the same web server. Below shows an example of adding IP hash. Remember to restart NGINX when making the changes.
upstream www {
        ip_hash;
        server 10.5.105.2 weight=5;
        server 10.5.105.3 weight=4;
        server 10.5.105.4;
}
What’s Next
Congratulations on adding load balancing using NGINX! You might want to take a look at the Module ngx_http_upstream_module page for more NGINX directives you can add. Thank you for following along this how-to, please check back here for more updates or to learn more about our reliable HIPAA-compliant cloud hosting solutions.
* This post is for informational purposes only and does not constitute professional, legal, financial, or technical advice. Each situation is unique and may require guidance from a qualified professional.
Readers should conduct their own due diligence before making any decisions.