Verified and Tested 08/11/2015
Introduction
In this How-To, we will walk you through to Configure Logging in IIS Windows Server 2012.
This feature is set up to store data HTTP request and errors from your website(s) and of your Web Server.
Configuring this feature will make your site troubleshooting much easier because you will have logs that serve as a starting point.
Configure Logging in IIS
Initially, you want to access the IIS Manager to configure “Logging” on Windows Server 2012 following the following path:
Open the Server Manager / Select Local Server/Under “All Servers” select “IIS”/ Right Click on your server and select the “Internet Information Services (IIS) Manager” option.
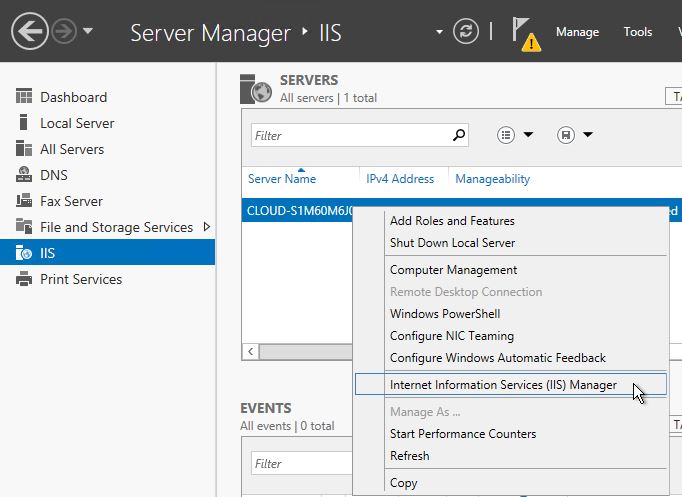
Select IIS Manager in your Server Manager Dashboard
You will now be taken to the Internet Information Services (IIS) Manager” where you will see a Connections panel to the left side of your screen. There is a folder named “Sites” with a drop down arrow, and you can view all your sites that are available. Select your site and select the “Logging” option from the sites Home options.

Select Logging in the IIS Manager page
Logging Page
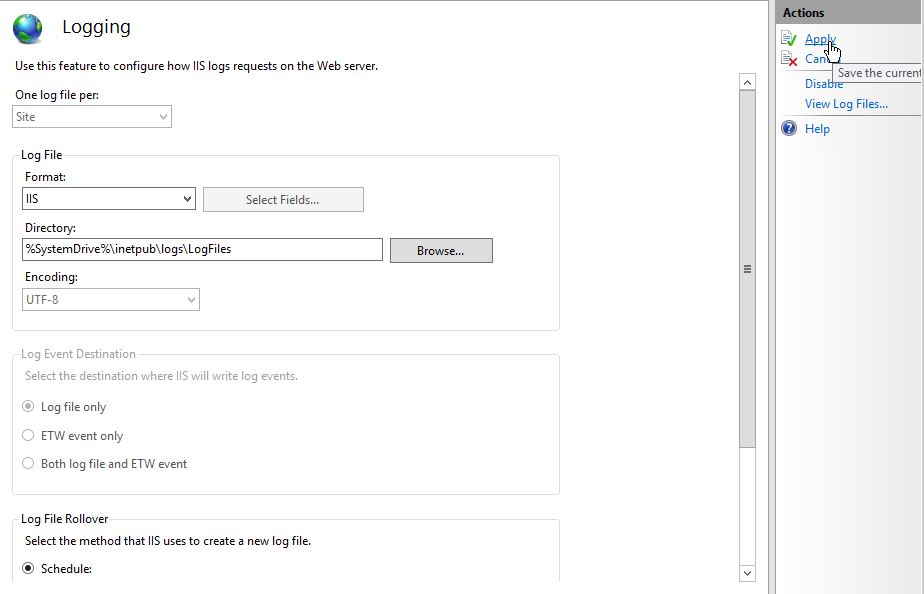
You will be taken to the-the Logging page to configure some settings. Under Log file/ Format. Select one of the following log formats:
- IIS – uses the Microsoft IIS log file format.
- NCSA – uses the National Center for Supercomputing Applications common log file format.
- W3C – uses the centralized W3C log file format.
- Custom – use a customer logging module/file format.
Directory Section
Specify the location where the log file will be stored in the Directory section. It should be set to the default path shown below.
%SystemDrive%\inetpub\logs\LogFiles
Note: It is recommended that all the log files that will be stored on your system be stored in any directory except the systemroot directory.
Log File Rollover Section
Additionally, there is a “Log File Rollover” section. This is where you can select a schedule and how the new files are created selecting one of the following options:
- Hourly
- Daily
- Weekly
- Monthly
- Maximum file size (in bytes)
- Do not create a new log file
Further more, its recommended that you select “Use local time for file naming and rollover” to achieve a more accurate log reading based on your current server’s time stamp.
If you do not select the “Use local time for file naming and rollover” option, the system will use the Coordinated Universal Time (UTC) to archive the file.
You will then have to convert the UTC format to your local format when its time to review the logs.
You will then finalize your configuration by saving all your information by clicking “Apply” in the “Actions panel.
Applying your settings in the Actions PanelCongratulations! You have just Configured Logging in IIS Windows Server 2012. Thank you for reading! Be sure to check back for more updates, and to learn more about our VPS hosting solutions.
* This post is for informational purposes only and does not constitute professional, legal, financial, or technical advice. Each situation is unique and may require guidance from a qualified professional.
Readers should conduct their own due diligence before making any decisions.