Table of Contents
Verified and Tested 07/2/15
Introduction
This how-to will walk you through the installation process of phpMyAdmin. phpMyAdmin is a tool to directly manage your databases by allowing you to visually add, delete, or modify databases and tables, among other things. phpMyAdmin is written in PHP and is free and open source.
 phpMyAdmin Ship Illustration by Walker Cahall
Prerequisites
A CentOS 7 LAMP server is required. If you do not have LAMP installed, you can follow our guide here.
You will need valid MariaDB credentials to log into your database once phpMyAdmin is installed.
This how-to assumes you are using a user with root privileges. You do not have to append sudo to the commands below if you are logged in as the root user.
Install phpMyAdmin on CentOS 7
To install phpMyAdmin quickly on CentOS 7, we are going to install the Extra Packages for Enterprise Linux (EPEL) repo first by running the following command:
sudo yum install epel-release
During the install, it will prompt “Is this ok?”. Hit “Y” and then Enter.
Now we can install phpMyAdmin.
sudo yum install phpmyadmin
During the phpMyAdmin install, it will prompt “Is this ok?” for the install and then the EPEL key. Hit “Y” and then Enter for each question.
The phpMyAdmin installation process will make a configuration file in /etc/httpd/conf.d/ called phpMyAdmin.conf. By default, phpMyAdmin is configured only to accept connections from the server it is installed on. If you want to allow other IPs, you’ll need to open the phpMyAdmin.conf file with your preferred text editor.
sudo nano /etc/httpd/conf.d/phpMyAdmin.conf
In this example, we are using Apache 2.4, so we only need to change the configurations for 2.4. There will be two places that say “Require ip 127.0.0.1”. Below each one we are going to put “Require ip {your-public-IP}” For the purpose of this example, we’ll say we want to grant phpMyAdmin access to a workstation with an IP of 192.168.0.2. In this case, we would put “Require ip 192.168.0.2” below “Require ip 127.0.0.1” If you do not know your public IP, you can use this tool.
The configuration file should like the one below when completed.
   <IfModule mod_authz_core.c>
     # Apache 2.4
     <RequireAny>
        Require ip 127.0.0.1
        Require ip 192.168.0.2
        Require ip ::1
     </RequireAny>
   </IfModule>
   <IfModule !mod_authz_core.c>
     # Apache 2.2
     Order Deny,Allow
     Deny from All
     Allow from 127.0.0.1
     Allow from ::1
   </IfModule>
</Directory>

<Directory /usr/share/phpMyAdmin/setup/>
   <IfModule mod_authz_core.c>
     # Apache 2.4
     <RequireAny>
        Require ip 127.0.0.1
        Require ip 192.168.0.2
        Require ip ::1
     </RequireAny>
   </IfModule>
   <IfModule !mod_authz_core.c>
     # Apache 2.2
     Order Deny,Allow
     Deny from All
     Allow from 127.0.0.1
     Allow from ::1
   </IfModule>
</Directory>
In Nano to save a close, hit Ctrl+X and then Y and then Enter.
Note: When adding allowed IPs to this file, be sure you only add the IPs for users who require access. The more access you allow, you more you may also increase your server’s exposure to exploit.
Now, we can restart Apache so that the changes take place:
sudo systemctl restart httpd.service
To get to the login page, you need open your browser and go to http://{your-server's-address}/phpMyAdmin/. You should get a page that looks like the image below.
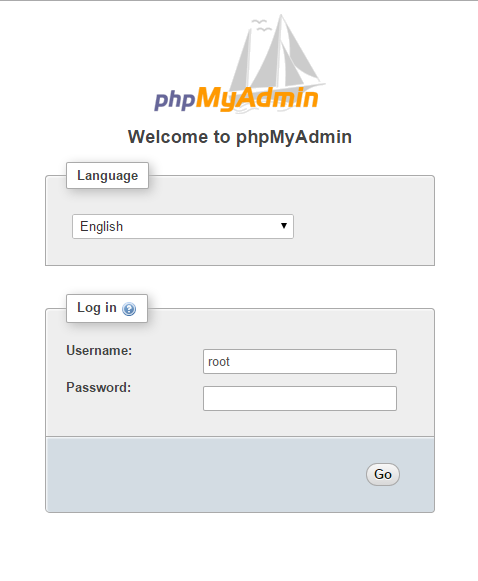 An example of the phpMyAdmin login page
Note: If you do not know your IP address, run the following command:
ip addr show eth0
An example of running the command: ip addr show eth0 and getting 192.168.100.10 for the IP address.In our example we would put
http://192.168.100.10/phpMyAdmin/into our browser’s address bar.
 An example of running the command: ip addr show eth0 and getting 192.168.100.10 for the IP address.In our example we would put
 You can sign in with the root MariaDB credentials that you set-up when installing LAMP. Once logged in, you should get a page similar to the one below.
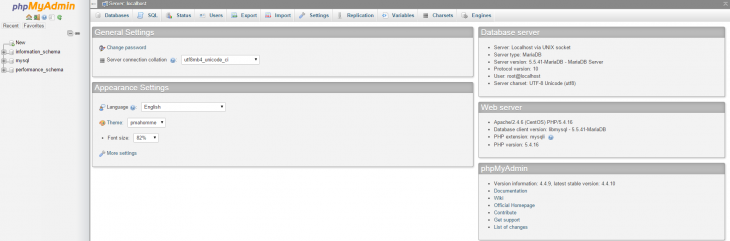 An example of the phpMyAdmin default page.
Using this interface, you can now easily manage your databases on your CentOS 7 LAMP server.
Congratulations! You have just installed phpMyAdmin on your CentOS 7 Cloud Server. Thank you for following along in this How-To! Check back with us for any new updates, and try our line of VPS hosting solutions.
* This post is for informational purposes only and does not constitute professional, legal, financial, or technical advice. Each situation is unique and may require guidance from a qualified professional.
Readers should conduct their own due diligence before making any decisions.