Mantis is one of the most popular web-based bug tracking systems used to track software defects. It also supports release and issues tracking for managing various releases of a project. Mantis is written in PHP and supports several databases including MySQL, PostgreSQL, and MS SQL. It comes with a lot of built-in tools that help you to collaborate with teams to resolve bugs easily from a web-based interface.
If you are looking for a self-hosted bug tracking system, then MantisBT is the best choice for you.
In this tutorial, we will show you how to install and configure the Mantis bug tracking system on Debian 12.
Step 1 – Install Nginx, MariaDB and PHP
First, you will need to install the Nginx web server, MariaDB, PHP and other PHP extensions to your server. You can install all required packages with the following command:
apt-get update -y
apt-get install nginx mariadb-server php php-fpm php-mysql php-cli php-ldap php-zip php-curl php
php-cli php-mbstring php-xmlrpc php-soap php-gd php-xml php-intl php-pear php-bcmath unzip -y
After installing all the packages, tweak the PHP settings by editing the file php.ini:
nano /etc/php/8.2/fpm/php.ini
Change the following settings:
file_uploads = On
allow_url_fopen = On
short_open_tag = On
cgi.fix_pathinfo = 0
memory_limit = 512M
upload_max_filesize = 100M
max_execution_time = 300
max_input_vars = 1600
date.timezone = America/Chicago
Save and close the file when you are finished.
Step 2 – Configure MariaDB Database
Mantis uses MariaDB as a database backend, so you will need to create a database and user for Mantis.
First, log in to MariaDB with the following command:
mysql
Once logged in, create a database and user with the following command:
CREATE DATABASE mantisdb;
GRANT ALL PRIVILEGES ON mantisdb.* TO 'mantisuser'@'localhost' IDENTIFIED BY 'secure-
password';
Next, flush the privileges and exit from the MariaDB shell with the following command:
FLUSH PRIVILEGES;
EXIT;
Step 3 – Download MantisBT
First, visit the Sourceforge website and download the latest version of MantisBT with the following command:
wget https://sourceforge.net/projects/mantisbt/files/mantis-stable/2.27.1/mantisbt-2.27.1.zip
Once the download is completed, unzip the downloaded file with the following command:
unzip mantisbt-2.27.1.zip
Next, move the extracted directory to the Nginx root directory with the following command:
mv mantisbt-2.27.1 /var/www/html/mantisbt
Next, set proper permissions and ownership to the mantisbt directory:
chown -R www-data:www-data /var/www/html/mantisbt
chmod -R 755 /var/www/html/mantisbt
Step 4 – Configure Nginx for MantisBT
Next, you will need to create an Nginx virtual host configuration file to host Mantis. You can create it with the following command:
nano /etc/nginx/sites-available/mantisbt
Add the following lines:
server {
listen 80;
server_name mantisbt.example.com;
root /var/www/html/mantisbt;
index index.php;

access_log /var/log/nginx/example.com.access.log;
error_log /var/log/nginx/example.com.error.log;

client_max_body_size 100M;

autoindex off;

location / {
index index.html index.php;
try_files $uri /index.php$is_args$args;
}

location ~ \.php$ {
include snippets/fastcgi-php.conf;
fastcgi_pass unix:/var/run/php/php8.2-fpm.sock;
include fastcgi_params;
fastcgi_intercept_errors on;
}
}
Save and close the file, then enable the Mantis virtual host with the following command:
ln -s /etc/nginx/sites-available/mantisbt /etc/nginx/sites-enabled/
Next, verify Nginx for any syntax errors using the following command:
nginx -t
You should get the following output:
nginx: the configuration file /etc/nginx/nginx.conf syntax is ok
nginx: configuration file /etc/nginx/nginx.conf test is successful
Finally, restart the Nginx service to apply the changes:
systemctl restart nginx
Step 5 – Access Mantis Web UI
Now, open your web browser and access the Mantis web interface using the URL http://mantisbt.example.com. You should see the following page:

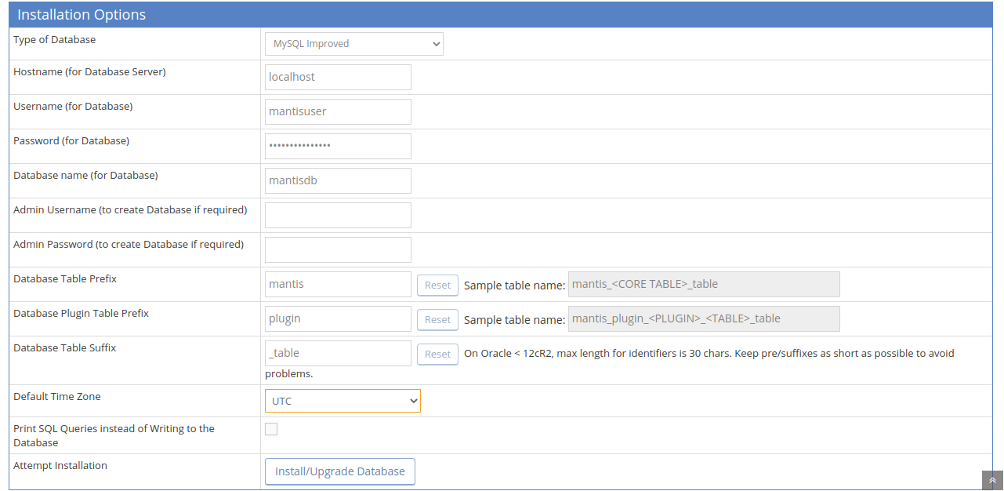
Provide your database information and timezone and click on the Install/Upgrade Database button. You should see the following page:
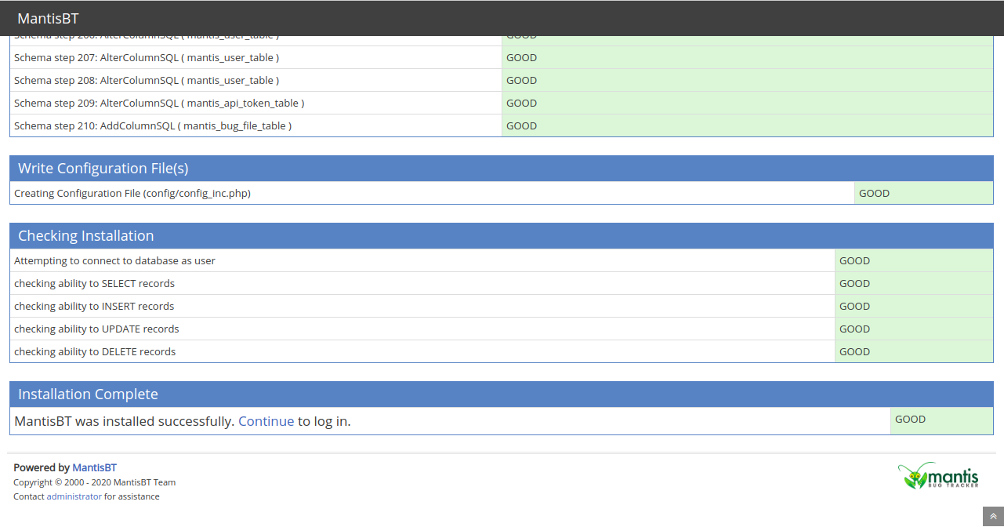
Now, click on the Continue button. You should see the Mantis login page:

Provide default username as administrator and click on the Login button. You should see the following page:
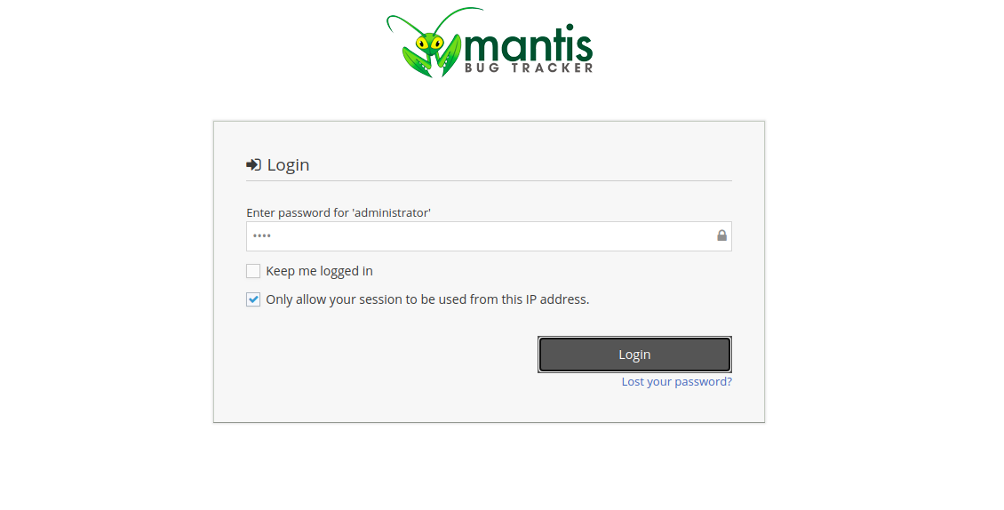
Provide default password as root and click on the Login button. You should see the following page:
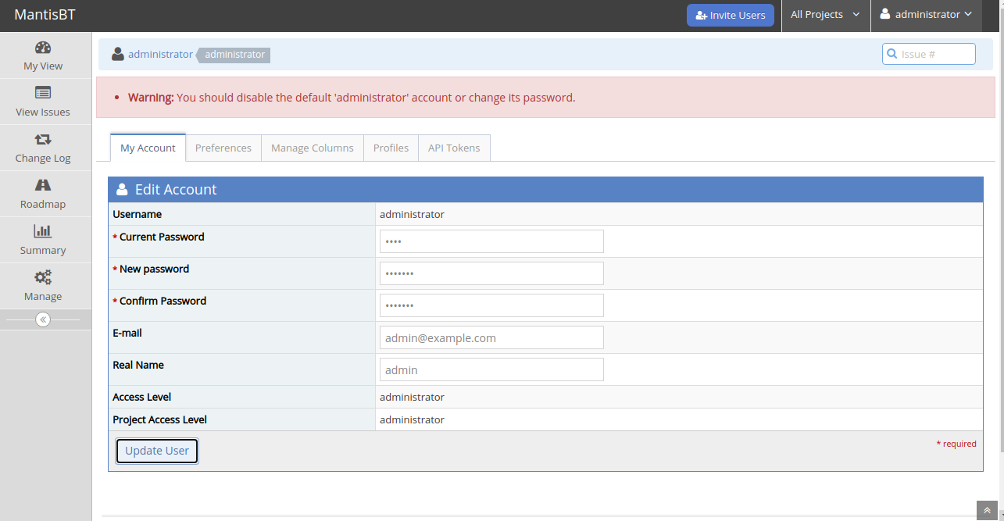
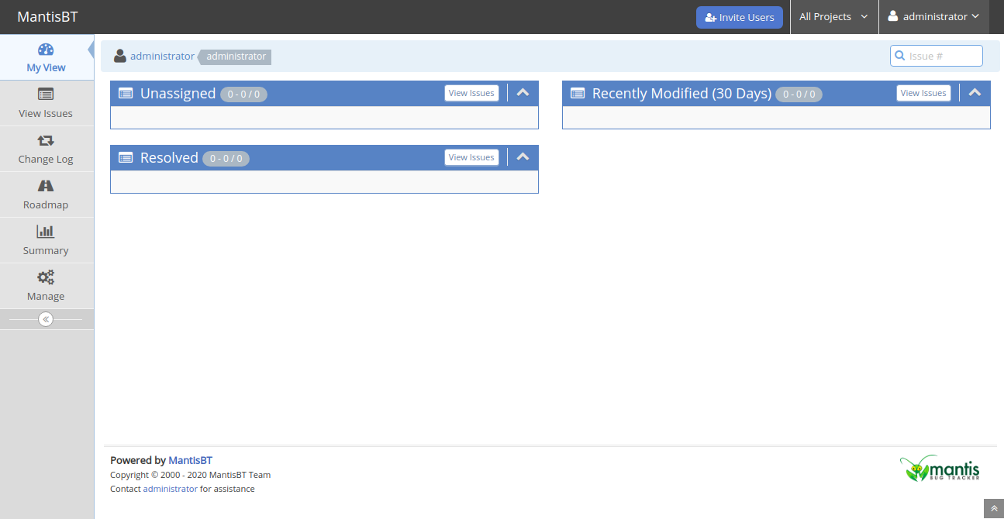
Change your current password and click on the Update User button. You should see the following page:
Conclusion
In the above guide, you learned how to install Mantis bug tracking system on Debian 12. You can now start implementing Mantis in the development environment and manage your project and code from the central location. Try out Mantis on your VPS Hosting account from Atlantic.Net!
* This post is for informational purposes only and does not constitute professional, legal, financial, or technical advice. Each situation is unique and may require guidance from a qualified professional.
Readers should conduct their own due diligence before making any decisions.