OpenMeeting is open-source conferencing software used for web conferencing, online training, and desktop sharing. It is an Apache Foundation project and based on Red5 Media Server. OpenMeeting is written in Java and supports multiple database servers. It allows you to record sessions and includes features such as an advanced file explorer, chat, user management, and more.
In this tutorial, we will show you how to install OpenMeetings on Ubuntu 20.04.
Step 1 – Install Required Dependencies
OpenMeeting is written in Java, so you will need to install Java JDK in your system. You can install it with the following command:
apt-get update -y
apt-get install openjdk-11-jdk openjdk-11-jdk-headless -y
Once installed, verify the Java version using the following command:
java -version
You should see the following output:
openjdk version "11.0.7" 2020-04-14
OpenJDK Runtime Environment (build 11.0.7+10-post-Ubuntu-3ubuntu1)
OpenJDK 64-Bit Server VM (build 11.0.7+10-post-Ubuntu-3ubuntu1, mixed mode, sharing)
Next, install icedtea, imagemagick, and other required packages in your system. You can install them with the following command:
apt-get install icedtea-netx imagemagick libjpeg62 zlib1g-dev flashplugin-installer ffmpeg vlc sox -y
Next, you will need to modify ImageMagick, so OpenMeetings can upload office files to a whiteboard.
You can do it by editing the following file:
nano /etc/ImageMagick-6/policy.xml
Comment out the following lines:
<!-- <policy domain="coder" rights="none" pattern="PS" /> -->
<!-- <policy domain="coder" rights="none" pattern="PDF" /> -->
Save and close the file, then install LibreOffice with the following command:
apt-get install software-properties-common -y
add-apt-repository ppa:libreoffice/ppa
apt-get update -y
apt-get install libreoffice -y
Once you are finished, you can proceed to the next step.
Step 2 – Install and Configure a Database
OpenMeeting uses MariaDB/MySQL as a database backend, so you will need to install the MariaDB server in your system. You can install it with the following command:
apt-get install mariadb-server -y
Once installed, login to the MariaDB shell with the following command:
mysql
Once login, create a database and user for OpenMeeting with the following command:
CREATE DATABASE openmeeting DEFAULT CHARACTER SET 'utf8';
GRANT ALL PRIVILEGES ON openmeeting.* TO 'open'@'localhost' IDENTIFIED BY
'password' WITH GRANT OPTION;
Next, flush the privileges and exit from the MariaDB shell using the following command:
FLUSH PRIVILEGES;
EXIT;
Step 3 – Install OpenMeeting
First, you will need to download the OpenMeeting from the Apache website:
wget http://archive.apache.org/dist/openmeetings/4.0.9/bin/apache-openmeetings-4.0.9.tar.gz
Once the download is completed, create a directory for OpenMeeting and extract the downloaded file inside it:
mkdir /opt/openmeetings
tar -xvzf apache-openmeetings-4.0.9.tar.gz -C /opt/openmeetings
Next, you will need to download the MySQL connector and copy it to OpenMeeting. You can download it with the following command:
wget https://repo1.maven.org/maven2/mysql/mysql-connector-java/5.1.48/mysql-connector-java-
5.1.48.jar
Next, copy the downloaded file to the OpenMeeting directory with the following command:
cp mysql-connector-java-5.1.48.jar /opt/openmeetings/webapps/openmeetings/WEB-INF/lib/
Next, change the directory to /opt/openmeetings and start the application with the following command:
cd /opt/openmeetings
sh red5.sh openmeetings
At this point, OpenMeeting is started and listening on port 5080.
Step 4 – Access OpenMeeting Web UI
Now, open your web browser and access OpenMeeting using the URL http://your-server-ip:5080/openmeetings. You should see the following screen:
Click on the > button. You should see the following screen:
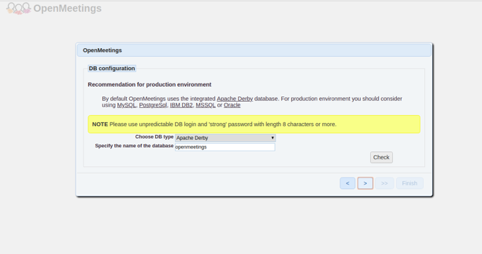
Select your database type and provide the database name, then click on the > button. You should see the following screen:

Provide your username, password, and email, then click on the > button. You should see the following screen:

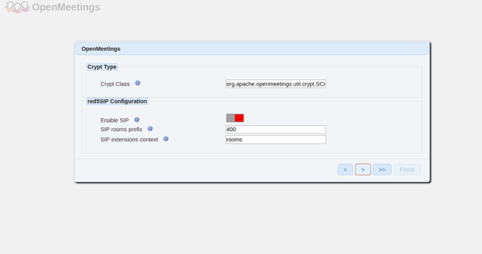
Provide your SMTP details and click on the > button. You should see the following screen:
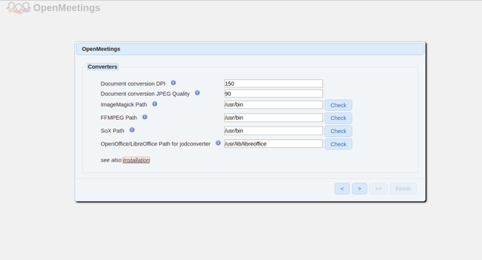
Provide your ImageMagick, sox, and FFmpeg path and click on the > button. You should see the following screen:
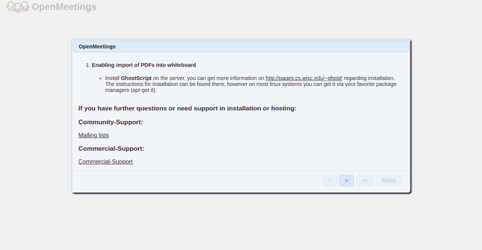
Click on the > button. You should see the following screen:
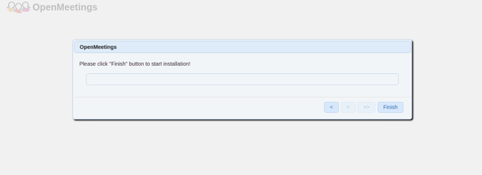
Click on the Finish button. You should see the following screen:
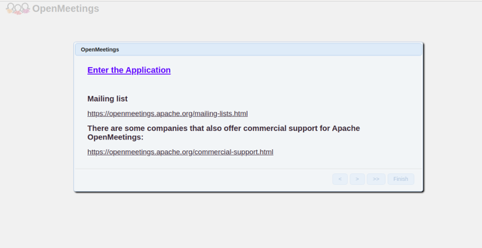
Click on the Enter the Application button. You should see the following screen:
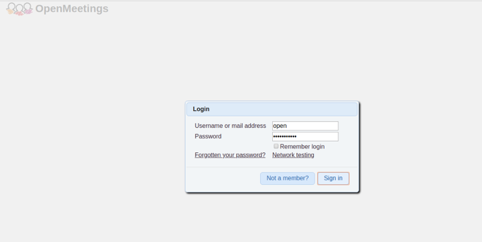
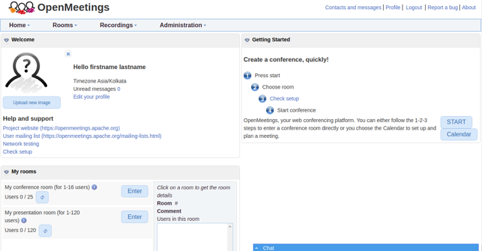
Provide your admin username, password, and click on the Sign In button. You should see the OpenMeeting dashboard in the following screen:
Conclusion
Congratulations! You have successfully installed OpenMeeting on Ubuntu 20.04. Try setting up your own web conferencing and training system on your VPS Hosting account from Atlantic.Net.
* This post is for informational purposes only and does not constitute professional, legal, financial, or technical advice. Each situation is unique and may require guidance from a qualified professional.
Readers should conduct their own due diligence before making any decisions.