How to Install Hyper-V Role on a Windows Server 2008 R2 Server
February 28, 2015 by Atlantic.Net NOC ( 43 ) under VPS Hosting
0 Comments
Verified and Tested 02/28/2015
Introduction
This how-to will guide you through installing Hyper-V on your Windows Server 2008 R2. Hyper-V is used to manage Virtual Machines within your server.
Installing Hyper-V Role on Windows Server 2008 R2 Server
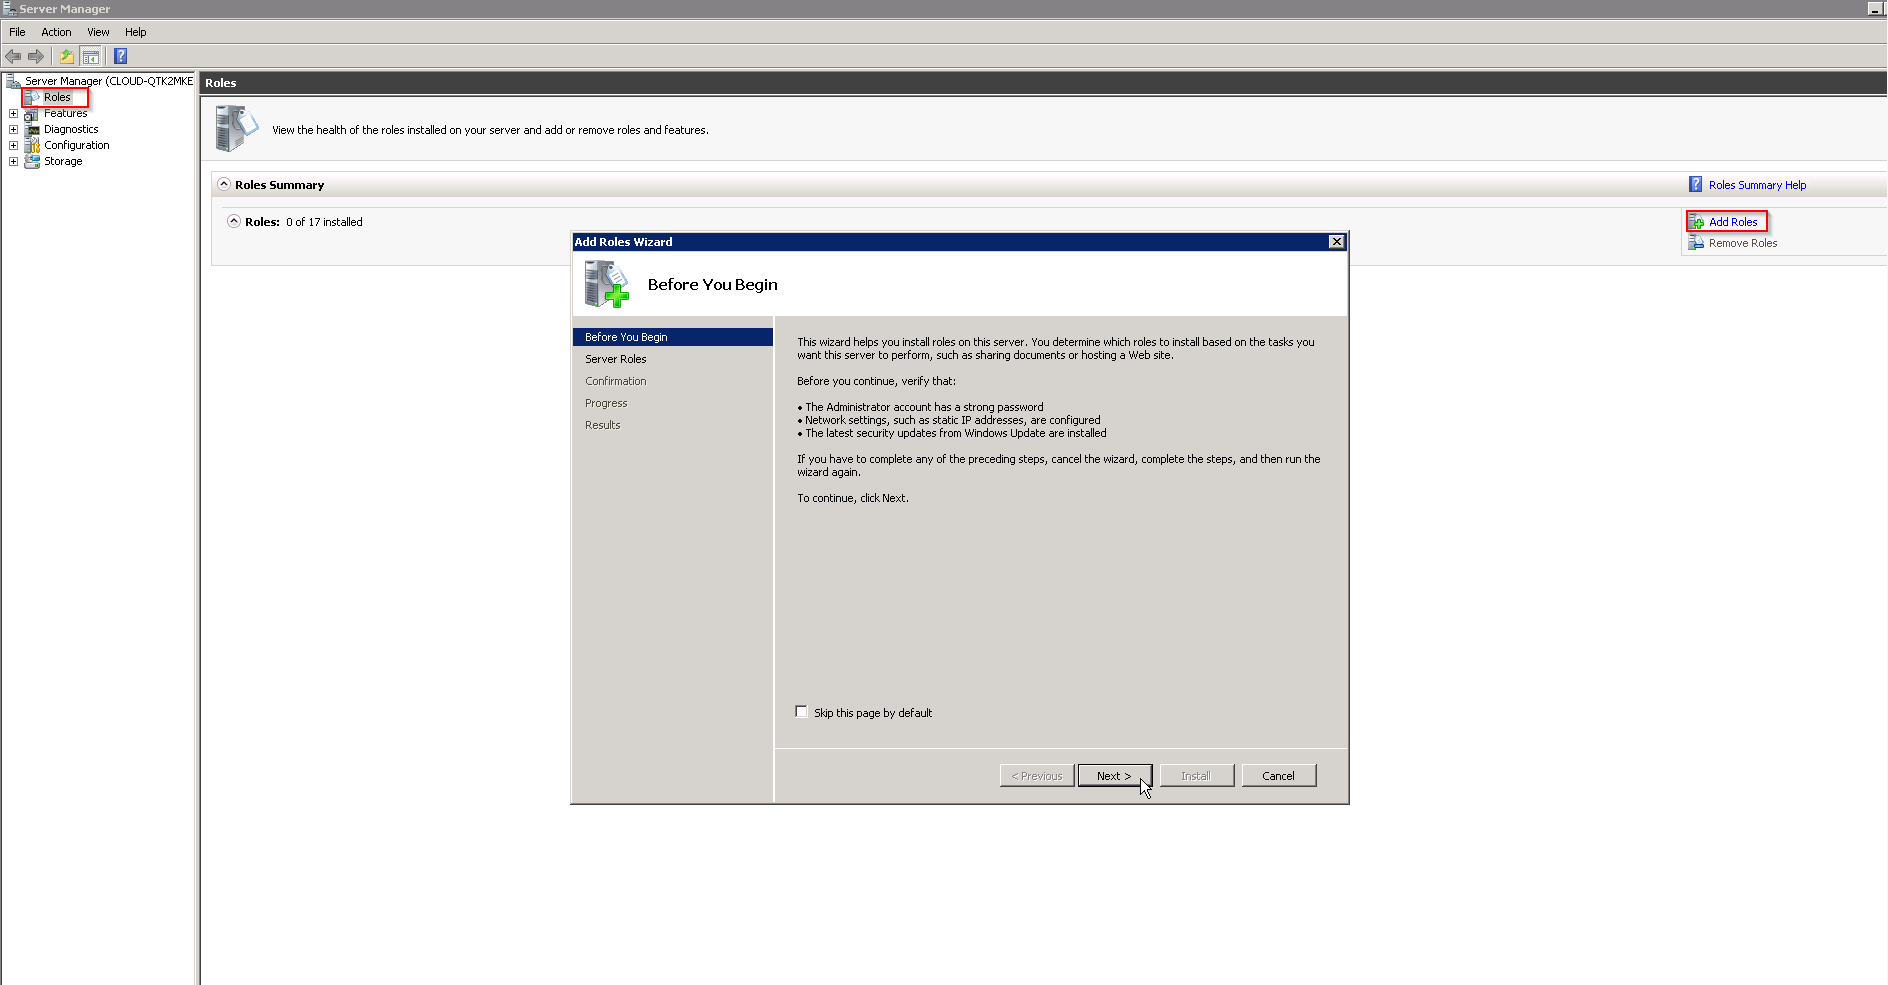
Hyper-V is installed as a service within the Roles and Services Manager in your Server Manager. You can open Server Manager by clicking the icon on the bottom-left side of the screen.

Once you are in Server Manager, click on Roles on the left panel to open your server’s Roles page. Then, click the Add Roles link on the right side of the window to open the Add Roles Wizard.
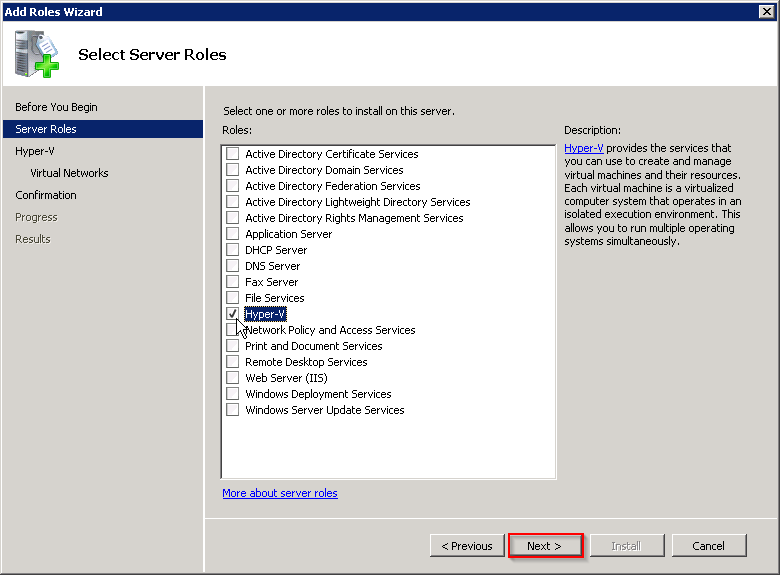
Click Next to continue the installation. The installer will provide a list of possible roles to install. Check the Hyper-V box and click Next.
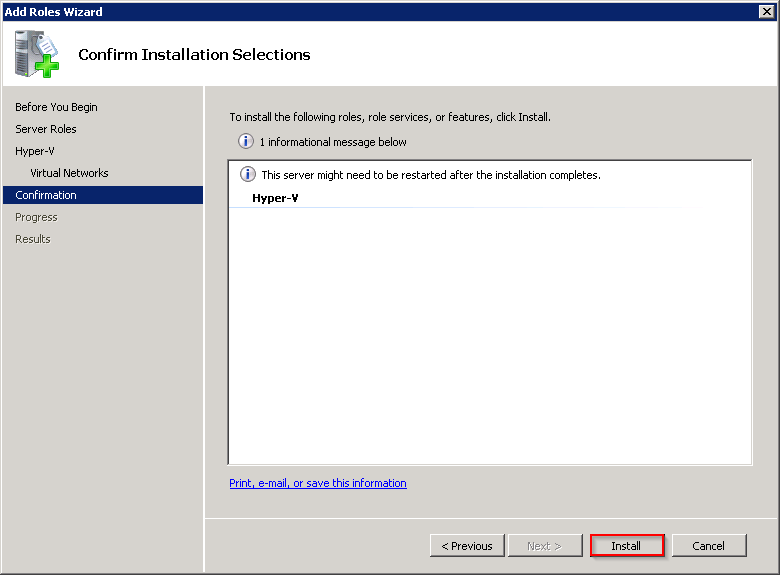
The installer will then provide you with helpful links regarding the use and initial configuration of Hyper-V. You can read these first if you wish. Click Next when you are ready to move on. The following page will allow you to use a network adapter to allow a virtual network between your virtual machines. This will be useful if you intend to have your virtual machines communicate with each other. We can add this later, so for right now, let’s skip this step. Click Next to continue.

Click Install on the following page to finish installing the role.
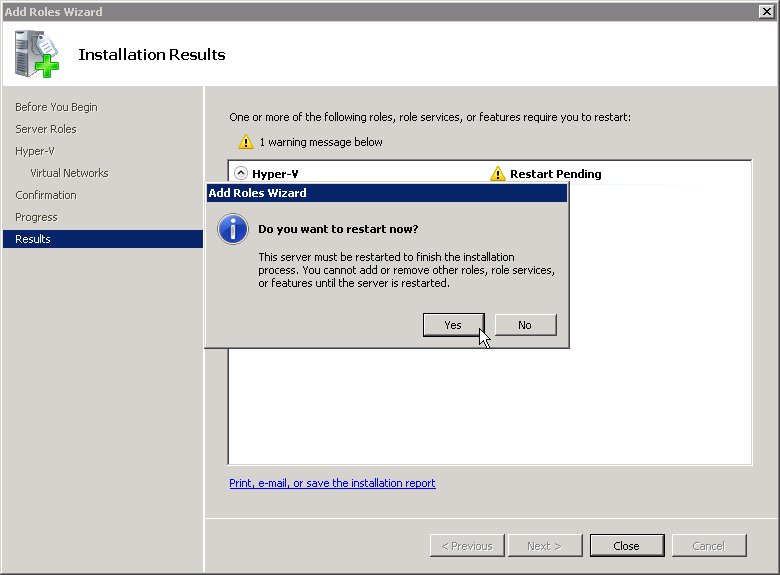
The server will notify you that you will have to restart your server for the role to finish installing. Click Close, and a prompt will come up asking to restart the server. Click Yes to restart your server.
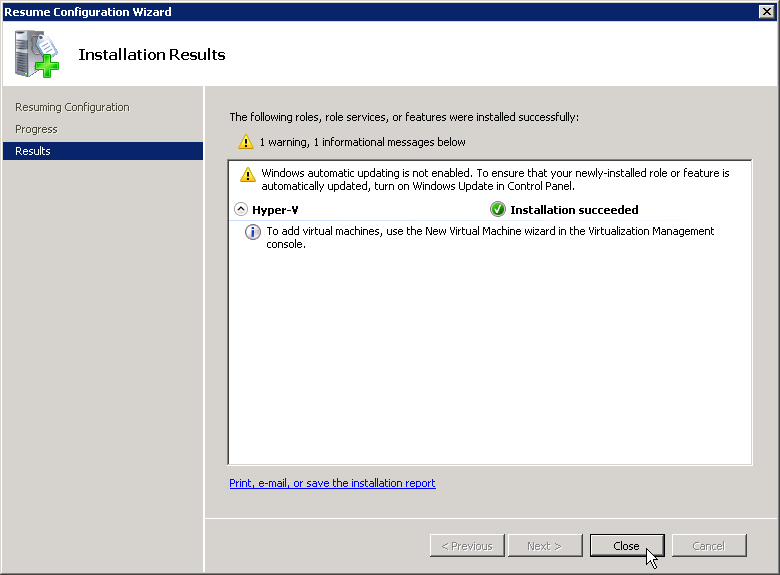
Once the server has restarted, the installation progress will automatically continue. Once done, click Close.
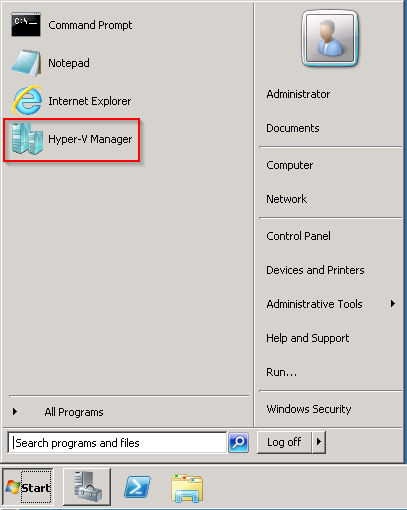
Hyper-V is now successfully installed! You can access Hyper-V through your system’s Start Menu.
Thank you for following along in this How-To. Take a look at the following article – How to Expand a VM Hard Disk in Hyper-V on Windows Server 2012.
More About Atlantic.Net
Atlantic.Net offers world-class hosting solutions, including VPS hosting services. See our VPS hosting price.
Get a $250 Credit and Access to Our Free Tier!
Free Tier includes:
G3.2GB Cloud VPS a Free to Use for One Year
50 GB of Block Storage Free to Use for One Year
50 GB of Snapshots Free to Use for One Year