Kerberos is a network authentication protocol that provides authentication against the devices to enable secure communication between client and server. It uses secret-key cryptography for verifying users’ identities. Generally, Kerberos is used in POSIX authentication, Active Directory, NFS, and Samba.
This tutorial will show you how to install the Kerberos server and client on Ubuntu. This procedure is compatible with Ubuntu 22.04 and Ubuntu 24.04.
Prerequisites
- Two fresh Ubuntu 24.04 VPSes on the Atlantic.Net Cloud Platform
- A root password configured on your server
Step 1 – Setup Hostname Resolution
First, you must set up a fully qualified hostname on the server and client machine.
On the server machine, set the fully qualified hostname with the following command:
hostnamectl set-hostname server.myexample.com
On the client machine, set the fully qualified hostname with the following command:
hostnamectl set-hostname client.myexample.com
Next, edit the /etc/hosts files on both server and client machines and set up the hostname resolution so both systems can communicate using the hostname.
nano /etc/hosts
Add the following lines:
your-server-ip server.myexample.com
your-client-ip client.myexample.com
Save and close the file when you are finished.
Step 2 – Install Kerberos Server
Next, you must install the Kerberos server package on the server machine. You can install all the packages with the following command:
apt-get install krb5-kdc krb5-admin-server krb5-config -y
During the installation, you will be asked to provide Kerberos Realm, as shown below:
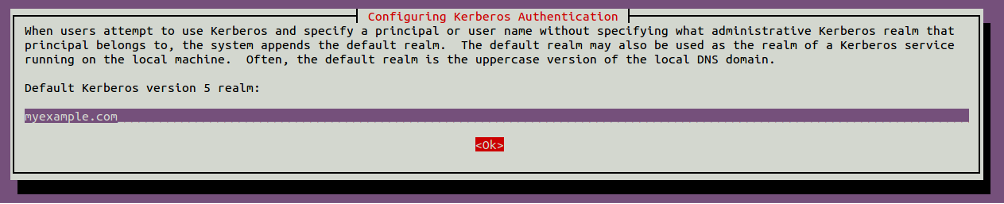
Provide myexample.com and click on the OK button. You will be asked to provide the Kerberos server hostname as shown below:
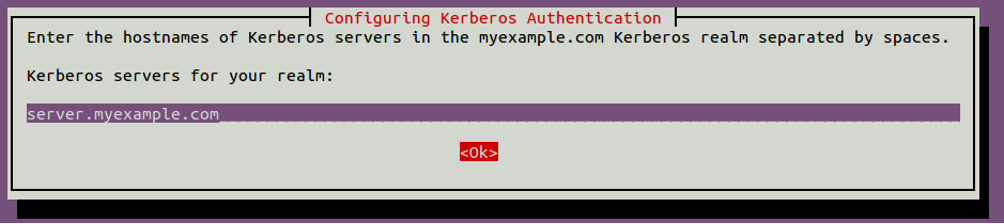
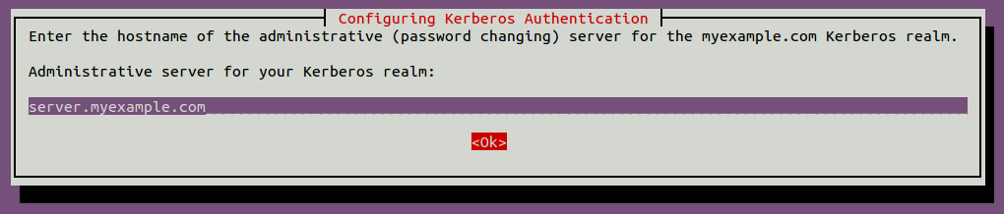
Provide server.myexample.com and click on the OK button. You will be asked to provide the hostname of the administrative server as shown below:

Provide server.myexample.com and click on the OK button. You should see the following page:
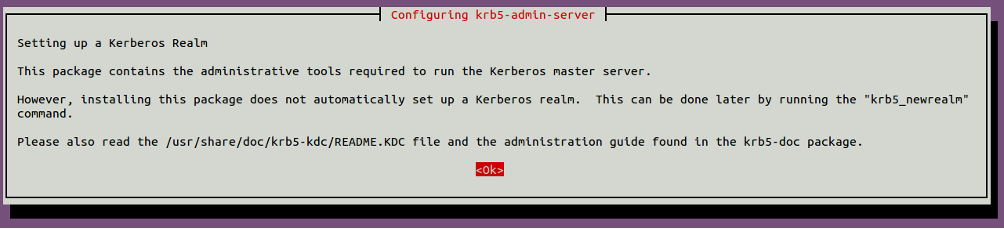
Click on the OK button to finish the installation.
Step 3 – Configure Kerberos Server
Next, you will need to generate the password for the Kerberos Realm. You can generate it with the following command:
krb5_newrealm
You will be asked to provide a secure password as shown below:
This script should be run on the master KDC/admin server to initialize
a Kerberos realm. It will ask you to type in a master key password.
This password will be used to generate a key that is stored in
/etc/krb5kdc/stash. You should try to remember this password, but it
is much more important that it be a strong password than that it be
remembered. However, if you lose the password and /etc/krb5kdc/stash,
you cannot decrypt your Kerberos database.
Loading random data
Initializing database '/var/lib/krb5kdc/principal' for realm 'myexample.com',
master key name 'K/M@myexample.com'
You will be prompted for the database Master Password.
It is important that you NOT FORGET this password.
Enter KDC database master key:
Re-enter KDC database master key to verify:

Now that your realm is set up you may wish to create an administrative
principal using the addprinc subcommand of the kadmin.local program.
Then, this principal can be added to /etc/krb5kdc/kadm5.acl so that
you can use the kadmin program on other computers. Kerberos admin
principals usually belong to a single user and end in /admin. For
example, if jruser is a Kerberos administrator, then in addition to
the normal jruser principal, a jruser/admin principal should be
created.

Don't forget to set up DNS information so your clients can find your
KDC and admin servers. Doing so is documented in the administration
guide.
Next, you must add the admin user principle to the access control. You can do it by editing the following file:
nano /etc/krb5kdc/kadm5.acl
Add the following line:
*/admin *
Save and close the file when you are finished.
Next, you must add the admin principal to the Kerberos database. You can do it with the following command:
kadmin.local
You should see the following output:
Authenticating as principal root/admin@myexample.com with password.
Next, run the following command to add the principal name kuser:
kadmin.local: addprinc kuser
You will be asked to set the password as shown below:
WARNING: no policy specified for kuser@myexample.com; defaulting to no policy
Enter password for principal "kuser@myexample.com":
Re-enter password for principal "kuser@myexample.com":
Principal "kuser@myexample.com" created.
Next, exit from the kadmin console with the following command:
kadmin.local: quit
Next, restart the Kerberos server with the following command:
systemctl restart krb5-admin-server
You can verify the status of Kerberos with the following command:
systemctl status krb5-admin-server
You should get the following output:
-
● krb5-admin-server.service - Kerberos 5 Admin Server
     Loaded: loaded (/usr/lib/systemd/system/krb5-admin-server.service; enabled; preset: enabled)
     Active: active (running) since Fri 2025-05-23 06:32:09 UTC; 4s ago
   Main PID: 9786 (kadmind)
      Tasks: 1 (limit: 2272)
     Memory: 648.0K (peak: 912.0K)
        CPU: 30ms
     CGroup: /system.slice/krb5-admin-server.service
             └─9786 /usr/sbin/kadmind -nofork
Step 4 – Install Kerberos Client
Next, you must install the Kerberos client on the client machine. You can install it with the following command:
apt-get install krb5-user -y
During the installation, you will be asked to provide Kerberos Realm as shown below:

Provide myexample.com and click on the OK button. You will be asked to provide the Kerberos server hostname as shown below:

Provide server.myexample.com and click on the OK button. You will be asked to provide the hostname of the administrative as shown below:

Provide server.myexample.com and click on the OK button. You should see the following page:

Click on the OK button to finish the installation.
Next, authenticate to the Kerberos server and obtain a ticket from it with the following command:
kinit kuser
You will be asked to provide a password for the kuser principal as shown below:
Password for kuser@myexample.com:
Next, obtain a ticket with the following command:
klist
You should get the following output:
Ticket cache: FILE:/tmp/krb5cc_0
Default principal: kuser@myexample.com

Valid starting       Expires              Service principal
05/23/2025 06:33:28  05/23/2025 16:33:28  krbtgt/myexample.com@myexample.com
	renew until 05/24/2025 06:33:23
Step 5 – Verify Authentication
Next, you will need to verify the details of the principal on the Kerberos server.
On the Kerberos server machine, run the following command:
kadmin.local
Authenticating as principal root/admin@myexample.com with password.
Next, print the principal details with the following command:
kadmin.local: getprinc kuser
You should get the following output:
Principal: kuser@myexample.com
Expiration date: [never]
Last password change: Fri May 23 06:31:54 UTC 2025
Password expiration date: [never]
Maximum ticket life: 0 days 10:00:00
Maximum renewable life: 7 days 00:00:00
Last modified: Fri May 23 06:31:54 UTC 2025 (root/admin@myexample.com)
Last successful authentication: Fri May 23 06:33:28 UTC 2025
Last failed authentication: [never]
Failed password attempts: 0
Number of keys: 2
Key: vno 1, aes256-cts-hmac-sha1-96
Key: vno 1, aes128-cts-hmac-sha1-96
MKey: vno 1
Attributes: REQUIRES_PRE_AUTH
Policy: [none]
kadmin.local:  quit
Conclusion
Congratulations! You have successfully installed and configured the Kerberos server and client on Ubuntu 24.04. You can now use Kerberos on your network for the authentication of users. Try it on your dedicated server hosting account from Atlantic.Net!
Learn more about our dedicated servers.


* This post is for informational purposes only and does not constitute professional, legal, financial, or technical advice. Each situation is unique and may require guidance from a qualified professional.
Readers should conduct their own due diligence before making any decisions.