Apache and Nginx are the most popular open-source web servers. Setting up a reverse proxy conceals your backend servers and safeguards them from attacks, efficiently distributing client requests to prevent overload during traffic surges. Utilizing Nginx as a reverse proxy for Apache combines both strengths, facilitating easy traffic monitoring.
This tutorial will guide you through installing and setting up Nginx as a reverse proxy for Apache on an Ubuntu 18.04 VPS. Learn to configure Apache on port 8080 and Nginx on port 80, directing traffic from port 80 to the Apache server.
Step 1 – Install and Configure Apache
First, you will need to install an Apache web server on your VPS. You can install Apache by running the following command:
apt-get install apache2 -y
Once installed, start the Apache web service and enable it to start after the system reboot with the following command:
systemctl start apache2
systemctl enable apache2
By default, Apache listens on port 80. You will need to configure Apache to listen on port 8080. You can do it by editing ports.conf file:
nano /etc/apache2/ports.conf
Find the following line:
Listen 80
Replace it with the following:
Listen 127.0.0.1:8080
Save and close the file. Then, open the Apache default virtual host file with the following command:
nano /etc/apache2/sites-available/000-default.conf
Find the following line:
<VirtualHost *:80>
Replace it with the following:
<VirtualHost 127.0.0.1:8080>
Save and close the file when you have finished. Then, restart the Apache web service to apply all the configuration changes:
systemctl restart apache2
You can now verify that the Apache web server is listening on port 8080 with the following command:
ss -ant | grep 8080
You should see the following output:
tcp 0 127.0.0.1:8080 0.0.0.0:* LISTEN
Step 2 – Install and Configure Nginx
Next, you will need to install Nginx and configure it as a reverse proxy to forward requests coming on port 80 to the Apache web server that is listening on port 8080.
You can install the Nginx web server by running the following command:
apt-get install nginx -y
Once installed, start the Nginx service and enable it to start after the system reboot:
systemctl start nginx
systemctl enable nginx
Next, set up the Nginx reverse proxy by creating a new virtual host file:
nano /etc/nginx/sites-available/example.com
Add the following lines:
server {
   listen 80;

   root /var/www/html/;
   index index.html index.htm;

   server_name example;

   location \ {

   proxy_set_header X-Real-IP $remote_addr;
   proxy_set_header X-Forwarded-For $remote_addr;
   proxy_set_header Host $host;
   proxy_pass http://127.0.0.1:8080;
}

}
Save and close the file. Then, enable the virtual host configuration file with the following command:
ln -s /etc/nginx/sites-available/example.com /etc/nginx/sites-enabled/
Next, verify Nginx for any syntax error with the following command:
nginx -t
If everything is correct, you should get the following output:
nginx: the configuration file /etc/nginx/nginx.conf syntax is ok
nginx: configuration file /etc/nginx/nginx.conf test is successful
Finally, restart Nginx service to apply these configuration changes:
systemctl restart nginx
Step 3 – Test the Nginx Reverse Proxy
Nginx and Apache are installed and configured properly. Now, you can test the functionality of the Nginx reverse proxy.
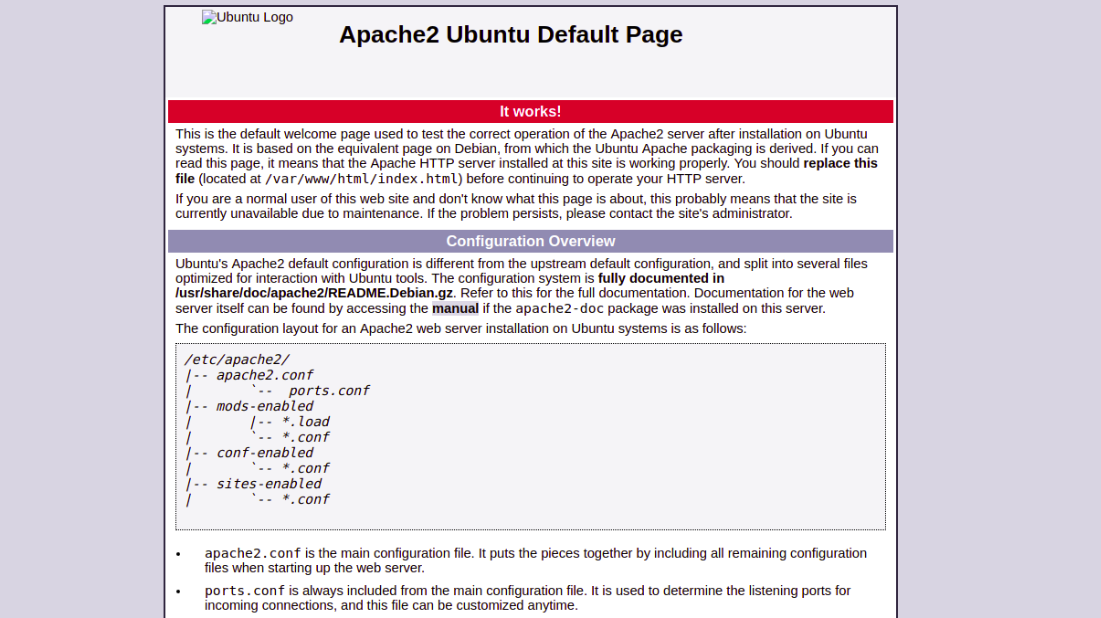
To do so, open your web browser and type the URL http://example.com. You will be redirected to the Apache default page as shown in the following screen:
Conclusion
Congratulations! You have successfully installed and configured Nginx as a reverse proxy for the Apache webserver. You can also configure Nginx as a reverse proxy for other applications like Tomcat, Wildfly, Node.Js, and Glassfish.
If you’re ready to get started with a virtual private server for hosting your websites, visit Atlantic.Net’s VPS Hosting page to find a hosting package that’s right for you.
* This post is for informational purposes only and does not constitute professional, legal, financial, or technical advice. Each situation is unique and may require guidance from a qualified professional.
Readers should conduct their own due diligence before making any decisions.