Install Ntopng to Monitor Network Traffic on Ubuntu
December 11, 2020 by Hitesh Jethva ( 680 ) under VPS Hosting
0 Comments
Ntopng is software for monitoring network traffic. This free, open-source software provides a web interface for enabling real-time monitoring. Ntopng is essentially the next-generation version of the original ntop. It shows the network usage similar to the way popular UNIX commands do, but ntopng supports various operating systems, such as Windows, BSD, Mac OS, Linux, and UNIX.
Ntopng is best described as a passive network monitoring tool. It is focused on statistics and flows that are obtained from the traffic that the server captures. While professional and enterprise editions of Ntopng have licensing requirements, the community edition has none.
In this tutorial, we will show you how to install NtopNG on Ubuntu 20.04.
In This Article
Step 1 – Add ntopng Repository
By default, the ntopng package is not available in the Ubuntu 20.04 default repository, so you will need to add the ntopng repository to your system.
First, install the required dependencies to your server with the following command:
apt-get install wget gnupg -y
Next, download the ntopng repository package with the following command:
wget http://apt.ntop.org/18.04/all/apt-ntop.deb
Once the package is downloaded, install the downloaded package with the following command:
dpkg -i apt-ntop.deb
Once the repository is installed, update it with the following command:
apt-get update -y
Step 2 – Install and Configure ntopng
Now, you can install the ntopng package with other packages using the following command:
apt-get install pfring-dkms nprobe ntopng n2disk cento -y
After installing ntopng, you will need to edit the ntopng configuration file and define your Network Interface, Port, and Location of the PID.
nano /etc/ntopng/ntopng.conf
Change the following lines per your requirements:
-G=/var/run/ntopng.pid
-i=eth0
-w=3000
Save and close the file when you are finished. Next, create a new configuration file and define your Network IP range:
nano /etc/ntopng/ntopng.start
Add the following lines as per your Network IP:
--local-networks "0.0.0.0/24" ## give your local IP Ranges here.
--interface 1
Save and close the file when you are finished. Then, start the ntopng service and enable it to start at system reboot with the following command:
systemctl start ntopng
systemctl enable ntopng
You can also verify the status of the ntopng with the following command:
systemctl status ntopng
You should get the following output:
-
ntopng.service - ntopng high-speed web-based traffic monitoring and analysis tool
Loaded: loaded (/etc/systemd/system/ntopng.service; enabled; vendor preset: enabled)
Active: active (running) since Thu 2020-10-01 09:10:02 UTC; 8min ago
Main PID: 31314 (ntopng)
Tasks: 52 (limit: 2353)
Memory: 291.4M
CGroup: /system.slice/ntopng.service
└─31314 /usr/local/bin/ntopng /run/ntopng.conf

Oct 01 09:10:06 ubuntu2004 ntopng[31314]: 01/Oct/2020 09:10:06 [startup.lua:226] Startup
completed
Step 3 – Access ntopng Web Interface
At this point, ntopng is started and listening on port 3000. You can check it with the following command:
ss -plunt | grep 3000
You should get the following output:
tcp LISTEN 0 4096 0.0.0.0:3000 0.0.0.0:*
users:(("ntopng",pid=31314,fd=33))
Now, open your web browser and access the NtopNG dashboard using the URL http://your-server-ip:3000.
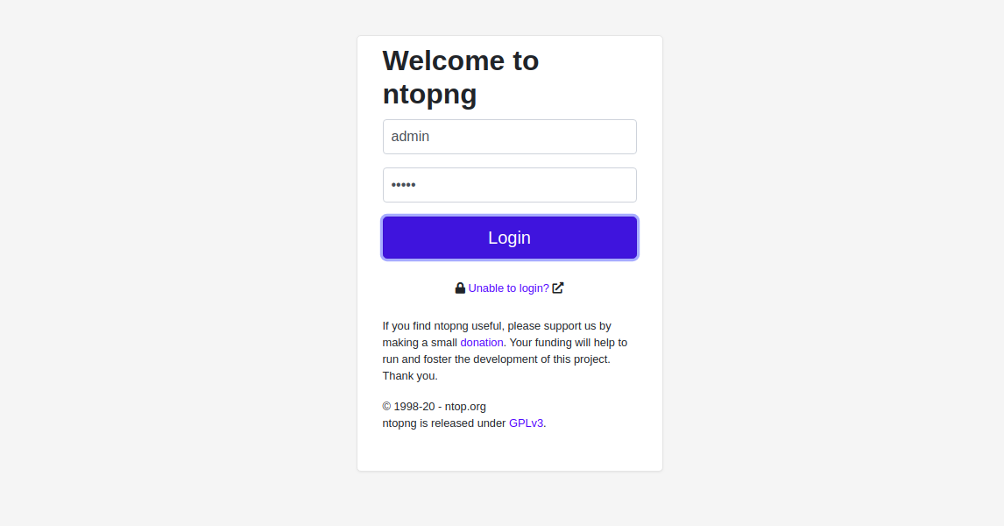
Provide the default username and password as admin/admin and click on the Login button. You will be redirected to the password reset screen:
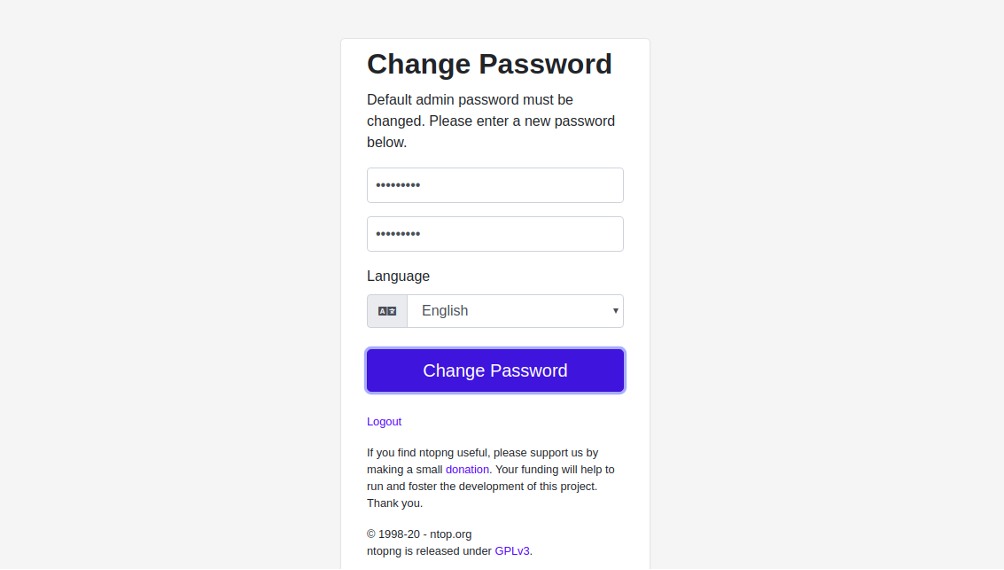
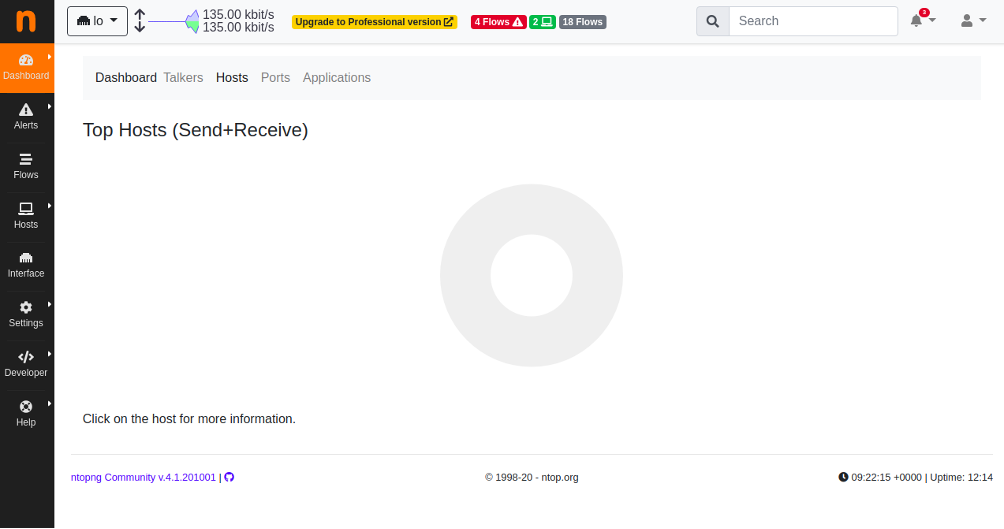
Provide your new password and click on the Change Password button. You should see the ntopng dashboard on the following page:
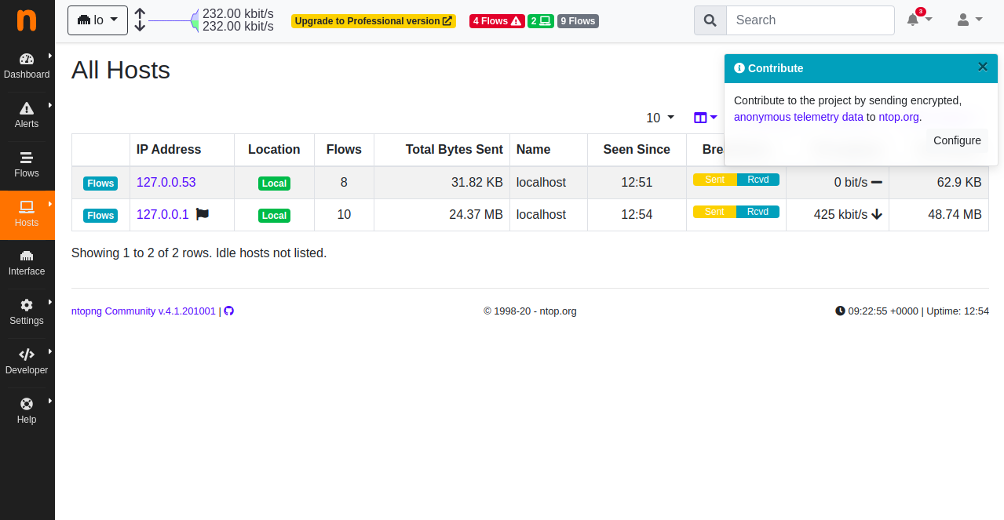
Click on the Hosts button in the left pane. You should see your system information in the following page:
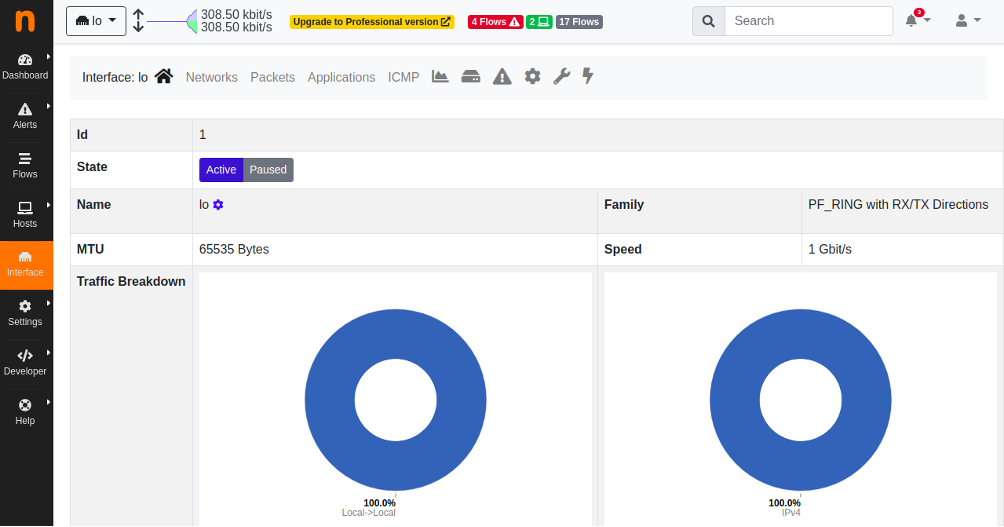
Click on the Interface button in the left pane. You should see your network information in the following page:
Conclusion
Congratulations! You have successfully installed and configured ntopng on Ubuntu 20.04. You can now easily monitor your network usage in real-time. Get started with ntopng on VPS hosting from Atlantic.Net today!
Get a $250 Credit and Access to Our Free Tier!
Free Tier includes:
G3.2GB Cloud VPS a Free to Use for One Year
50 GB of Block Storage Free to Use for One Year
50 GB of Snapshots Free to Use for One Year