Node.js is a very powerful tool used to host JavaScript-based applications on the web. However, Node.js has some vulnerabilities that can cause performance-related issues. It does not work well with IO-bound operations or rapid traffic growth. In this case, you can use Apache as a reverse proxy to manage port contention and improve the Node.js performance.
In this post, we will explain how to configure Apache as a Reverse Proxy for Node.js applications on Oracle Linux 10.
Step 1 – Install Node.js
By default, the latest version of Node.js is available in the Oracle Linux 10 default repo.
You can install the Node.js by running the following command:
dnf install nodejs -y
Once Node.js is installed, you can verify the Node.js version using the following command:
node --version
You will get the following output:
v22.19.0
Step 2 – Create a Node.js Application
First, create a directory to store your Node.js application with the following command:
mkdir nodeapp
Next, navigate to the create directory with the following command:
cd nodeapp
Next, create an app.js file:
nano app.js
Add the following code:
var http = require('http');
http.createServer(function (req, res) {
  res.writeHead(200, {'Content-Type': 'text/plain'});
  res.end('Welcome to Node.js Server');
}).listen(8000, "127.0.0.1");
console.log('Server running at http://127.0.0.1:8000/');
Save and close the file, then run your Node.js application with the following command:
node app.js
You will get the following output:
Server running at http://127.0.0.1:8000/
Press CTRL+C to stop the Node.js application.
Step 3 – Install PM2 to Manage Node.js Service
Next, you will need to install PM2 to manage the Node.js service. You can install it with the following command:
npm i -g pm2
Once PM2 is installed, start the Node.js application with the following command:
pm2 start app.js
Next, enable your application to start at system reboot:
pm2 startup
You can list all your application services with the following command:
pm2 list
Step 4 – Configure Apache as a Reverse Proxy for Node.js
It is a good idea to install and configure Apache as a reverse proxy for the Node.js applications. First, install the Apache package using the following command:
dnf install httpd -y
Next, create an Apache virtual host configuration file for the Node.js application:
nano /etc/httpd/conf.d/node.exampledomain.conf
Add the following configurations:
<VirtualHost *:80>
        ServerAdmin [email protected]
        ServerName node.exampledomain.com
        ErrorLog /var/log/httpd/error.log
        CustomLog /var/log/httpd/access.log combined
        ProxyRequests On
        ProxyPass / http://localhost:8000
        ProxyPassReverse / http://localhost:8000
</VirtualHost>
Save and close the file, then start and enable the Apache service with the following command:
systemctl start httpd
systemctl enable httpd
Step 5 – Access Node.js Application
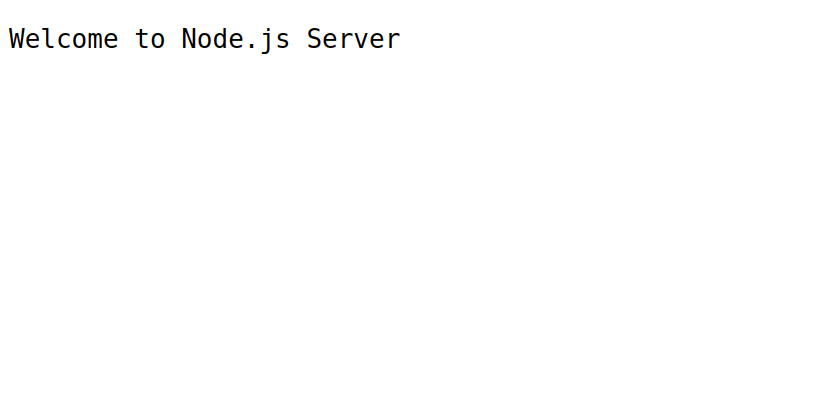
At this point, Apache is configured as a reverse proxy for the Node.js application. You can now access the Node.js application using the URL http://node.exampledomain.com. You should see your Node.js application page:
Conclusion
Congratulations! You have successfully installed and configured Apache as a reverse proxy for the Node.js application. This will help you to increase your Node.js application performance. You can now host the Node.js applications on dedicated hosting from Atlantic.Net!

Written by
Hitesh Jethva is a regular contributor to the Atlantic.Net blog. With over 15 years of experience in Linux and open-source technologies, he founded Linux Buz, a website dedicated to Linux enthusiasts.